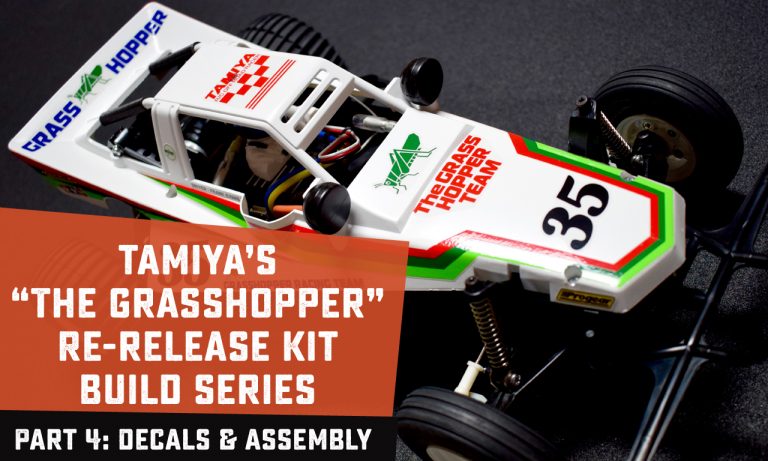
Building an R/C Kit: Decals and Final Assembly

The fourth and final part of the Tamiya “The Grasshopper” build series.
I will openly admit that I pushed this final segment of my Tamiya Grasshopper build off as much as possible. It's not that I didn't want to see this buggy completed, I just didn't want the experience to end. Common sense finally won out and the final parts and pieces (not many) were assembled and this buggy is now ready to roll.
The final steps in this segment were rather easy; applying decals, attaching a few accessories, and then joining the body to the chassis. Through the entire process, I've gained new appreciation for these vehicles, and the entire build process.
Now that this buggy has been assembled (and power-tested), I can't wait to see how it handles. That experience in itself will be a fun comparison between the vehicles of the past and modern-day radio-controlled machines!
