
Building an R/C Kit: Final Chassis Assembly
Part three of the Tamiya “The Grasshopper” build series.
Sad to say, but I’m nearing the end of my first official radio-controlled car build. I can't begin to say how much fun I've had with this project and what an experience it's been seeing a vehicle come together from a pile of parts. After hearing fellow hobbyists sing the praises of the kit build process, I can honestly say that I'm a believer in that gospel.
With this part of the build, I've done a bit of off-camera work, assembling and attaching the front steering and suspension assembly. With that, the front bumper was also added, making this lower half of The Grasshopper look like...well, a R/C buggy.
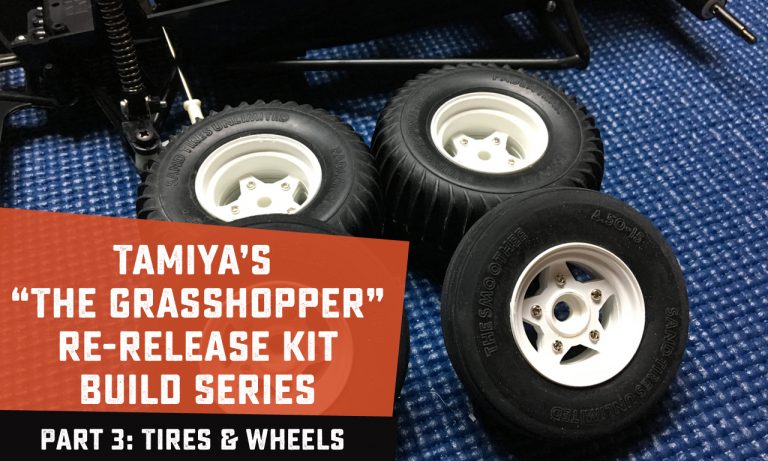
With all of the wheel mounts in place, it's time to assemble and attach our wheels and tires. I hit the wheels with a coat of white paint before putting the pieces together and overall assembly went smoothly. The wheels use a three-piece, beadlock design and hold the tire in place firmly.
After the wheels have been put in place, the next step is to install the battery door on the underside of the chassis. With that, you have a rolling, functioning R/C buggy.
Building the Tamiya “The Grasshopper” R/C Buggy Kit: Part 3
What’s Next?
In the fourth and final stage, I'll be applying decals to the body, detailing the driver, installing a few small accessories (driver and headlights), and finally, attaching the body to the chassis. After that, we’re done, and this project will be complete.


