
Review: Eachine's EF-01 AIO FPV Camera
Aside from a viewing monitor or a wearable headset, the second most-crucial piece of FPV gear is the camera. Serving as your eye on the land and sky, choosing a camera that’s both durable and high quality are two main points to consider. For my first experience with FPV, I selected a camera which checks both of those boxes, and also fit quite nicely into my budget.
What’s Included:
- 1 Eachine EF-01 All-in-One (AIO) FPV camera
- 1 instruction manual
The Camera Design
The EF-01 is an extremely small and ultra-lightweight piece of hardware. Both the size and weight surprised me when I took the camera out of the package for initial inspection. There is a hard aluminum case which wraps around the internals of the camera. Without this added protection and visual item, you’d be presented with a camera lens attached to a processor board. While there are FPV cameras that are sold in this “stripped down” fashion, I appreciate the added durability of the case on the EF-01.
Installation
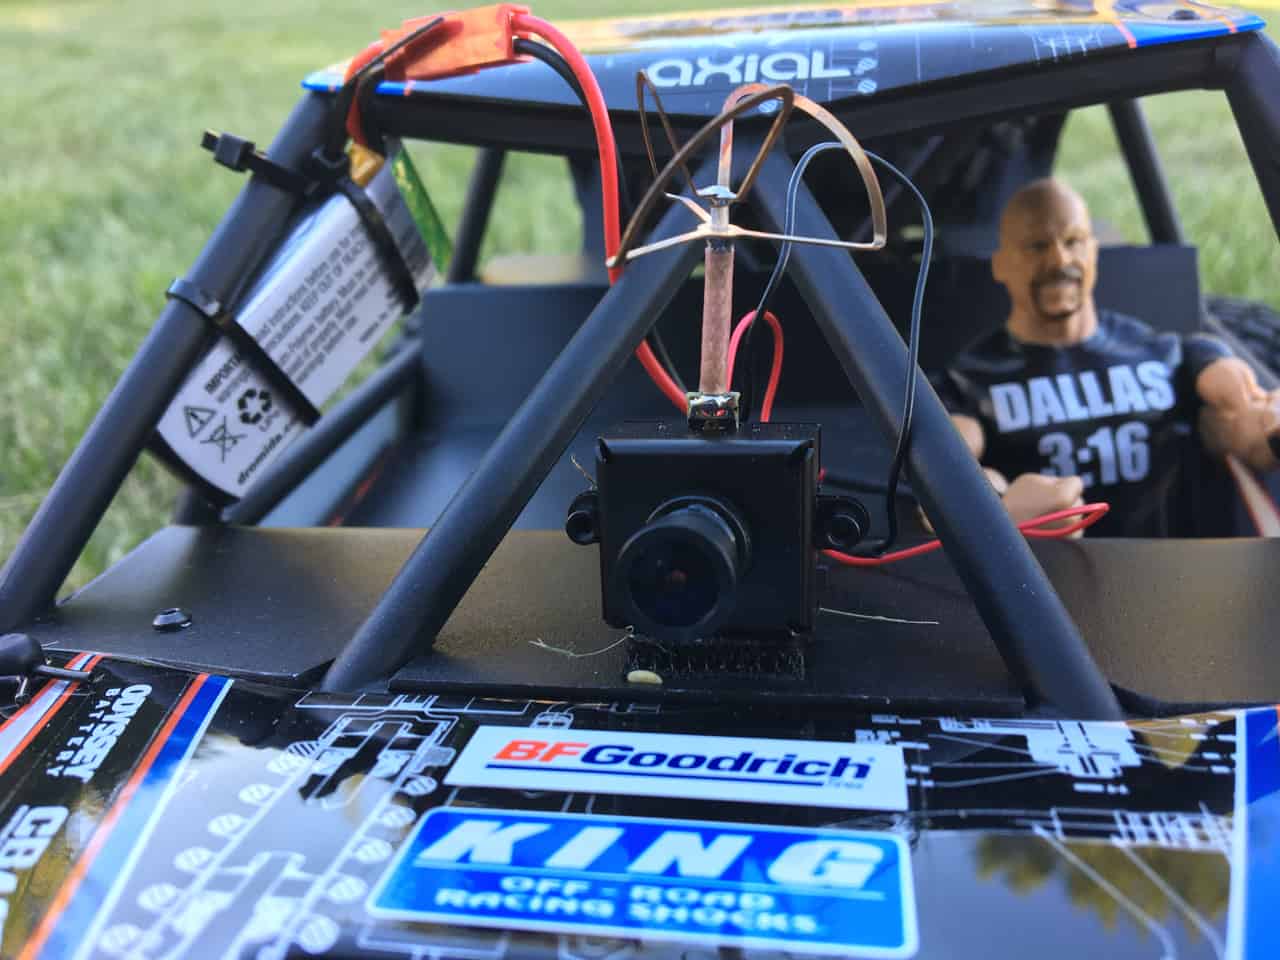
Where and how you mount this FPV camera is entirely up to you. I have taken two approaches to my installation techniques. The first was the “hurry up and go” approach, attaching a piece of Velcro to the bottom of the camera and then attaching that to the dashboard area of my Axial RR10 Bomber. This worked, although it wasn’t a long-term solution. After my first driving experience with FPV, I knew I was hooked and thus, needed a longer-term mounting solution.
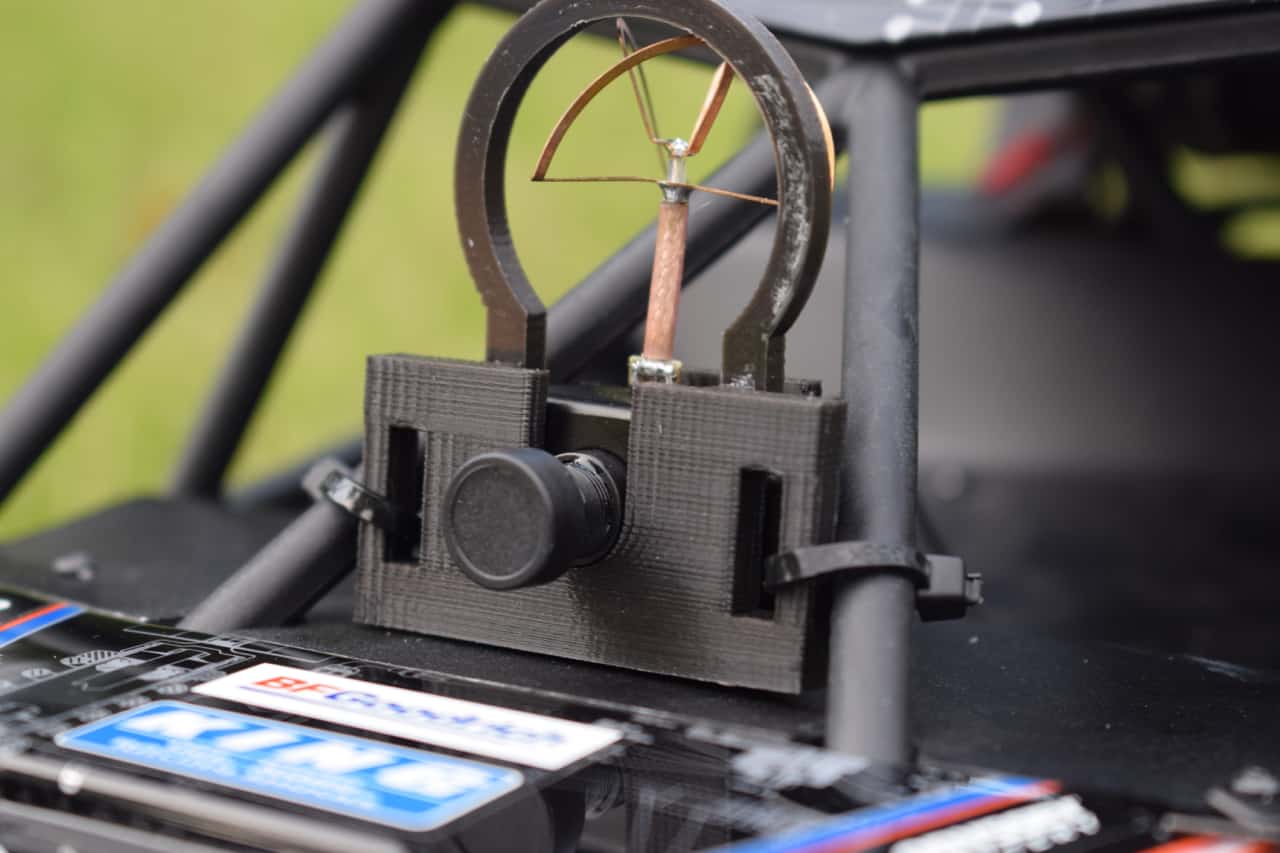
After spending time in a 3D modeling program, I prototyped and produced a 3D printed mount for the camera, designed specifically for the vehicles on which they’d be mounted. With a secure mounting system in place, it was time to take my second trip behind the wheel.
When you’re driving (or flying) through the lens of a camera, your viewing angle is incredibly important. If the camera is aiming too low, you’ll miss overhanging obstacles that may be higher up. If you aim the camera too high, you can easily miss changes in driving surface and uneven terrain (not to mention other obstacles which may be laying around your FPV course). Achieving the perfect angle can take some trial and error to get it just right. After a few behind the wheel experiences with my RR10 Bomber and Yeti Jr. Rock Racer, I’m not entirely convinced I’ve found the sweet spot for either machine. That said, what I’ve managed to set up does work, and works well.
The Right Frequency
Once the mounting setup has been squared away, finding the correct band and channel for the camera and FPV headset/monitor was the next item on my list. This camera features 40 channels to choose from, so finding a clear reception should be easy. Depending on where you’re driving or flying, your level of environmental interference may change, so you’ll want to cycle through multiple band and channel combinations before making your selection.
A button on the rear of the camera, conveniently labeled “button” allows you to run through the band and channel settings on the EF-01. When I set my gear up, I try to find the most static-free image I can find, both while in motion and standing still. It may take a minute or two to locate a clear image, but it’s time well spent.
Rolling Behind the Wheel
No matter what vehicle I drove through the lens of this camera, I had an experience that I’ve never felt before. My pulse quickened, I was on edge, (both in my seat and in my driving), and I was “white knuckling” the controller. It was amazing, a rush like none-other. I was hooked. Once the initial newness of FPV wore off, I was able to get a feel for the camera quality and performance.
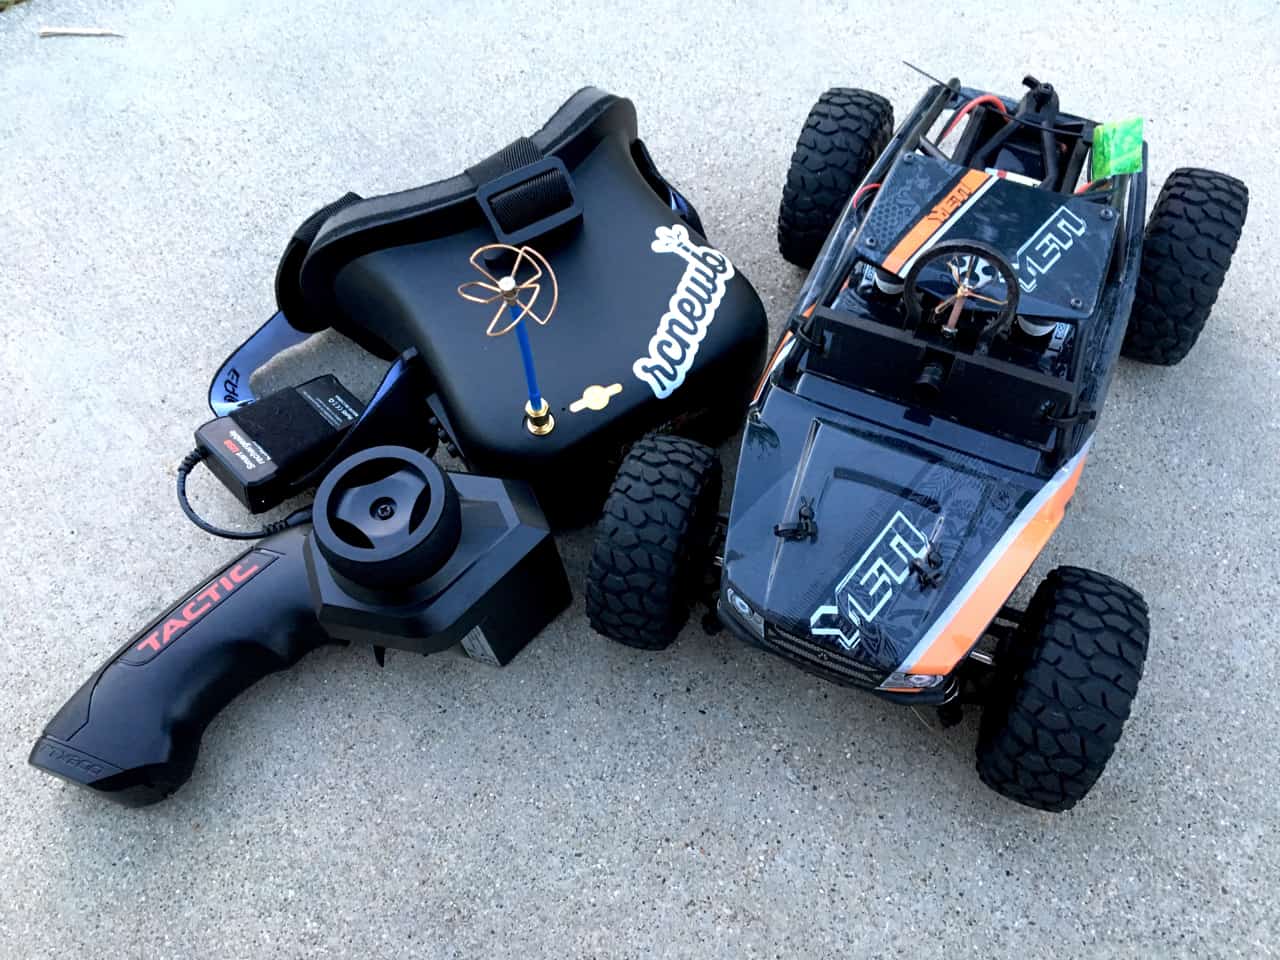
The feed from the camera to my FPV headset was very quick, providing real time visual feedback without any latency. The image quality was decent, though not spectacular. At the time, I chalked that up to the camera and the FPV goggles that I was using (Eachine VR-007 Pro), however, I’ve since paired this camera with a Tactic FPV RM2 monitor and felt the image quality was much higher that what I’d initially experienced.
My camera mounting system didn’t include any shock absorption for the camera. I didn’t feel that this hindered the image quality or feedback which I was receiving. The suspension on the RR10 Bomber and Yeti Jr. Rock Racer provided ample impact resistance, and kept my image clear enough for me to continue driving without having to back off of the throttle.
Is the Eachine EF-01 AIO FPV Camera Right for Me?
If you’re interested in exploring the world of FPV, but don’t want to invest a large sum of money, the combination of this camera and a relatively low-priced FPV headset (such as the Eachine VR-007 Pro) make a solid starter set. The EF-01 is a well-built camera, with a sturdy case and solid feature set.
The image quality is clear and provides a steady stream of real-time visual feedback, allowing you to drive (or fly) a radio-controlled vehicle in an entirely new way. As entry-level FPV cameras go, this is a solid starting point for exploring the world of FPV and R/C.


