
Overland Overhaulin' the Redcat Gen9 Scout 800A (Part 1)
It's time to revisit an old friend. My Redcat Gen9 Scout 800A hasn't seen much action since its initial review shakedown, so I figured it's high time to take that rig out of the garage and give it some TLC.
While the bulk of this transformation started more than a year ago, I'll admit that this trail truck has been dormant for a while, as most of my R/C attention has focused on smaller-scale vehicles (for a variety of reasons). However, I've been binging International Scout restoration and restomod videos lately, which rekindled my interest in updating the Gen9 Scout 800A even further.
What began as a body, wheel, and tire update has been kicked up a notch to an overland-focused overhaul. Making this rig ready to handle the trail, making sure we get to our destination in style (and in one piece).
Tracking the Transformation
As I've stated in my review of the Gen9, this is a solid machine right out of the box. When it arrived in early 2023, I was excited to see how Redcat would improve on its already solid Gen8 platform, and many of the updates that they'd applied to this next-generation trail truck seemed to hit the mark.
During my review of this vehicle (and during a few subsequent runs), the body sustained damage that, despite my best efforts, couldn't be repaired to my liking. This was, ultimately, the catalyst behind the initial transformation. A body-off restoration, if you will, of the Gen9 Scout offered the opportunity to apply some additional scale details, turning this off-road rig into a true trail cruiser.
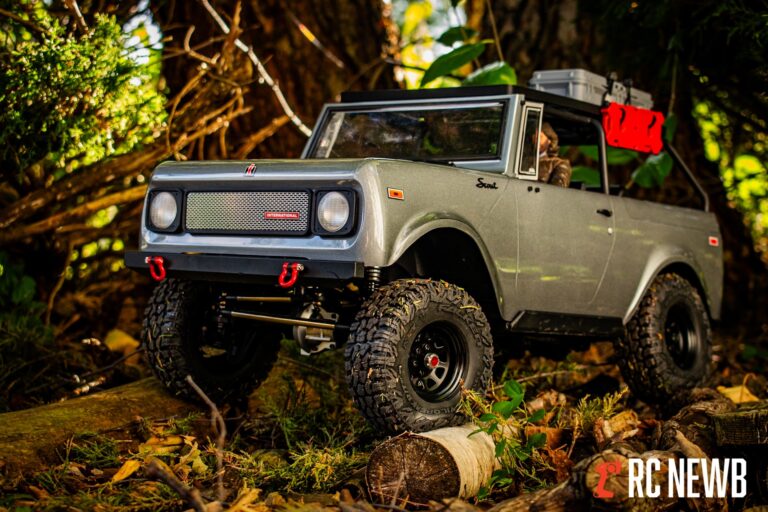
The original blue body on my review rig was nice, but something about the other color option, a metallic silver, was hard to ignore. I ordered a replacement body from Redcat, which would serve as the canvas for my customized creation. From there, I started looking at wheel and tire combinations that would fit this rig's new look.
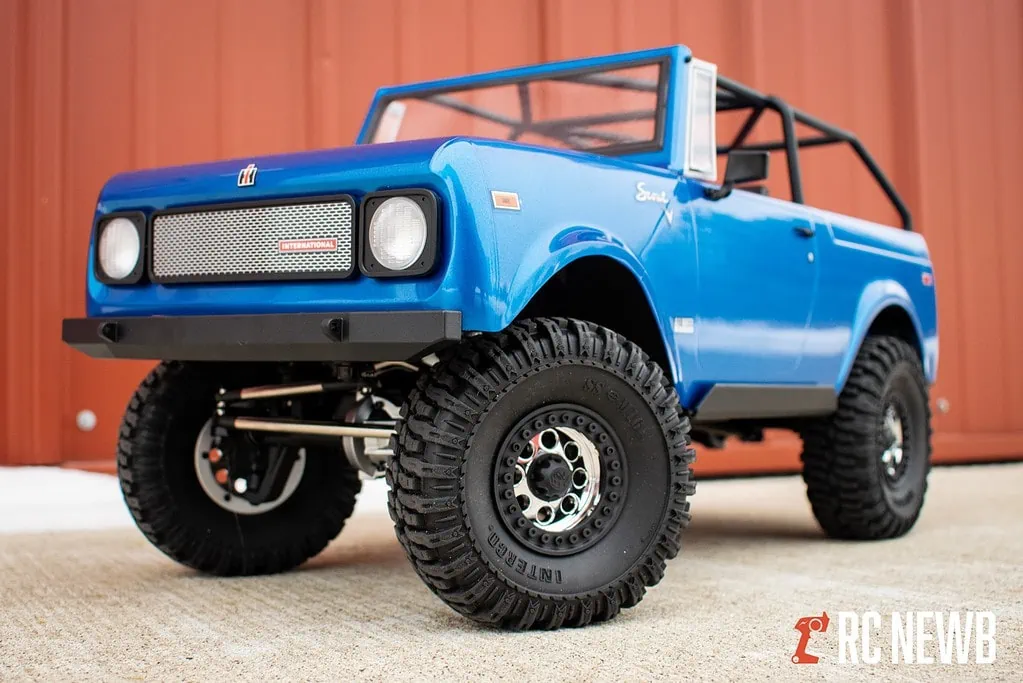
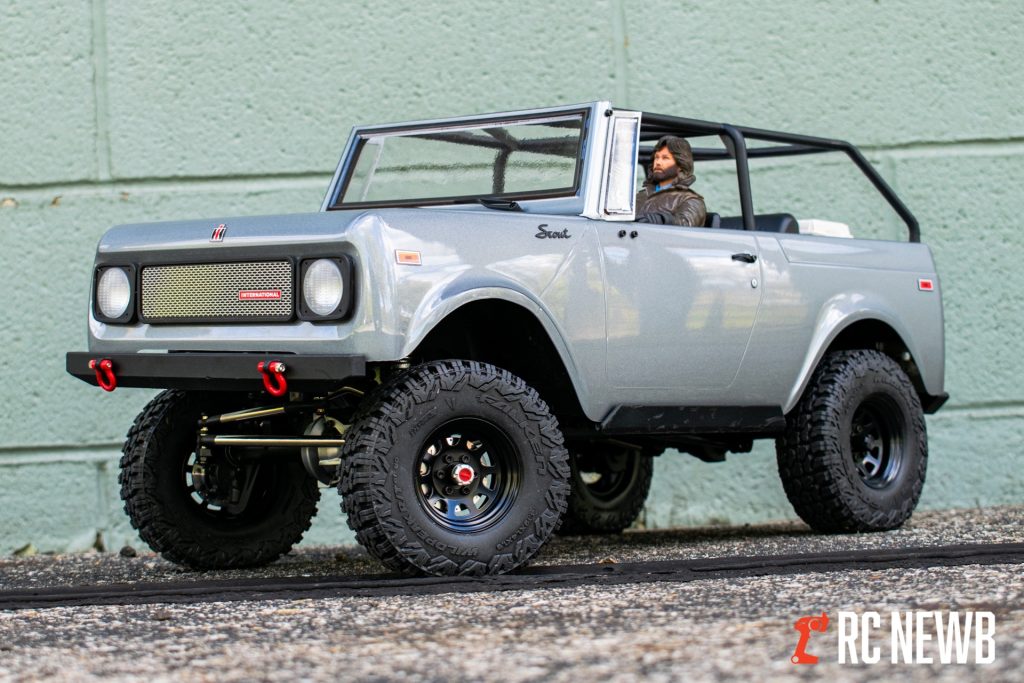
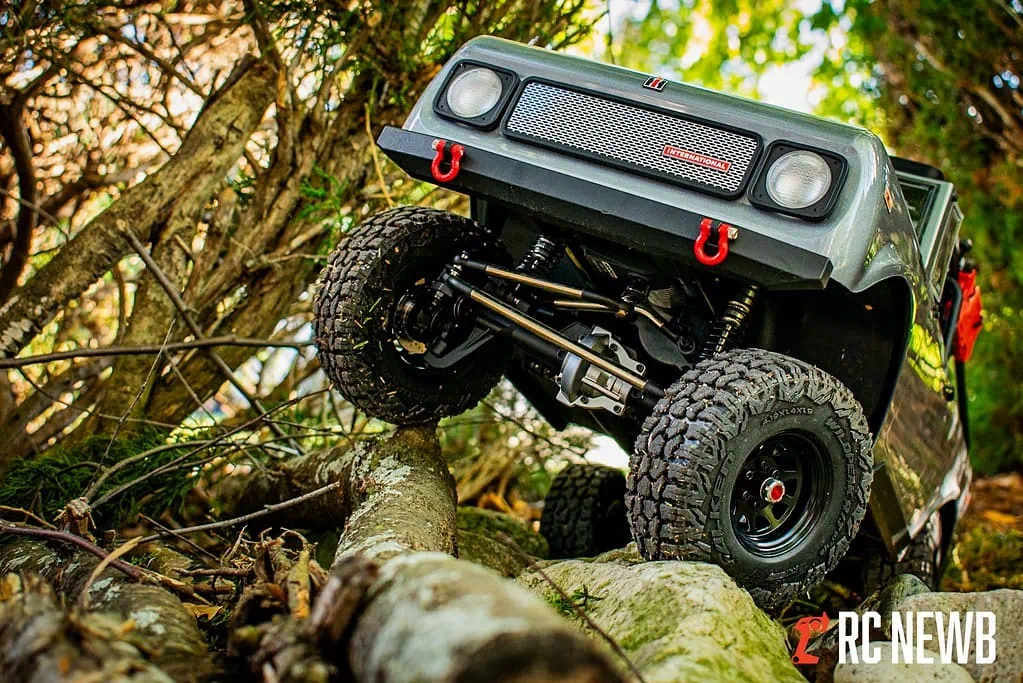
I feel you can never go wrong with a set of classic stamped-steel wheels, so I chose a set of SSD RC Stock Steel Beadlock Wheels for this overhaul and wrapped them in Vanquish Products Falken Wildpeak R/T Class 1 Tires.
A few other scale items were purchased to round out the detail of the wheels, but that was it for store-bought items. I relied on 3D printing to help me tackle the other scale accessories, along with custom vinyl decals to help drive home the fine details that I wanted to add to this build.
I jumped into Shapr3D to create a set of custom floor mats for the front and rear of the interior, and also designed an admittedly crude center console area to enhance the interior details further. A few gas cans and some scale containers, and we were set.
And then it sat. This rig sat on the shelf, parked for well over a year, before I decided to dive back into it and push its transformation even further. Several factors shelved this rig for longer than I would have liked, but my refreshed interest in 3D printing, which was fueled by a new printer) helped bring it back to life.
Toward the end of 2024, I decided to upgrade my 3D printing game with the purchase of a Bambu Lab P1S. And since I powered that machine on for the first time, I've been cranking out items, scale, functional, and otherwise. The print quality and reliability offered by the P1S gave me the confidence to refresh some earlier prints that didn't turn out as intended and also try printing some items that I hadn't had success with in the past.
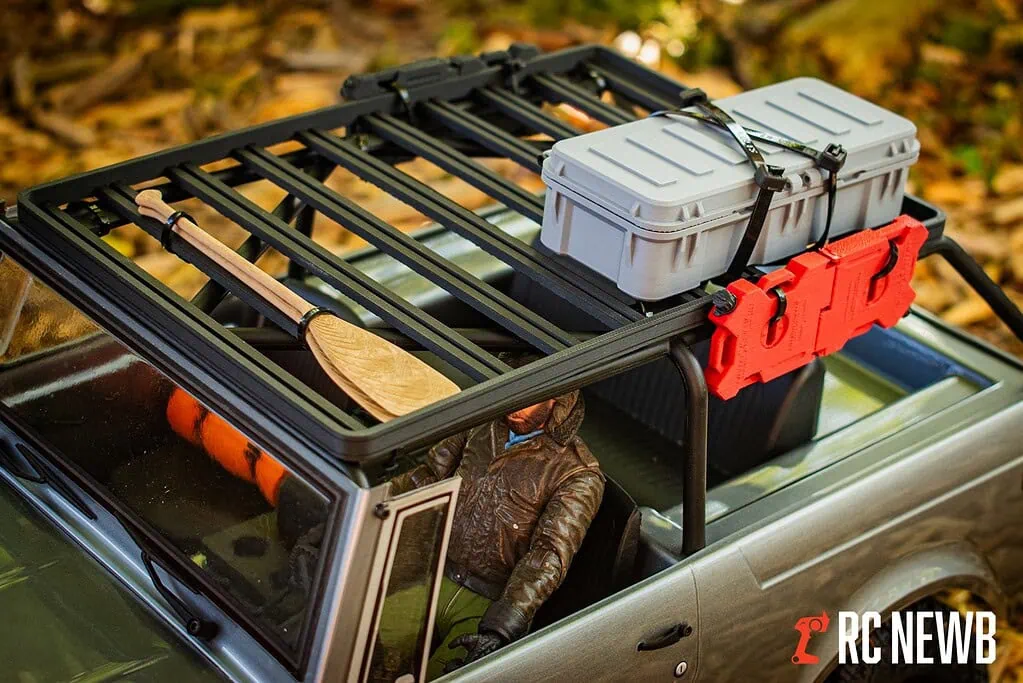
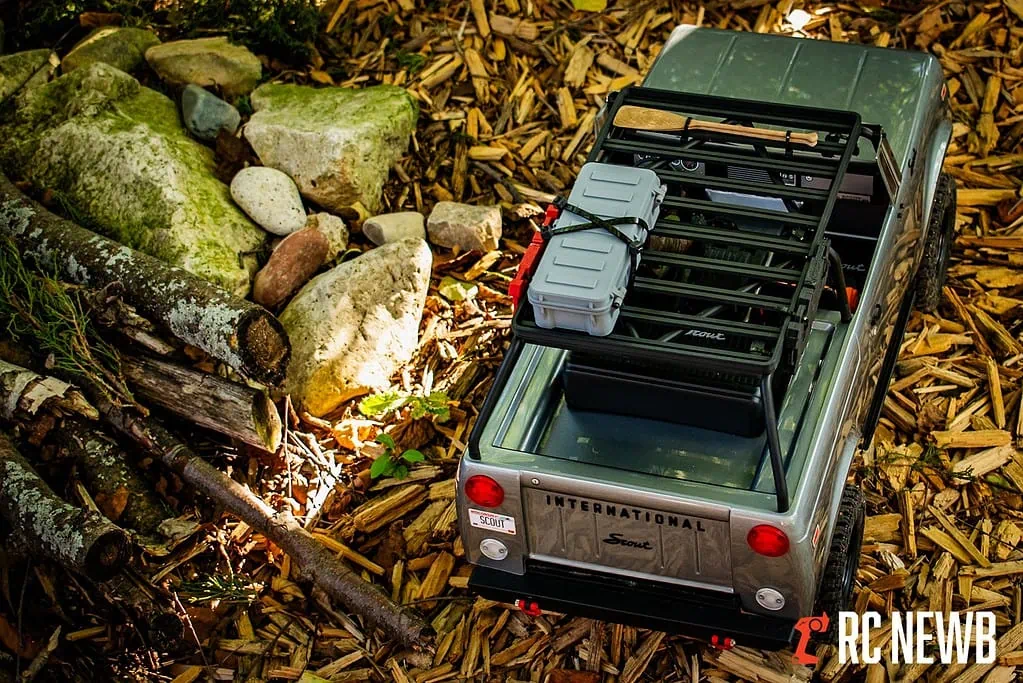
My floor mats were refreshed thanks to the multi-color printing capability of the P1S and Bambu Lab's AMS, and I updated the scale items that I had initially selected for this rig. In addition to these, I printed a true roof rack from Knight Customs to serve as the foundation for my rooftop overland gear.
Focusing on the appearance of this rig was the initial goal, but I also made a change under the hood, swapping out the stock 550 brushed motor for a "classic" HobbyWing Fusion 1800KV 2-in-1 Brushless Motor/ESC. I may move to a higher-KV motor in the future, but for now, this system does the trick and works very well with the Gen9's two-speed transmission.
Overhaul Upgrade List (Part One):
- Redcat Gen9 Scout 800A Body (Silver)
- SSD RC Stock 1.9" Steel Beadlock Wheels
- SSD RC Wheel Hubs with Brake Rotor
- SSD RC Scale Locking Hubs
- SSD RD Scale Rear Hubs
- 1/10 RC Tow Shackles
- Vanquish Products Falken Wildpeak R/T 1.9" Class 1 Tires
- Knight Customs Front Runner Slimline II Roof Rack 3D Printable File
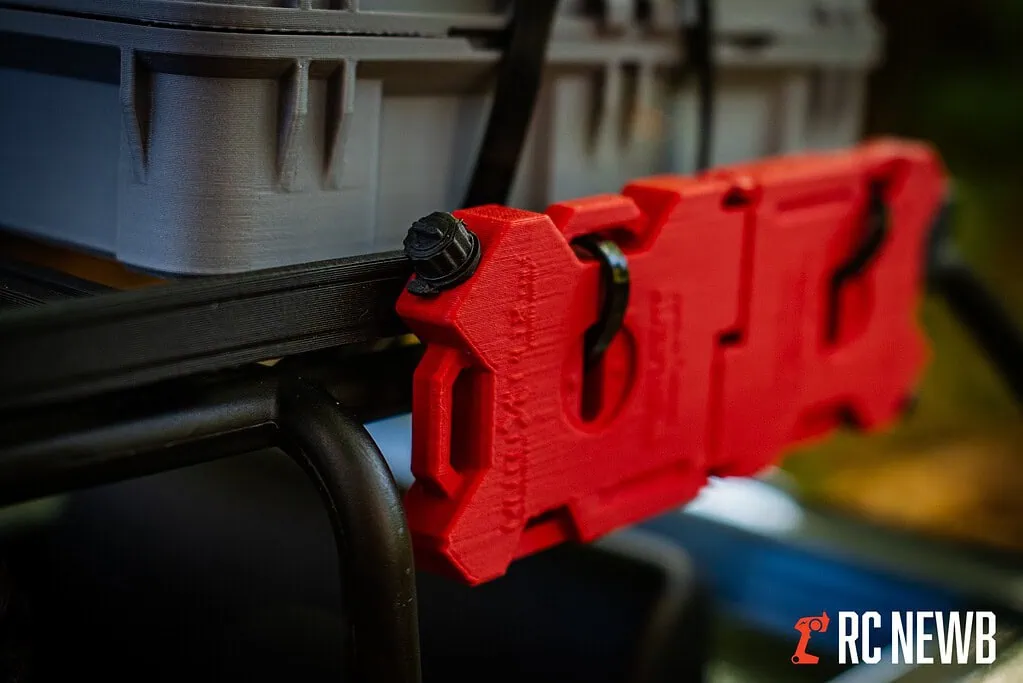
- Knight Customs RotopaX 2 Gallon Fuel Packs 3D Printable File
- 3D Printable 1/10 Rugged Storage Box
- 3D Printable 1/10 Canoe Paddles
- HobbyWing Fusion 1800KV Brushless Motor/ESC
- Custom "Scout" 3D Printed Floor Mats
- Custom 3D Printed Center Console
- Custom Foam Camp Roll
- Custom Vinyl Decals


What's Next?
This Gen9 Scout 800A certainly looks different now than when it started, but the overall project isn't done. You may have noticed canoe paddles in some of the roof rack photos but inexplicably, there's no canoe. That is one of the final scale items to be added, along with a rear luggage mat that will be designed to match the floor mats. There are also a few final scale items that will be added to the interior before I button everything up from an appearance standpoint.
Performance-wise, I don't see myself making any major changes away from the current HobbyWing Fusion-powered setup. The stock Torque Spec servo from Redcat is still performing wonderfully, so I see no reason to change that. The servo for the two-speed transmission, however, does need to be replaced as I fried the original one a while back. Along with the new shifter servo, switching up the radio system to support my RadioMaster MT12.
Learning that transmitter's ins and outs is an entire project into-of-itself, but I'm up for the challenge and I ultimately enjoy the hand feel and overall functionality of that radio more than the Gen9's RTR radio.
Once those final touches done, I think I can call this project "finished". Although, if you've spent any time in this hobby, you'll know that no build is ever truly done.


