
Hands-on with the Traxxas TRX-4 Sport LED Light Kit
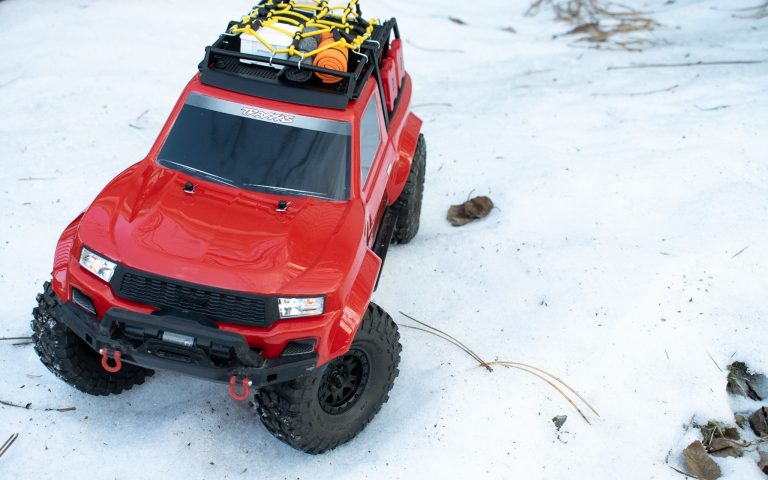
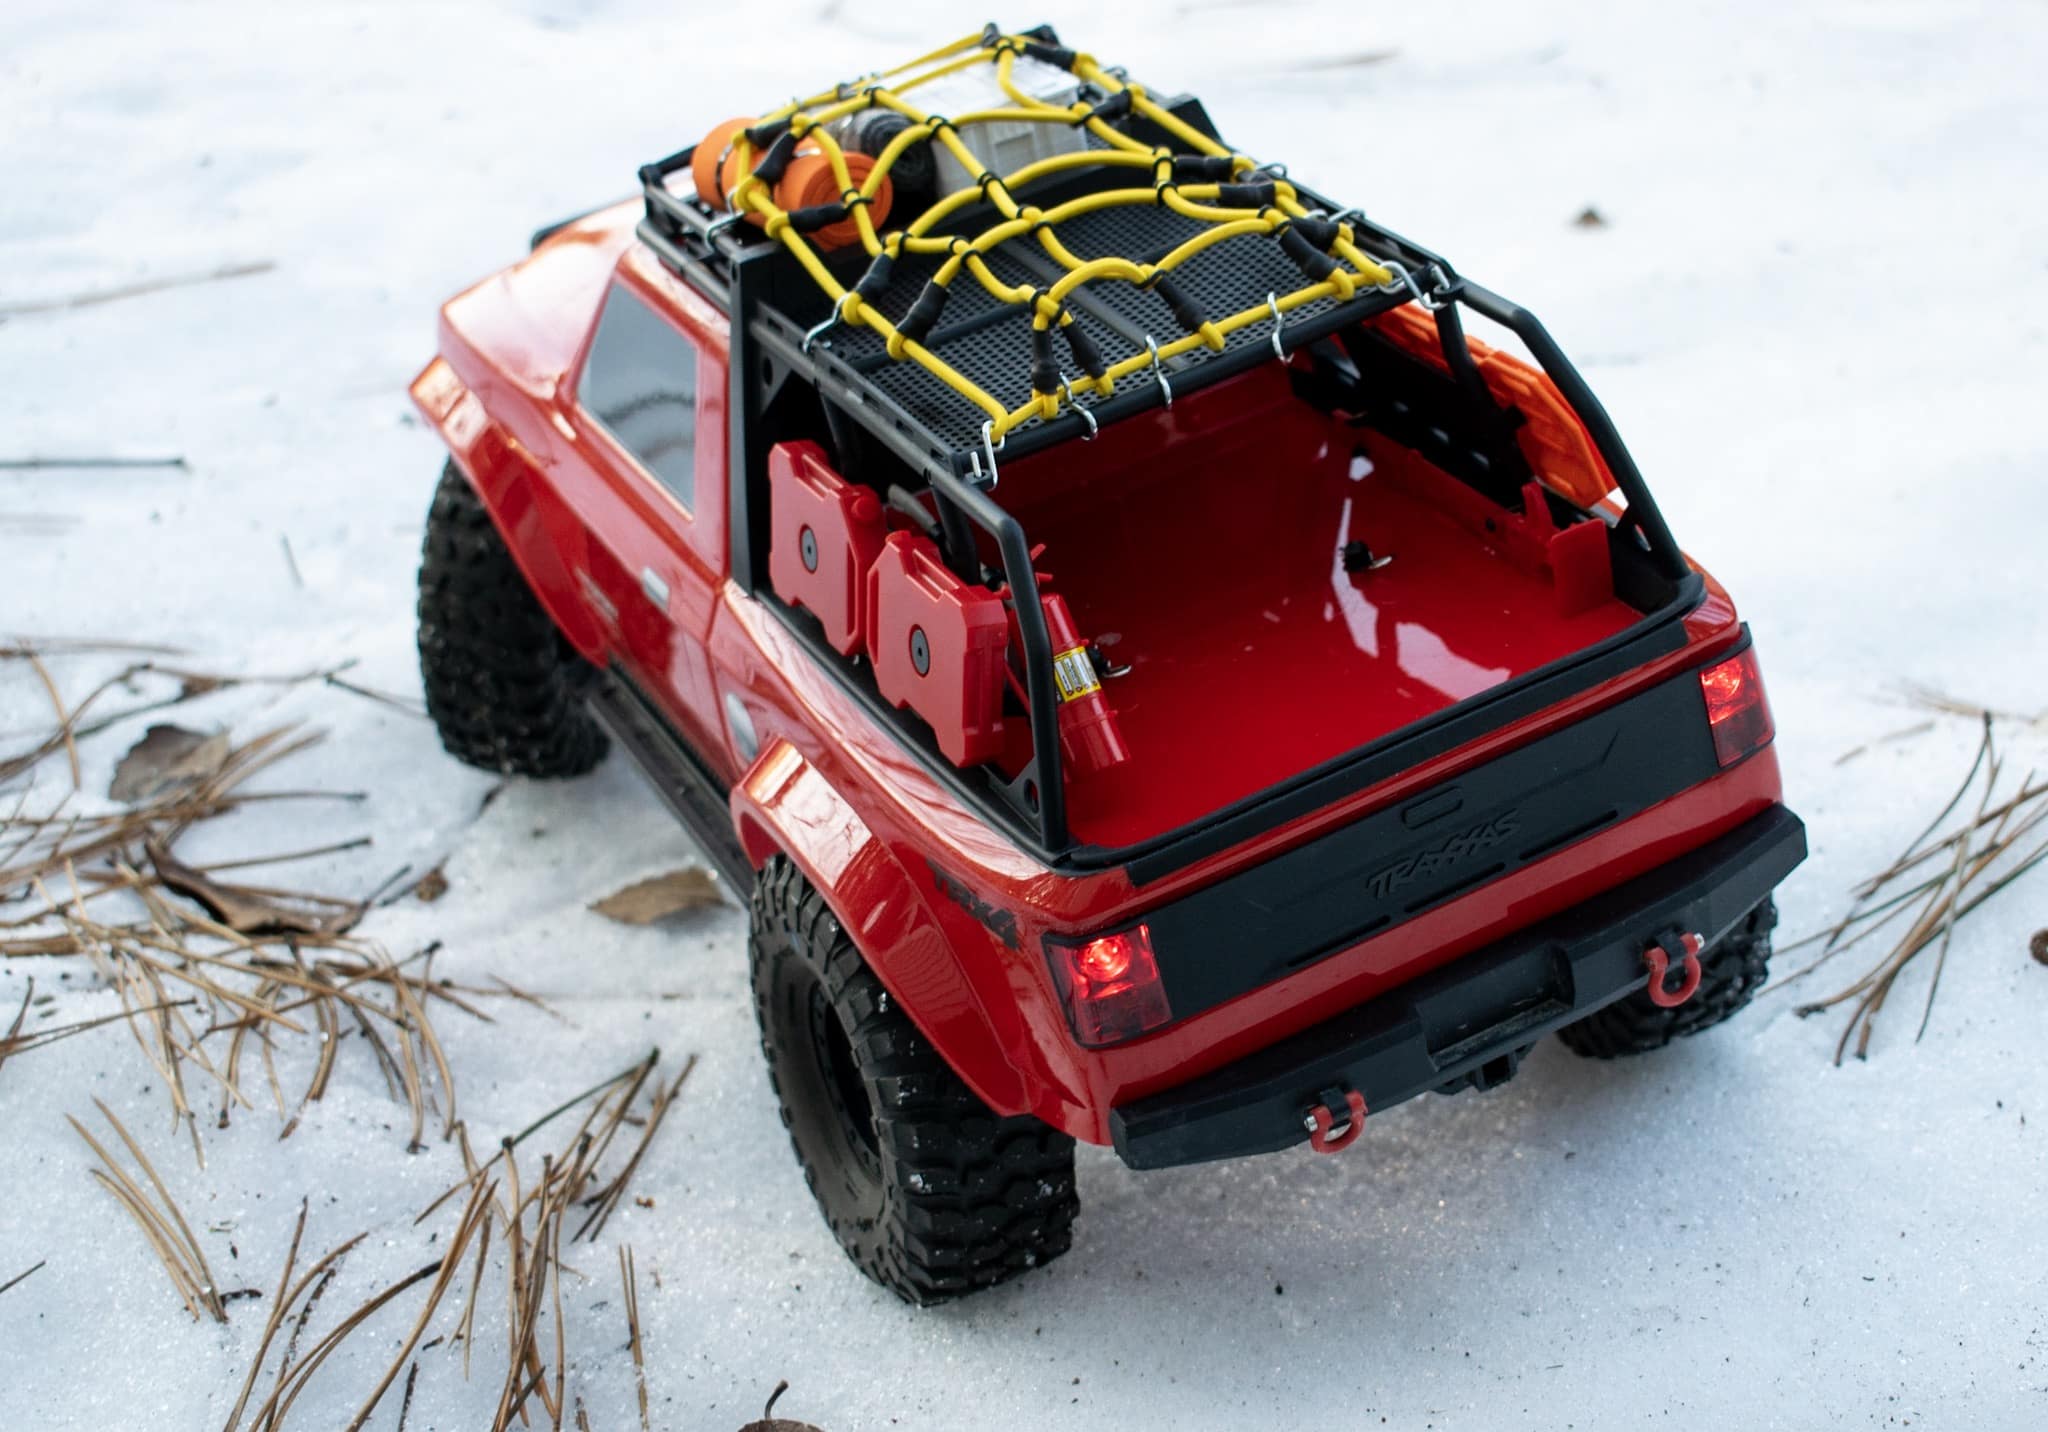
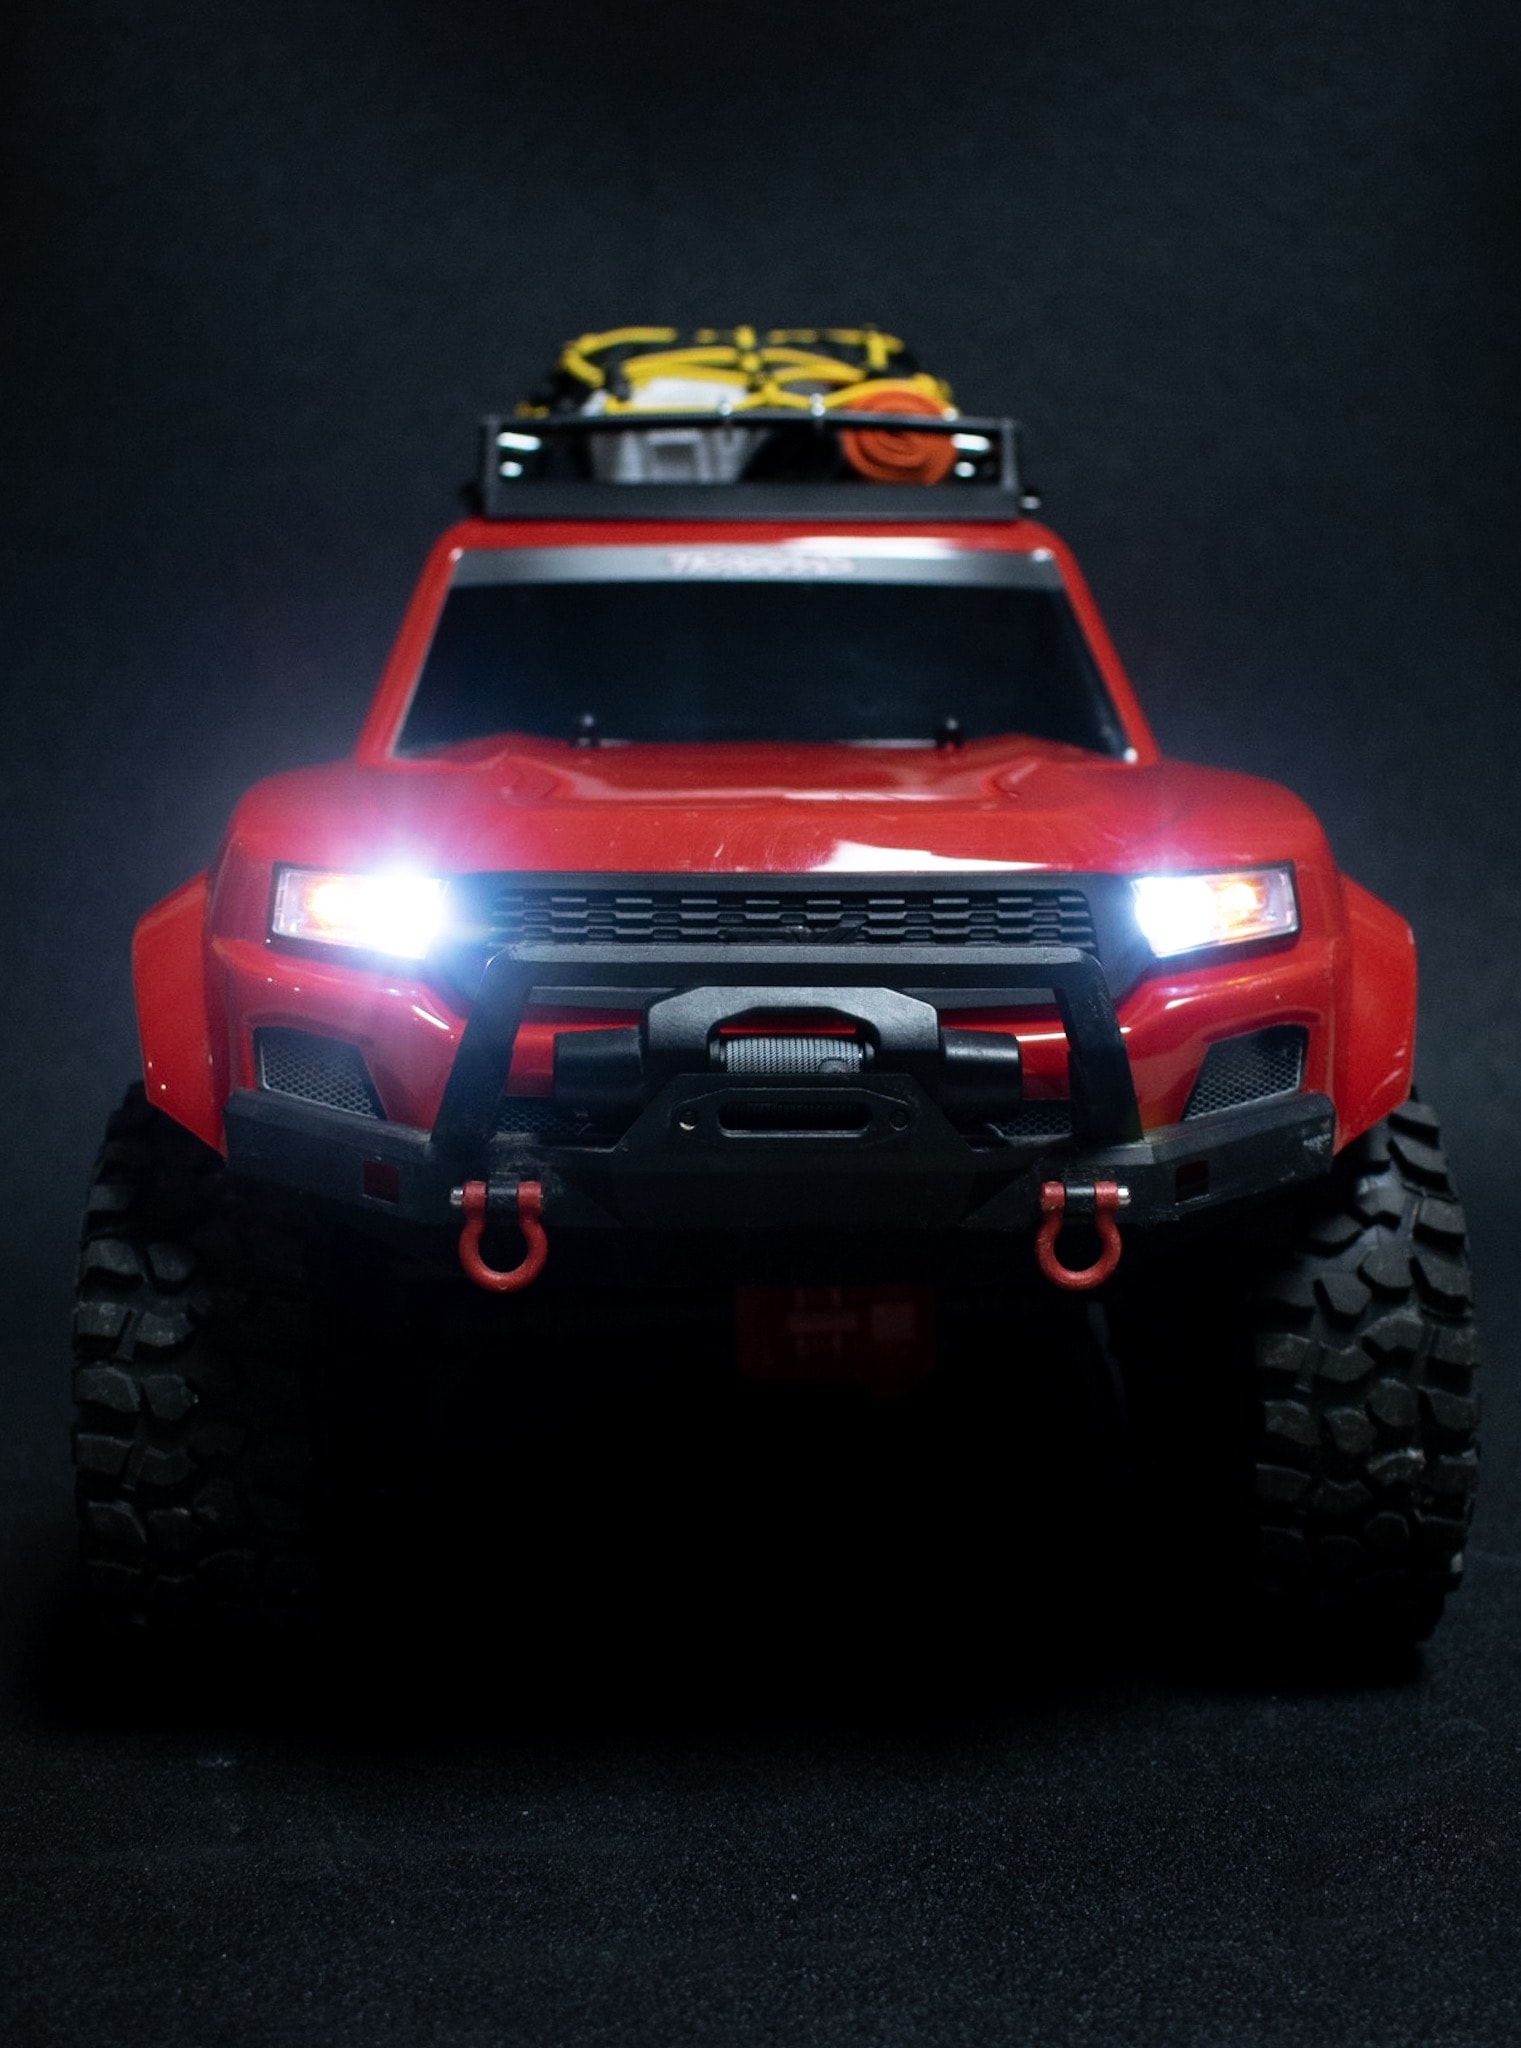
Traxxas has released quite a few add-ons for their TRX-4 Sport trail rig. While I haven’t outfitted my rig with everything that’s been released, I couldn't resist the allure of the Expedition Rack (#8120X) and LED Headlight and Taillight Kit (#8085). While the rear rack transformed the TRX-4 Sport from a standard pickup truck to an adventure-ready trail machine, the headlight and taillight kit easily allows for nighttime driving and enhanced scale appearance.
What you’ll need to complete the installation:
- 1 Traxxas TRX-4 Sport LED Light Kit - $65.00
- 1 1.5mm hex-head driver/Allen wrench
- 1 2.0mm hex-head driver/Allen wrench
- 1 Exacto/hobby knife
- 1 Body reamer
- 1 Pair of straight R/C body scissors
- 1 Pair of curved R/C body scissors
- 1 Dremel/powered rotary tool

Upgrade Benefits
Part of the appeal to the TRX-4 Sport is the “bare bones” approach that it provides. While it does offer a number of unique features when compared to other 1/10-scale radio-controlled rock crawlers, it leaves creature comforts such as a two-speed transmission, remote locking diffs, cruise control, and others to its TRX-4 brethren.
With fewer premium features, the Sport is able to have a lower cost of entry, allowing you to throw a few more dollars at it for upgrades. Adding lights to this rig not only provides a functional benefit, but the addition of a molded front grille and rear tailgate escalate the level of visual detail and interest for this truck.
Installing the Traxxas TRX-4 Sport LED Light Kit
This installation project can be broken into two parts: chassis and body. The chassis installation centers around the main LED control box and receiver, while the bodywork will focus on creating space for the headlights and taillights to mount. The chassis was the first area that I attacked in my install, and was quite easy to complete. Removing a select number of screws and chassis items provides easy access for running wires and plugging the LED control box into the receiver and power supply. With that out of the way, it’s time to turn your attention to the body.
If one thing has been made clear to me during this installation project, it’s the fact that Traxxas produces some thick and durable R/C bodies. Removing material for the headlight and taillight assemblies can be achieved through a variety of ways. If you have a Dremel or similar powered rotary tool, you can zip through this part of the project quickly. If you’d prefer the hand-crafted approach, you can achieve the same results with a hobby knife.

Before you start cutting, locate the two masking tape templates and affix them to the front and rear of the Sport body. These guides go a long way in helping you position and accurately remove the correct amount of material.
Performing a series of scoring cuts along the cutout lines helps to remove material later in the process. I used a combination of hobby knife scores, a body reamer hole, and body scissors to remove material from my body. Depending on your body-modding experience, this could be a simple process, but it’s one that I didn’t want to rush through.
After reaming a medium-sized hole in the headlight material, I used the curved body scissors to remove most of the material. With the large bits of material removed, the hobby knife was used to trim the light bucket openings until the headlight and taillight assemblies fit snugly. As the old saying goes, “measure twice, cut once”. Don’t be afraid to leave extra material in place after your initial cut. You can always trim away more to improve the fit. Replacing material, however, is an entirely different story.
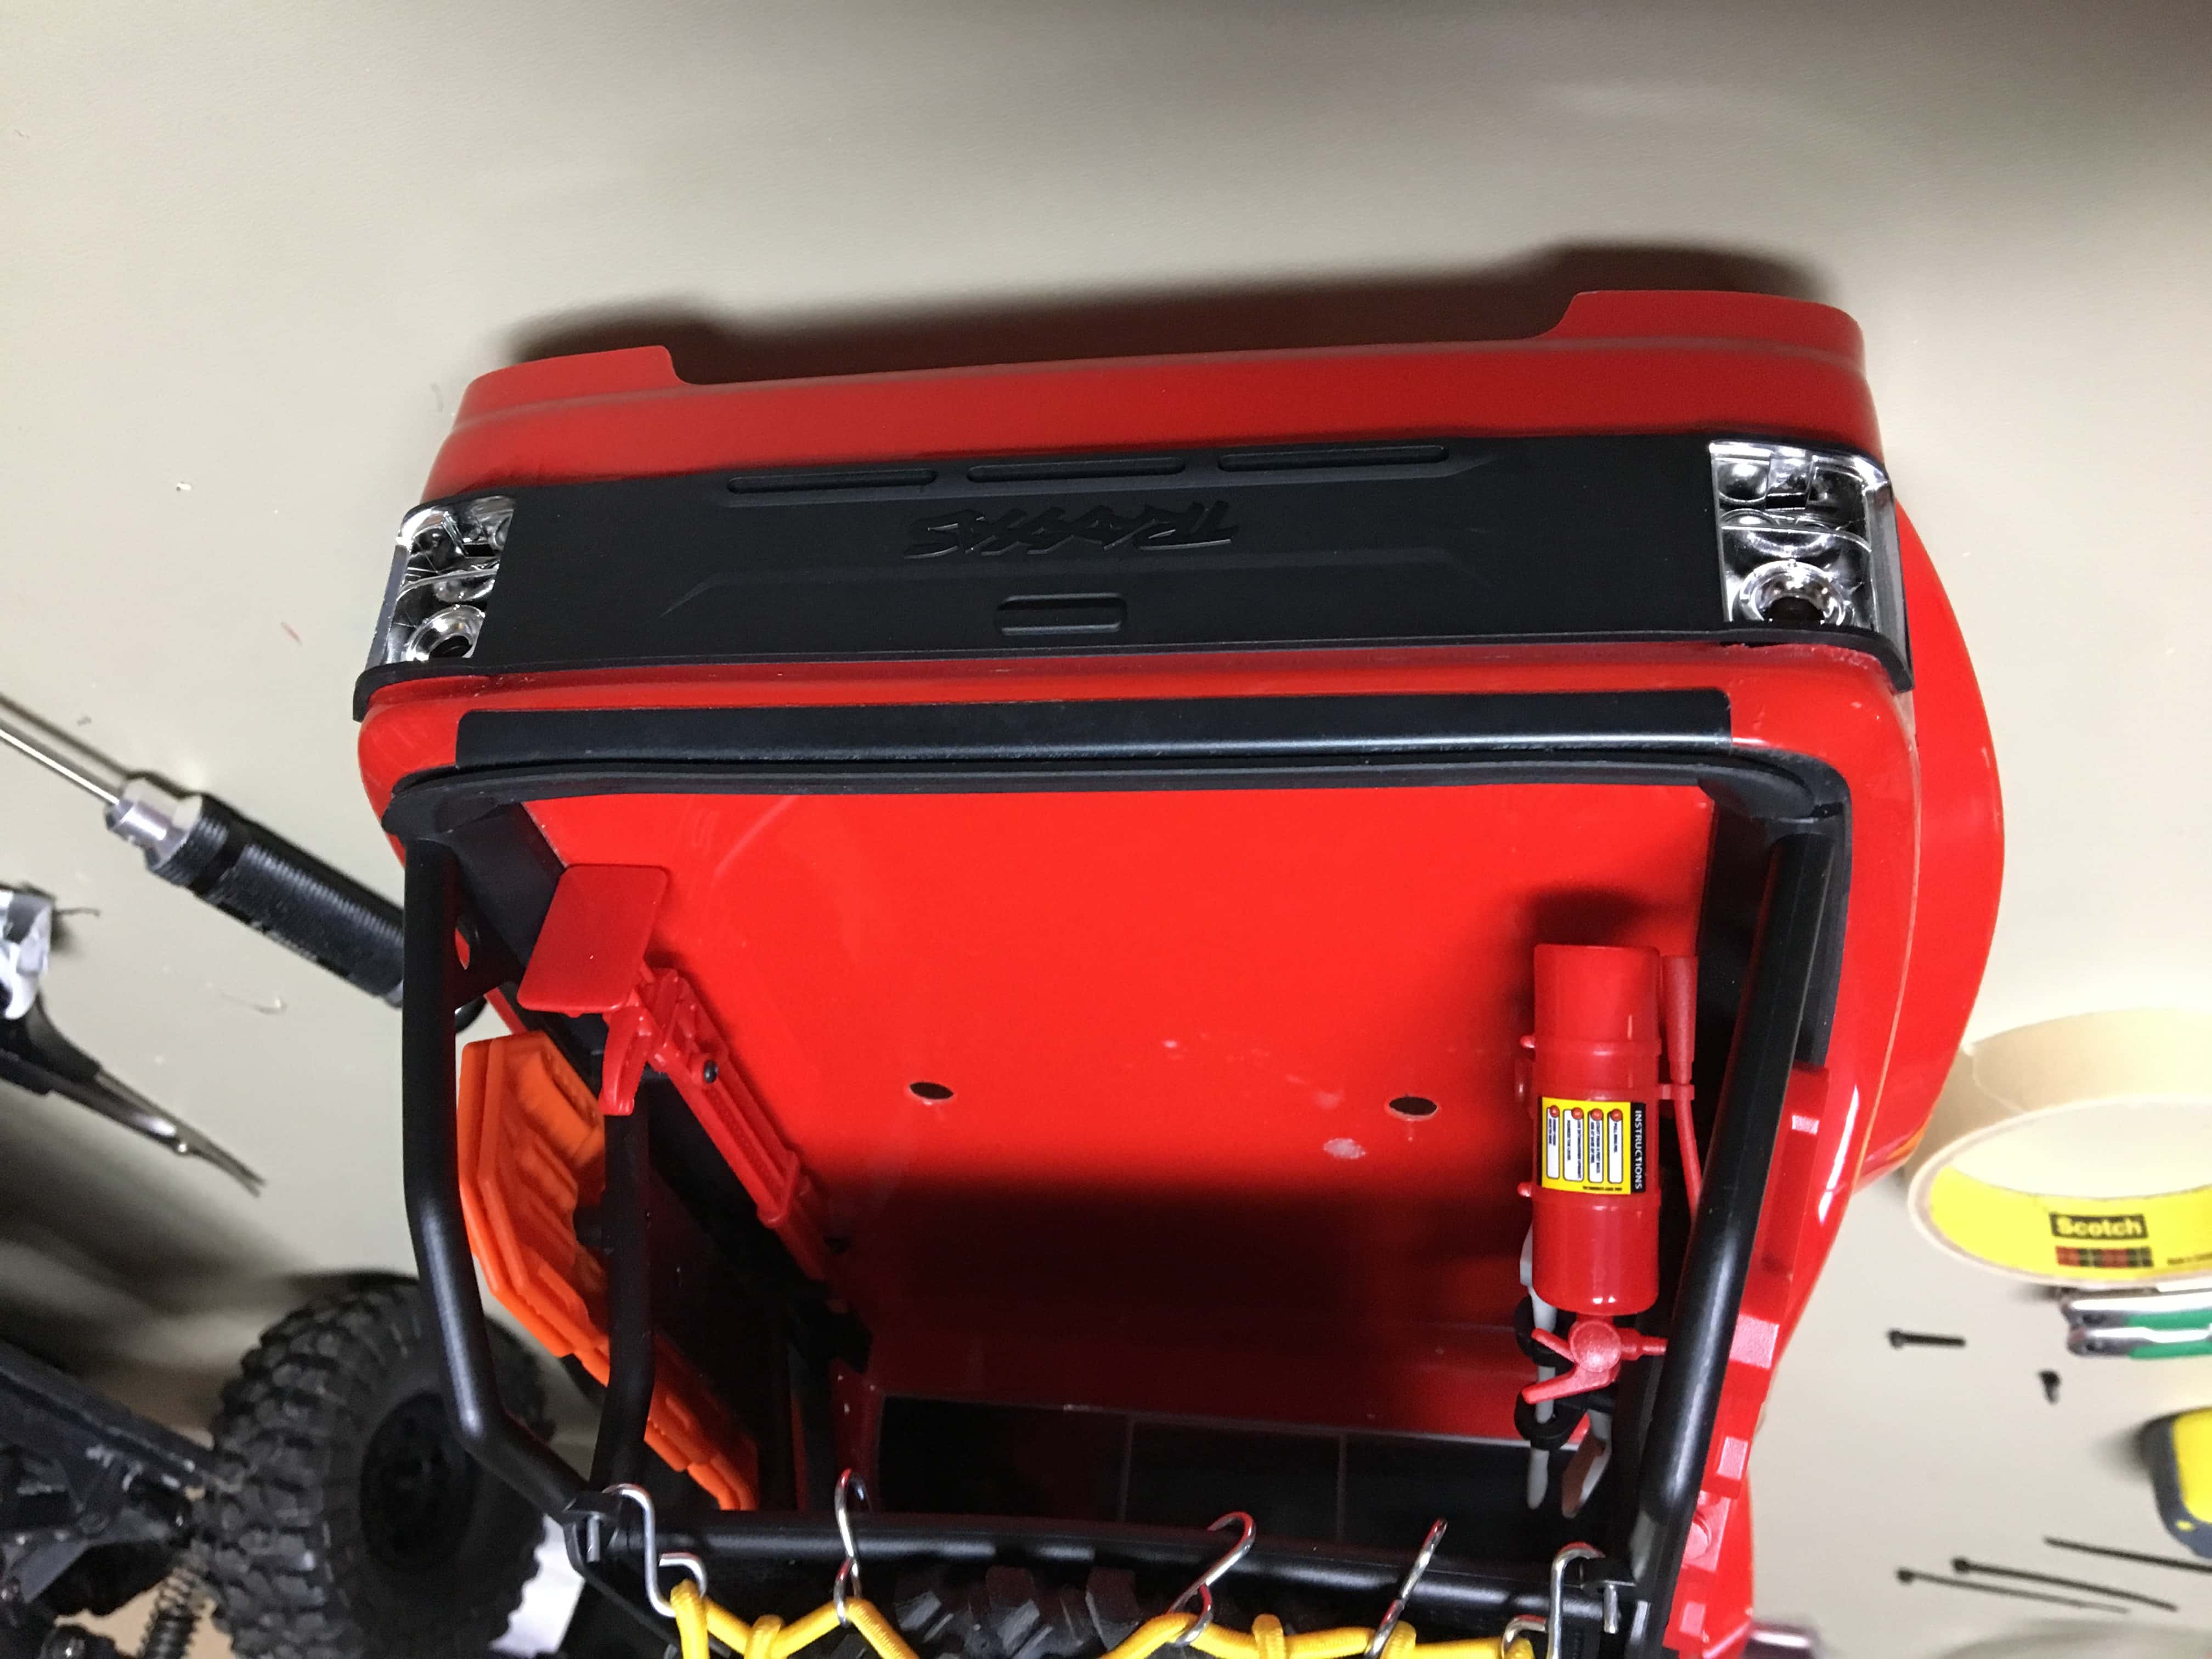
With the main headlight and taillight trim in position, flip the body over and attach the interior supports and bracing material. While these bits look small, they do an incredible job of holding the external pieces in place. Once those are secured, the only remaining tasks are the insertion of the LED bulbs and rear control module/hub.
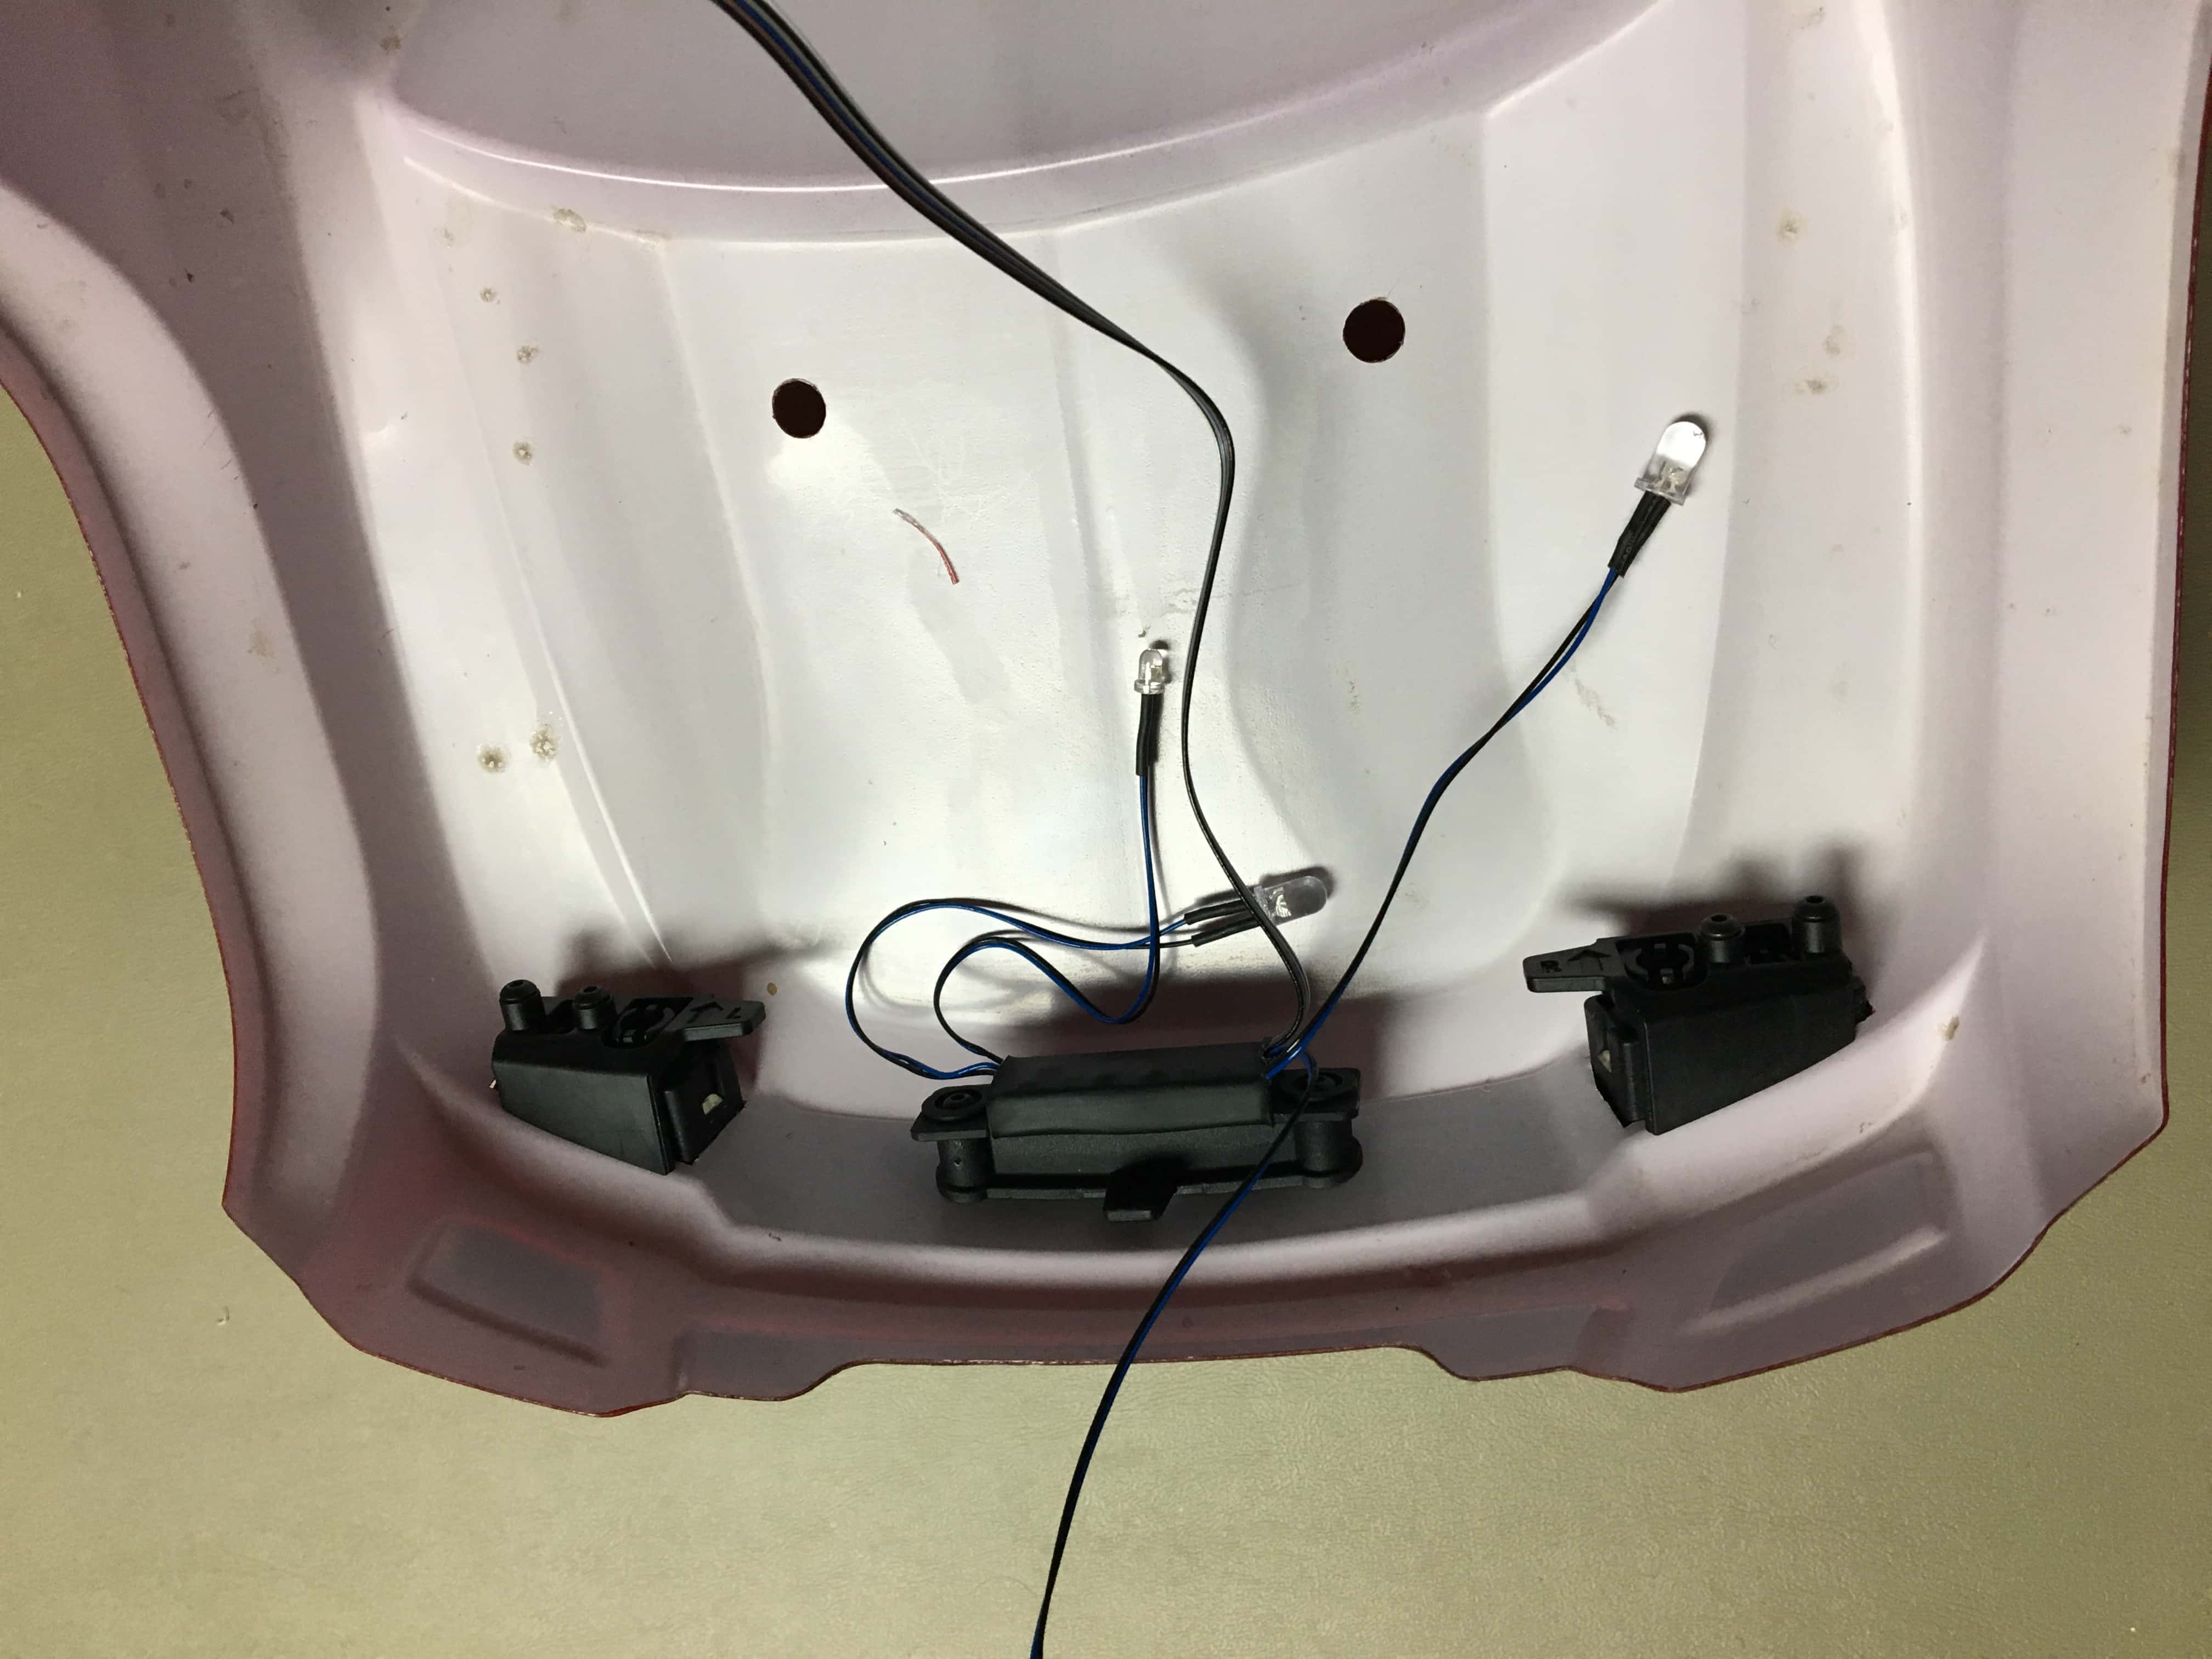
In order to securely install the LEDs, you’ll need to supply a good deal of pressure to each bulb until you hear it click into place. I’ve found that using the tip of my hex driver provides a nice assist in completing this part of the job. Just be mindful of where you’re pressing and how close you are to the LED wires.
Once your bulbs are installed, fasten the rear controller “hub” into its provided nook and run your lighting wires as you see fit. I followed the details provided on the installation guide, however, you might have another wiring plan in mind for your rig.
With that completed, you’re ready to hit the trail. Well, almost. Don’t forget to hook up your lights and give them a test before you take to the great outdoors.
Where to Buy the Traxxas TRX-4 Sport LED Light Kit
As I’ve modified the TRX-4 Sport body, the appearance of this rig has become more appealing to me. If your next upgrade goal is to install the LED light kit, here are a few places you can find it:


