
Review: FliteTest Mini Sportster "Maker Foam" R/C Airplane Kit
How often does your "hobby life" collide with your everyday life? Depending on the level of addiction you have to the world of R/C, that frequency might vary. For me, there are a few instances where my hobby knowledge provides some day-to-day benefit, but not as much as I'd like.
Thankfully, my kids are involved in Cub Scouts and Boy Scouts/Scouts BSA, which offers plenty of opportunities to apply outside-the-box knowledge. While working on their Aviation merit badge, one of their requirements called for the building and flying a model airplane. Although R/C flight is one of my least-familiar areas of the hobby, I was happy to assist them with this project. While I've learned a thing or two during my time in the hobby, I'm far from an expert in all aspects of R/C, so I'm always happy to jump at new experiences.
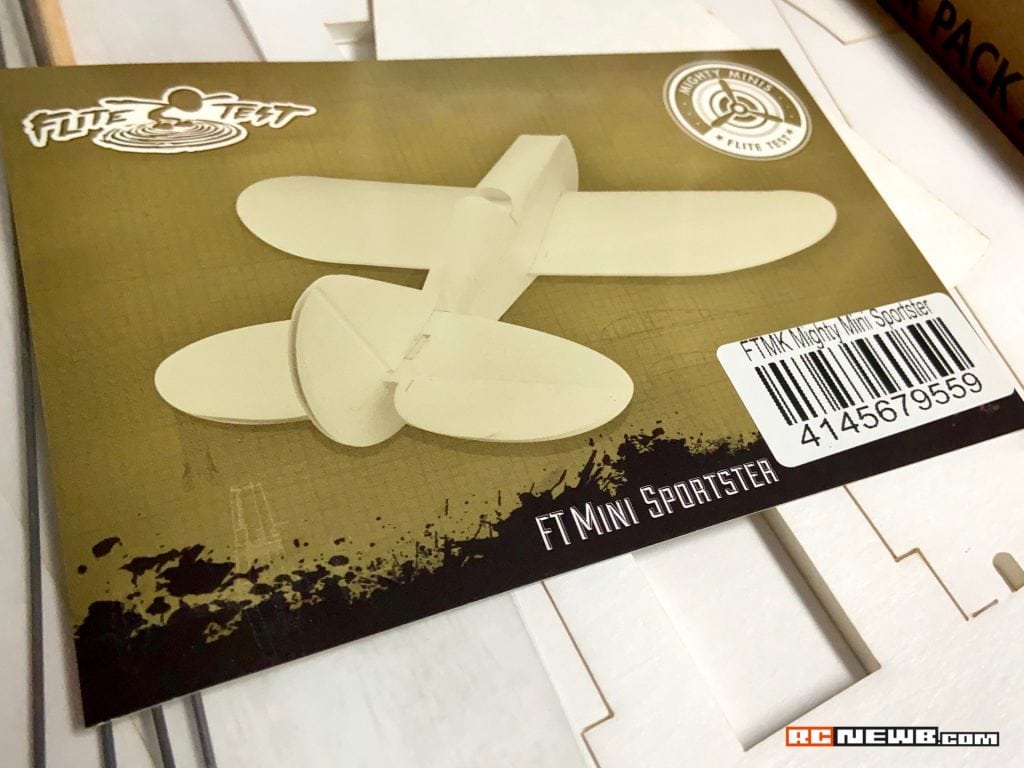
It's important to state that there are quite a few options when choosing a radio-controlled airplane kit. The cliche "enough to make your head spin" comes to mind when I think back at our selection process. With an eye toward budget builder-friendliness, we selected the FliteTest Mini Sportster "Maker Foam" kit.
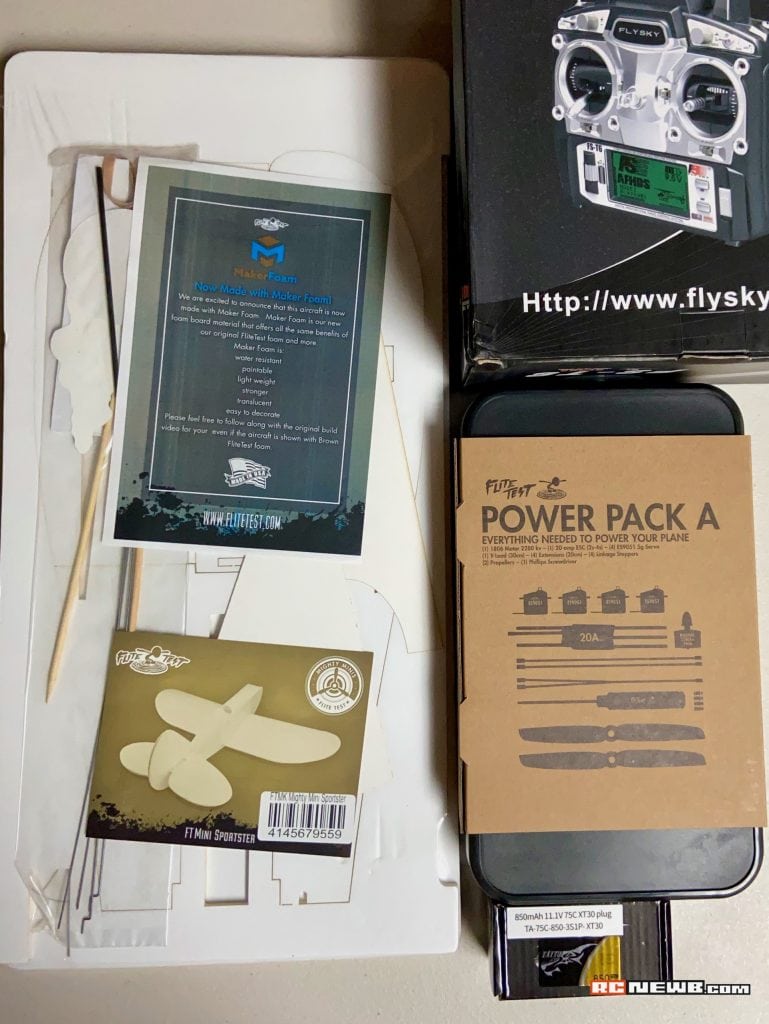
FliteTest Mini Sportster (Maker Foam) Parts List:
- FliteTest Mini Sportster (Maker Foam) Kit - $19.99
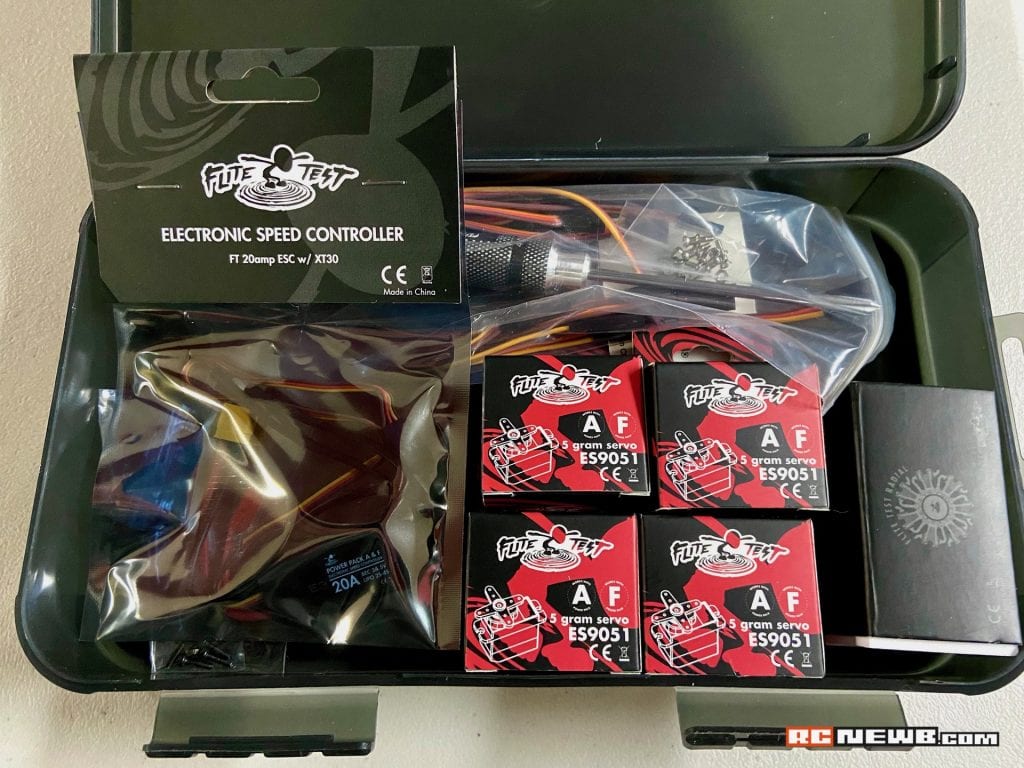
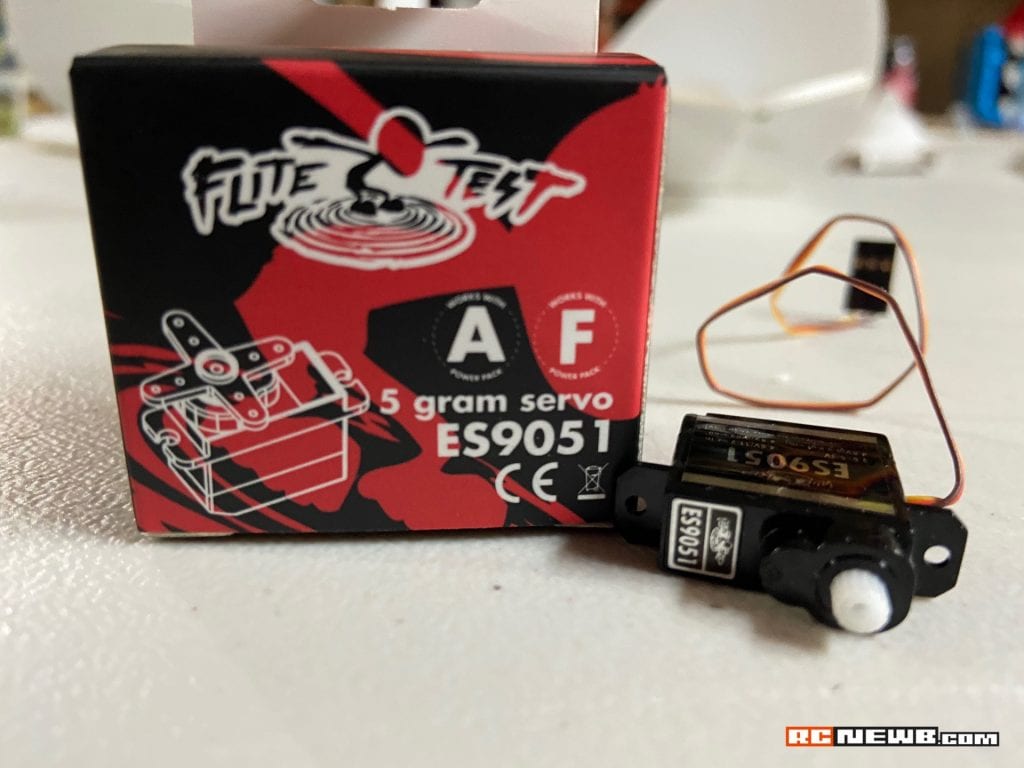
- FliteTest Power Pack "A" Radial Edition - $79.99
- Flysky FS-T6 Radio Transmitter/Reciever Combo - $48.99 (Amazon.com)
- Tatu 3S LiPo Battery - $13.49
What Tools Are Needed to Build the FliteTest Mini Sportster?
- A hot glue gun and hot glue sticks
- A hobby knife or utility knife
- Paint (optional)
- Patience
Gathering Supplies
As the name implies, the Mini Sportster is a smaller variant of FliteTest's Sportster Speed Build airplane kit. Since this was my first time assisting with an aircraft model assembly, I didn't want to go large right out of the gate. Another appealing aspect of the Mini Sportster was the price. At $19.99, this kit was cost-effective enough to take "rookie mistakes" into consideration. Of course, the cost of the kit is only one part of the price equation. As with any other R/C kit option, there were additional component costs to consider.
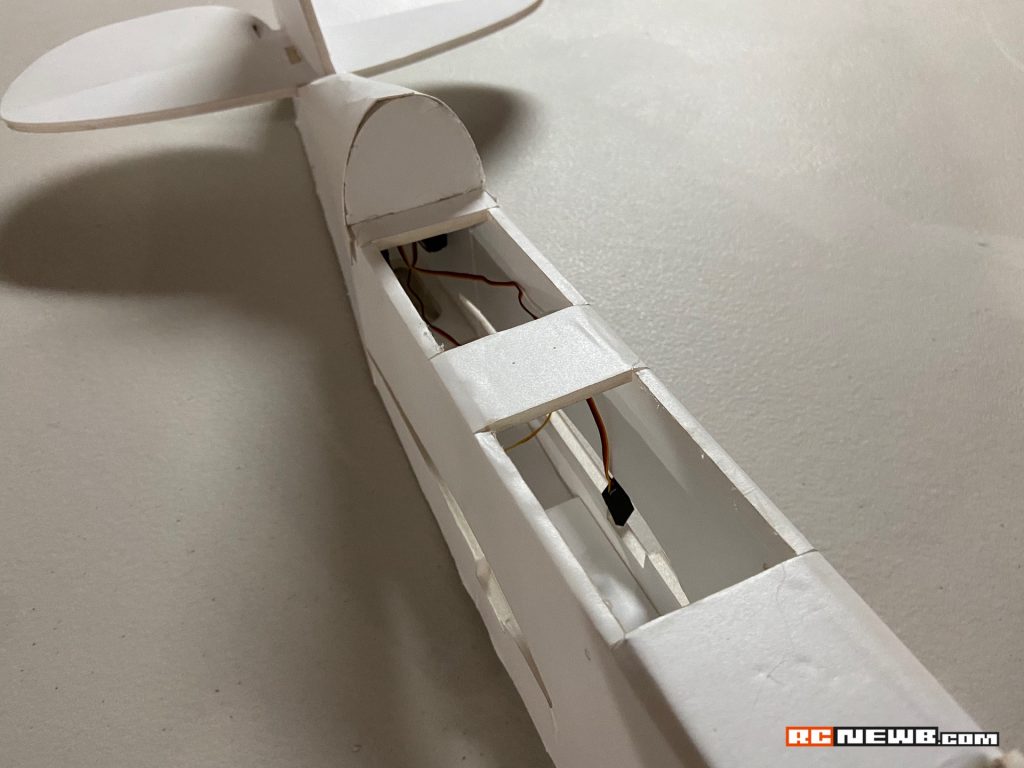
Beyond the airplane kit itself, we needed to round up a motor, servos, ESC, and radio system. Typically, I've got all of these items laying around in one form or another; however, my wheelhouse is surface R/C and not aircraft, which meant it was time to buy some more gear.
To satisfy our radio system needs, I purchased a Flysky FS-T6 6-channel transmitter plus a compatible receiver ($48.99 - Amazon.com), and battery power for our plane came in the form of a Tatu 3S LiPo ($13.49). The final components of the aircraft were purchased through one of FliteTest's Power Pack combos ($79.99). These Power Packs were a great time-saver when hunting down some of the smaller items needed to complete our build.
Two Power Pack variations are suggested for the Mini Sportster, and I chose the less-powerful of the two. Given the experience level of all involved, I thought that would be our best bet; however, it proved to be the wrong choice once we hit the airstrip. More on that later.
Building a FliteTest Mini Sportster R/C Aircraft Kit
The time needed to build this aircraft will vary by skill level. Since this was my kid's merit badge requirement, I did more observing than actual hands-on work, but I asked to assist with some areas of the plane's construction. That said, FliteTest has assembled this kit in an easy-to-understand fashion, and they supplied a great build walk-through video that we relied on throughout our assembly process.
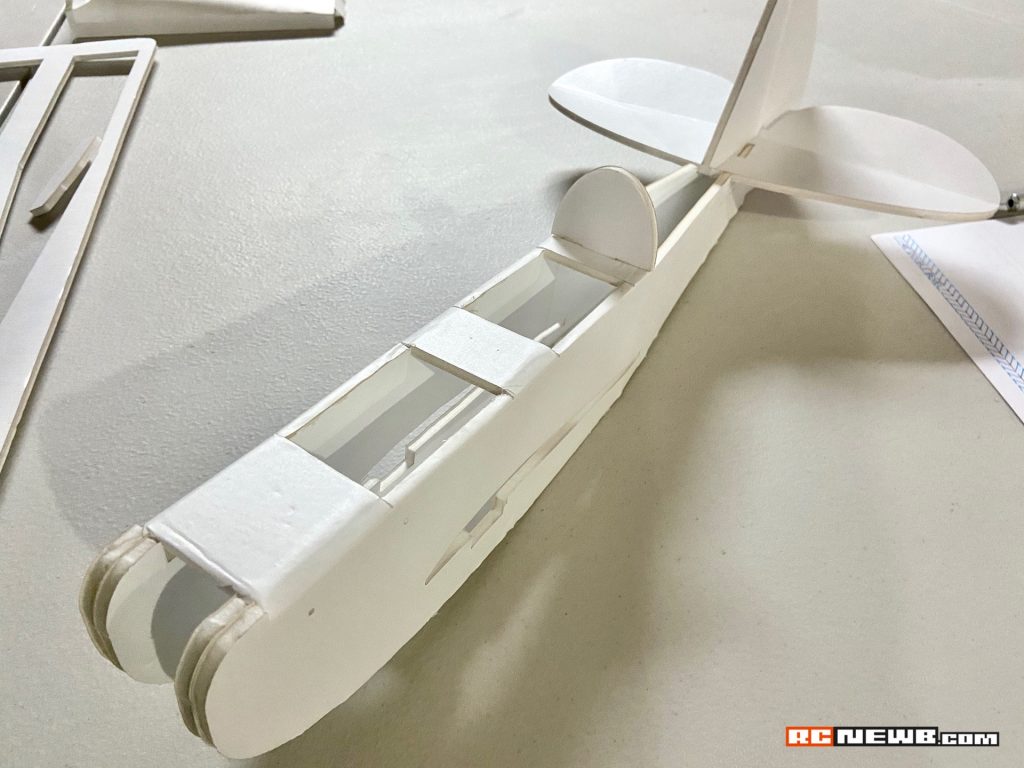
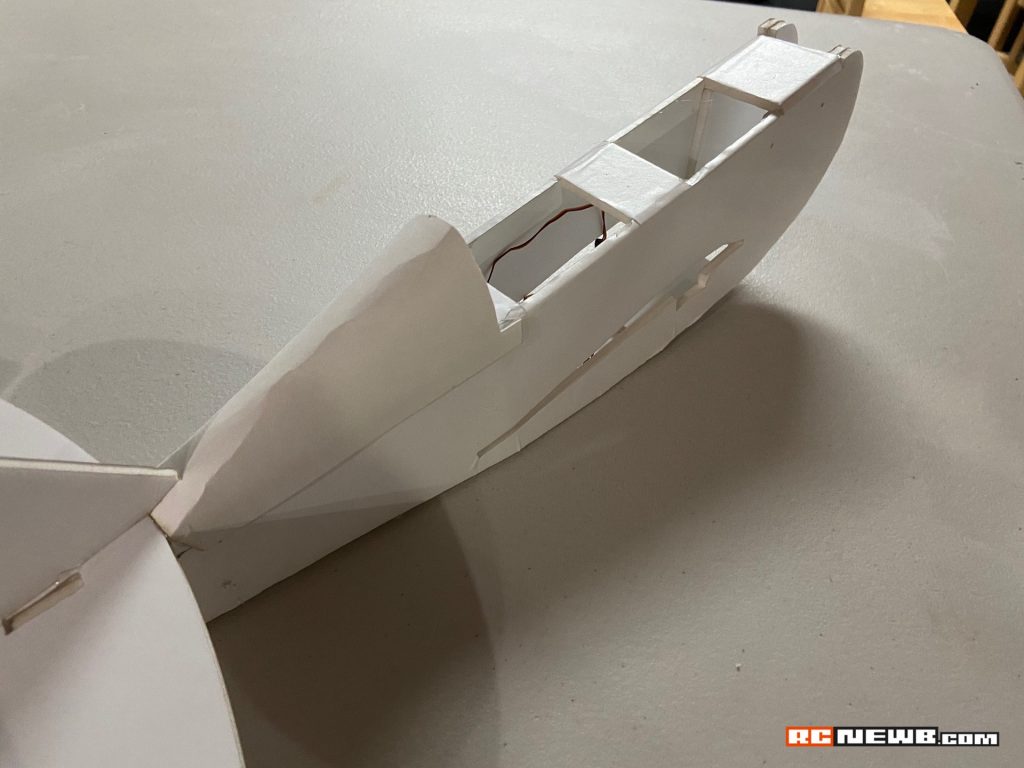
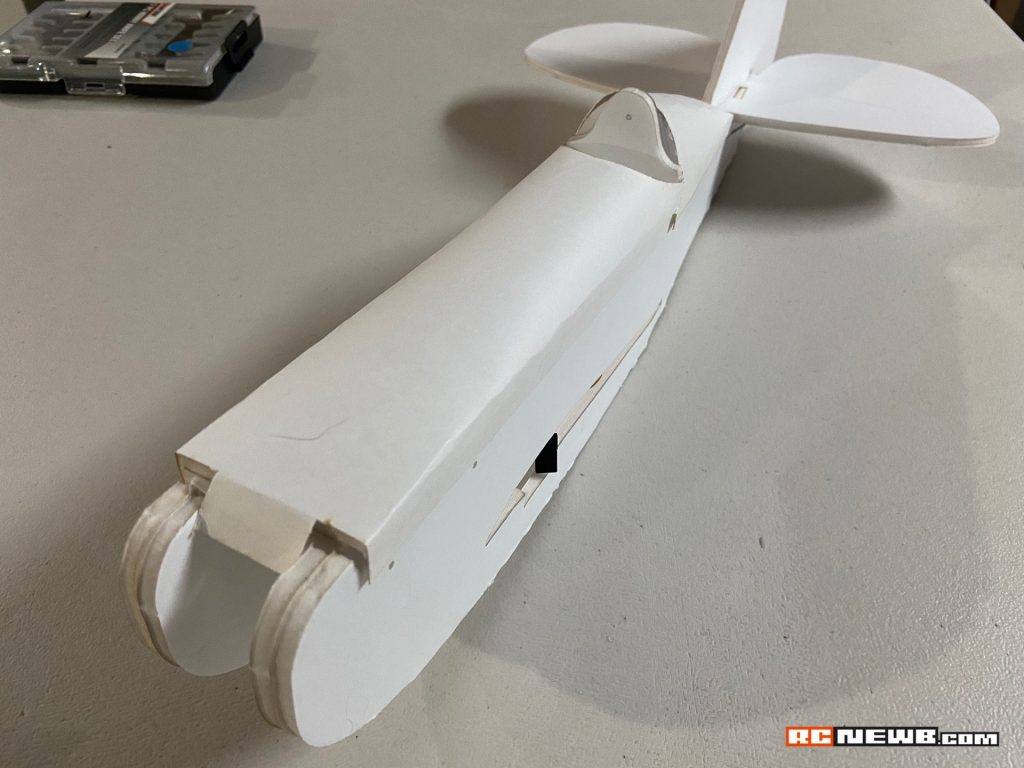
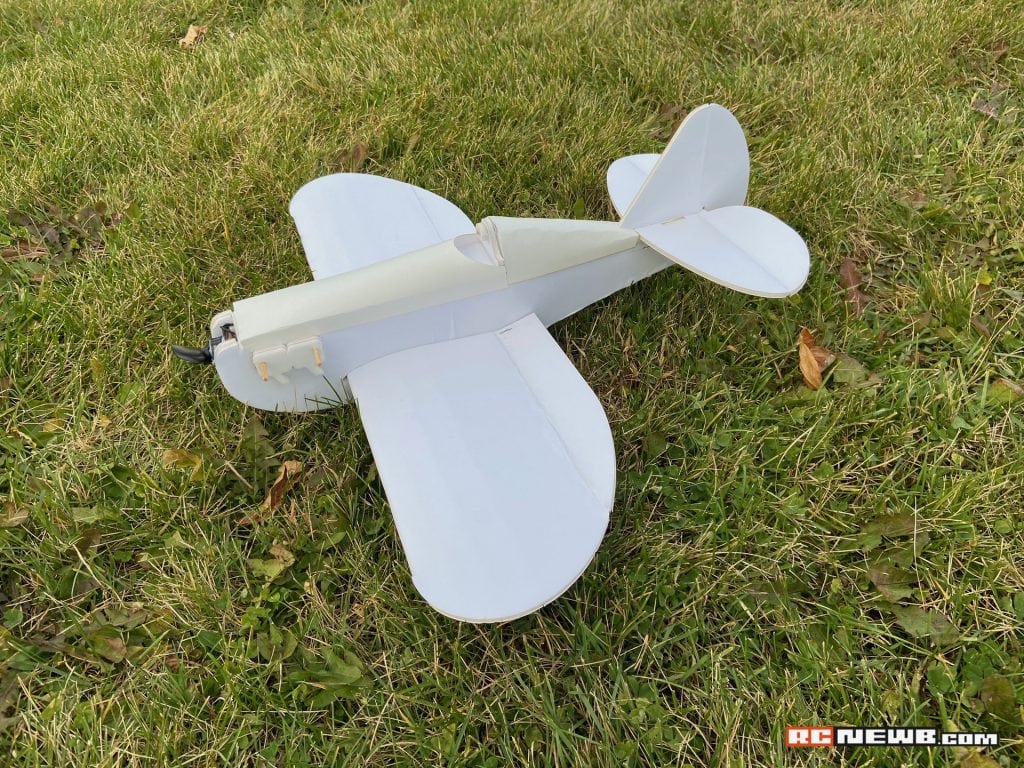
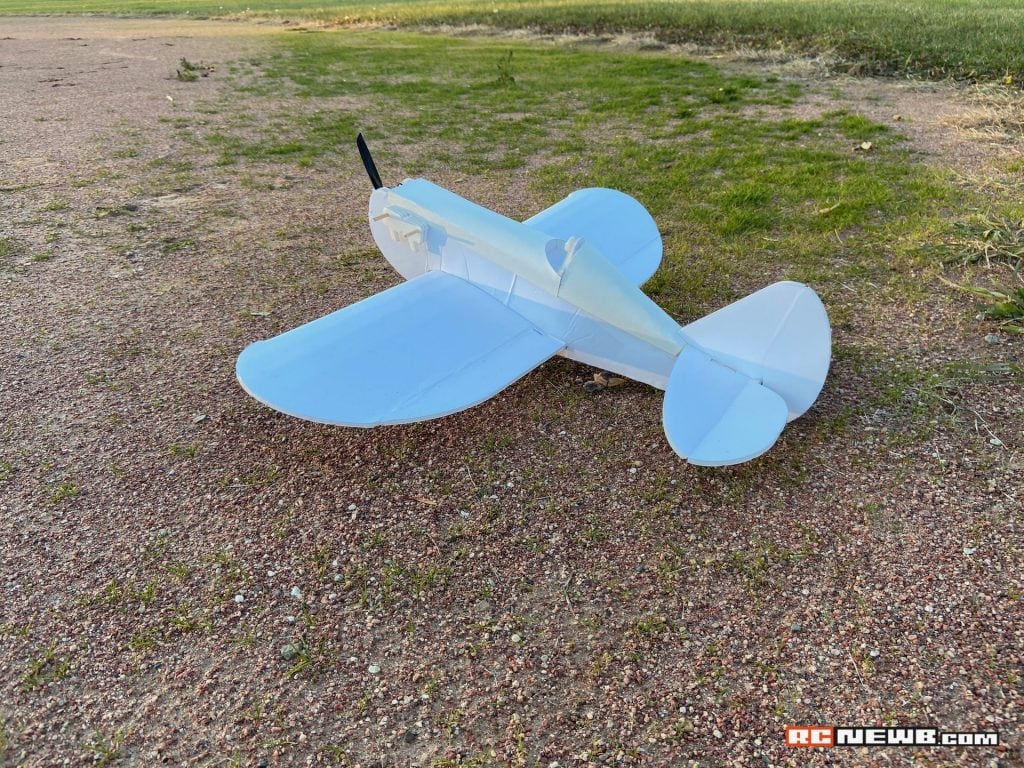
The version of the Mini Sportster kit that we built uses "Maker Foam" as its base material. Lightweight and relatively easy to manipulate, this variant of the kit came packaged in laser-cut sheets. Each part of the plane needed to be popped-out or cut free of its surroundings before work can begin, but this was an easy task to accomplish.
I'll mention here that the other version of the Mini Sportster uses cardboard as its construction material, so you may have more/less luck with that option, depending on your personal preference.


While printable instructions are available for this kit, we followed the FliteTest build video as our main resource during our plane's assembly. Some sections were easy to understand on the first viewing, but others needed to be rewatched a few times before we fully understood what was required. Honestly, the build video was delightful to watch, and I think I may have appreciated it more than my kids did.
We found the construction of the plane to be easier the further we got into the build process. All of the terminology used was new to my kids, and some of it was new to me, which was both refreshing and a bit frustrating. The more parts you assemble, the faster the process flows, and by the end of the build, it'll come naturally.
The time needed to complete this build will vary. Our entire project unfolded over a series of days, but you could get this knocked out in a day. Hot glue is an excellent adhesion medium and can be forgiving when you need it to be. After a few minutes of cooling, you can move from one section of your build to another and see the plane come together.
Time to Fly
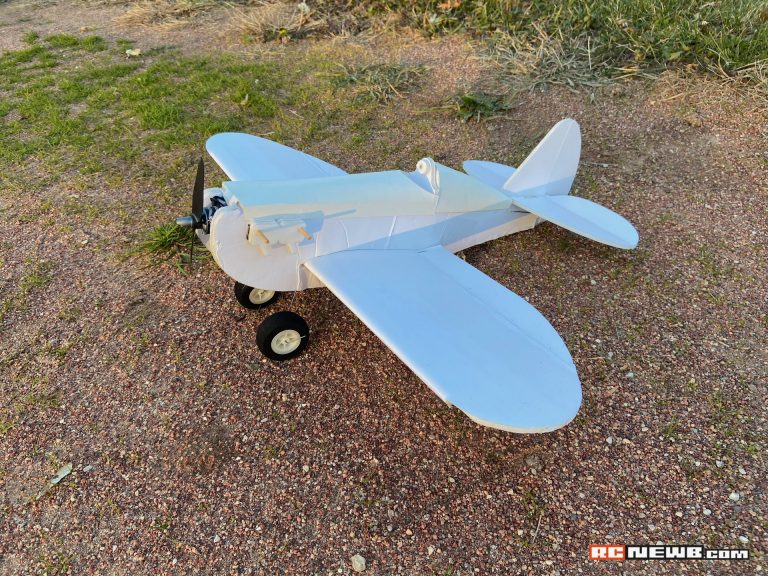
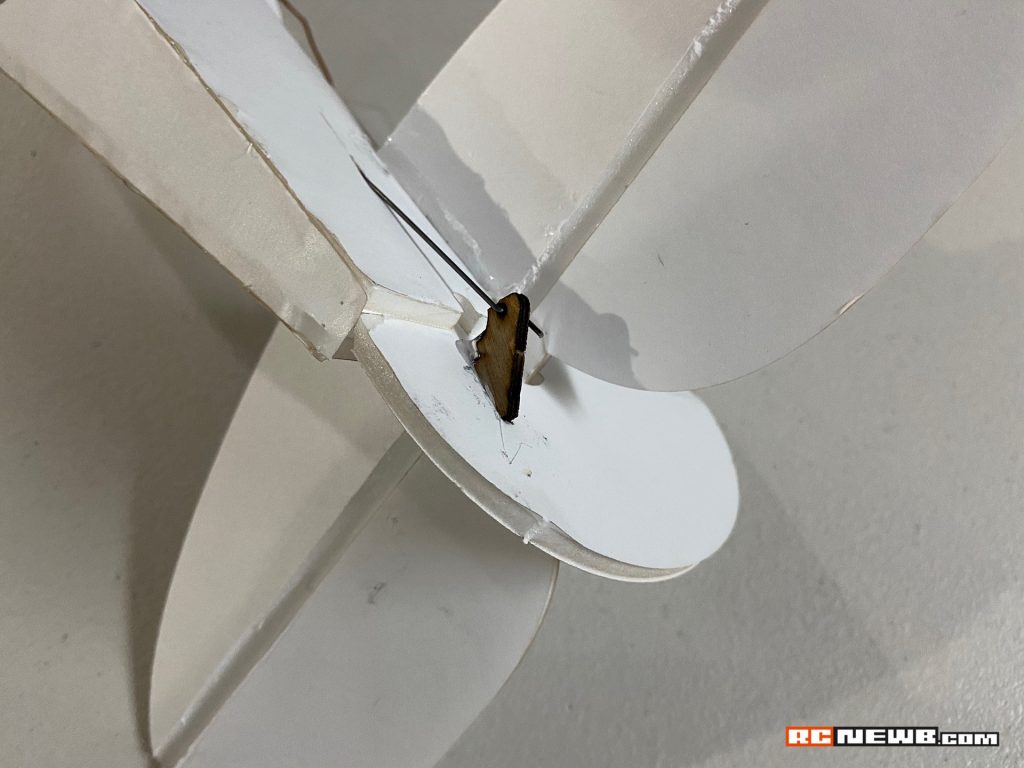
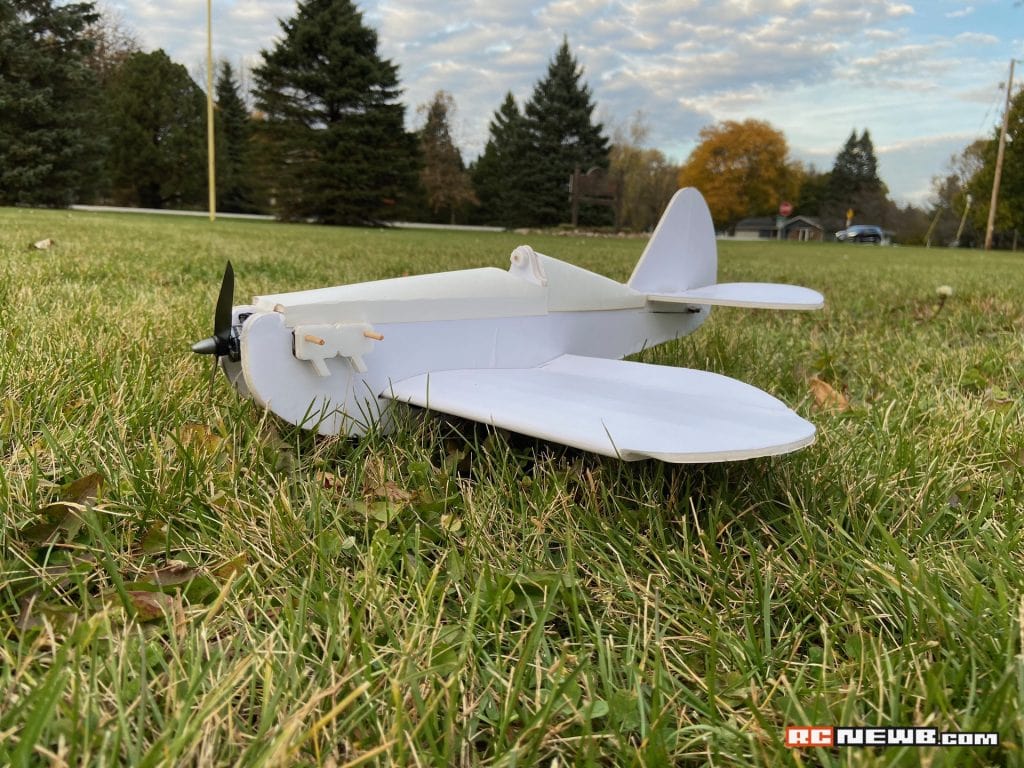
We started our build in September and wrapped up at the end of October. Our first flight attempt didn't pan out, and we needed to make some adjustments to our plane. Including landing gear is optional for this model, and we'd hoped to get by without it. The plan was to take off and land in taller grass, using the fuselage's smooth belly to touch down. However, the grass wasn't tall enough, and we found ourselves crafting a landing gear frame and ordering wheels, which delayed our next flight attempt.
Our second flight attempt was more successful, but it wasn't without issue. While our newly-added landing gear proved to be the trick to get our plane into the air, the lower-power motor selection didn't have enough "oomph" to keep it there. My kids were able to get the Mini Sportster into the air for a few seconds, shortly before it arced toward the ground, ripping the landing gear away from the fuselage.
If you're building this kit for the first time, no matter your skill level, I'd suggest selecting the Power Pack "F" to ensure you can get off the ground (and stay there).
What's the Verdict? Is the FliteTest Mini Sportster Kit Worth Buying and Building?
Airplanes aren't my first love, but I do have a deep-rooted fondness for them. Watching and helping my kids with this model build was a nice way for us to bond (and bicker), and getting it off the ground, if only for a few moments, was worth the effort. If you're new to R/C aircraft and want a simple kit to start with, this is a solid option.
While not built for durability, the FliteTest Mini Sportster will give you a solid understanding of aircraft modeling basics and shouldn't be too overbearing on your budget. Visit flitetest.com to learn more about this and other FliteTest airplane kits.


