
R/C Overhaul - ProTek RC 370TBL "Black Label" Servo Upgrade for the Axial SCX10/SCX10 II
Now that my Axial SCX10 has a beefed-up driveline, it’s time to tend to the steering performance of this trail rig. A few years ago, I applied a basic waterproofing technique (liquid electrician’s tape) to the exterior of my stock SCX10 servo. Although I don’t actively seek out wet conditions while driving, it’s nice to know I can take on the elements without having my trail rig suffer the consequences.
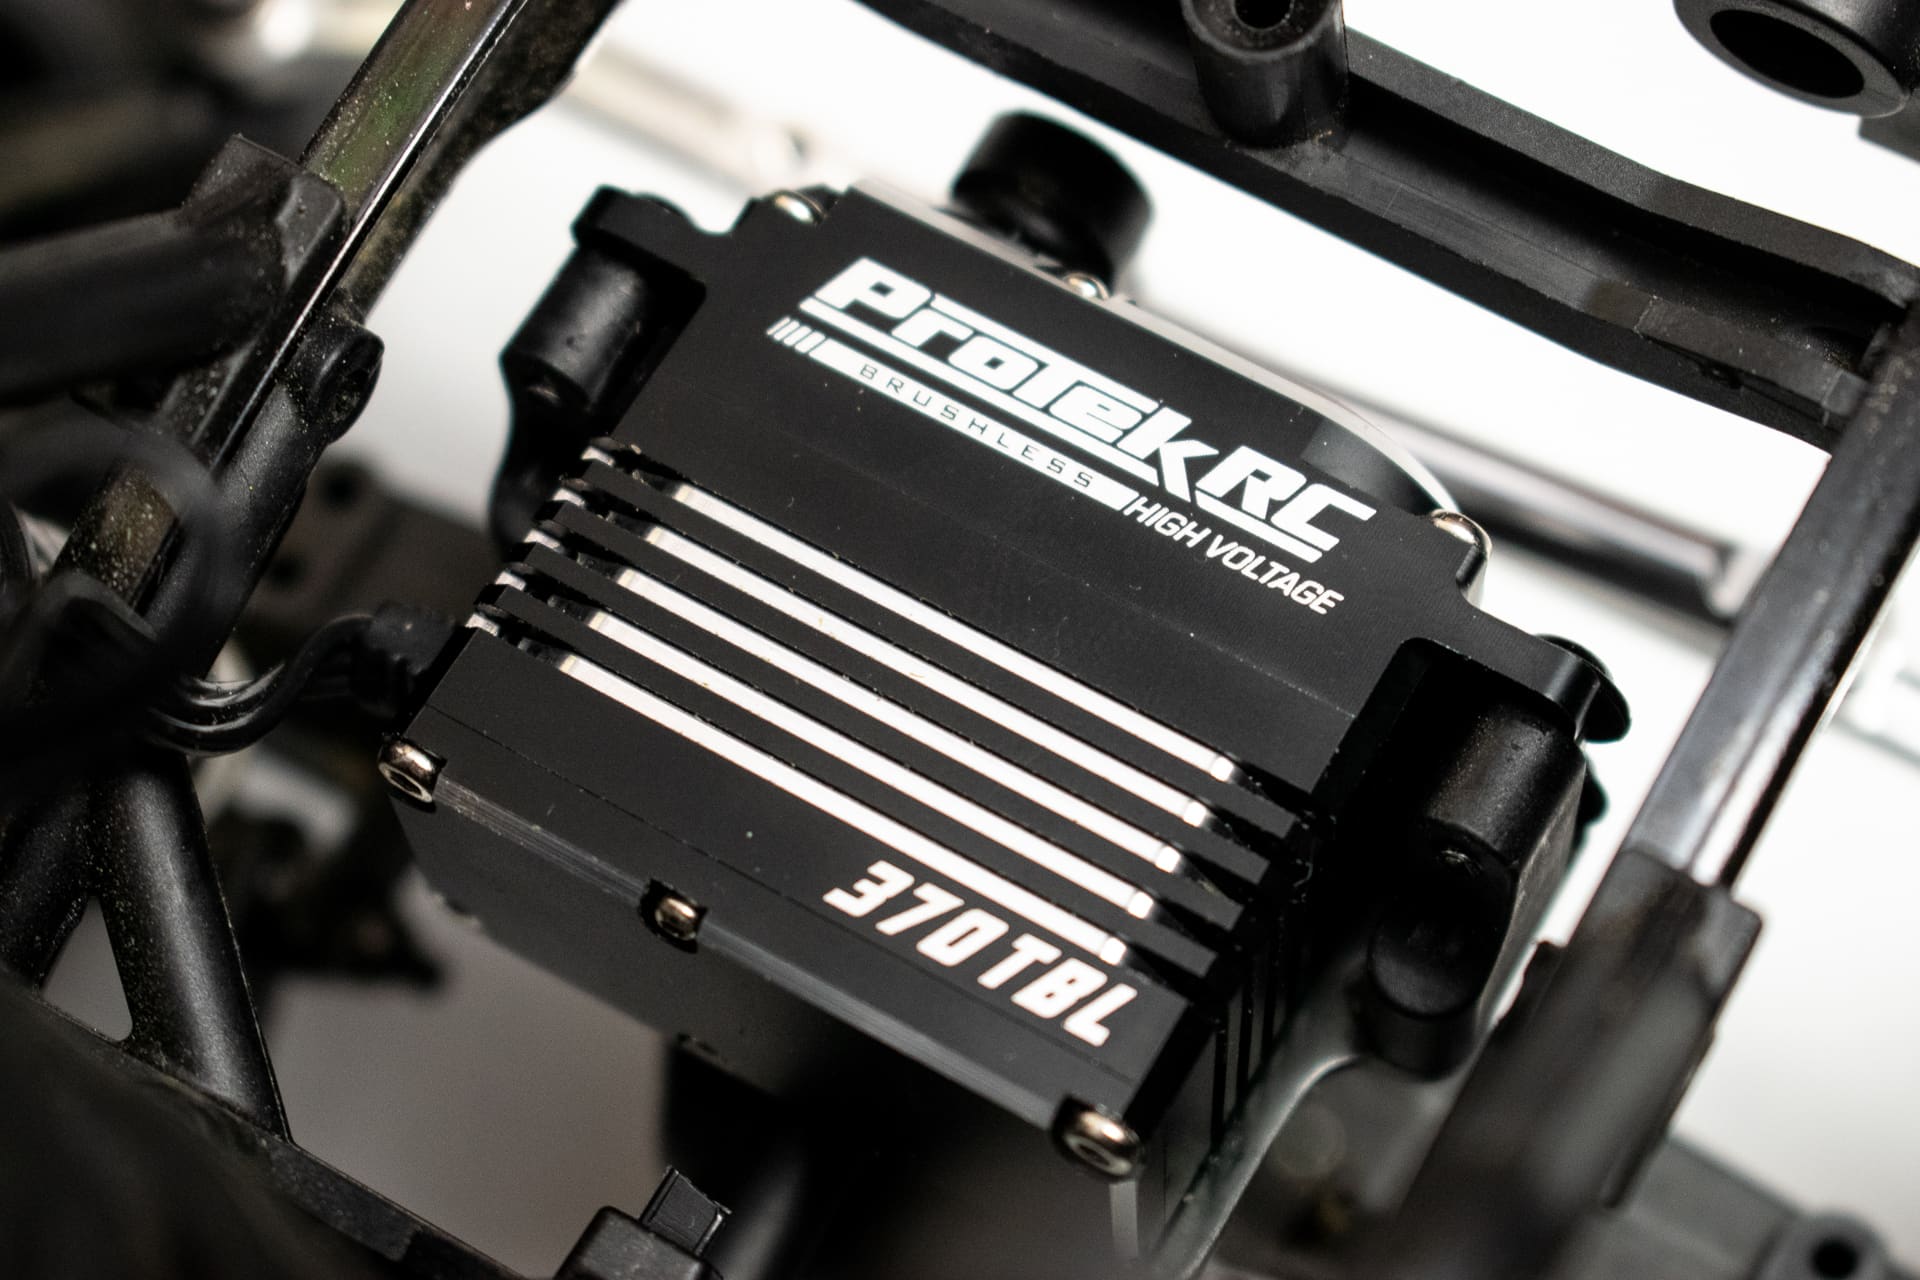
Since servo tech has evolved quite a bit since I first purchased my SCX10, I thought a servo refresh was in order. With a number of options to choose from, I selected the ProTek RC 370TBL “Black Label” servo (provided by AMain Hobbies). Along with the performance benefits, the visual aesthetic of this servo is much better than my DIY-waterproofed stock model.
Upgrade Benefits
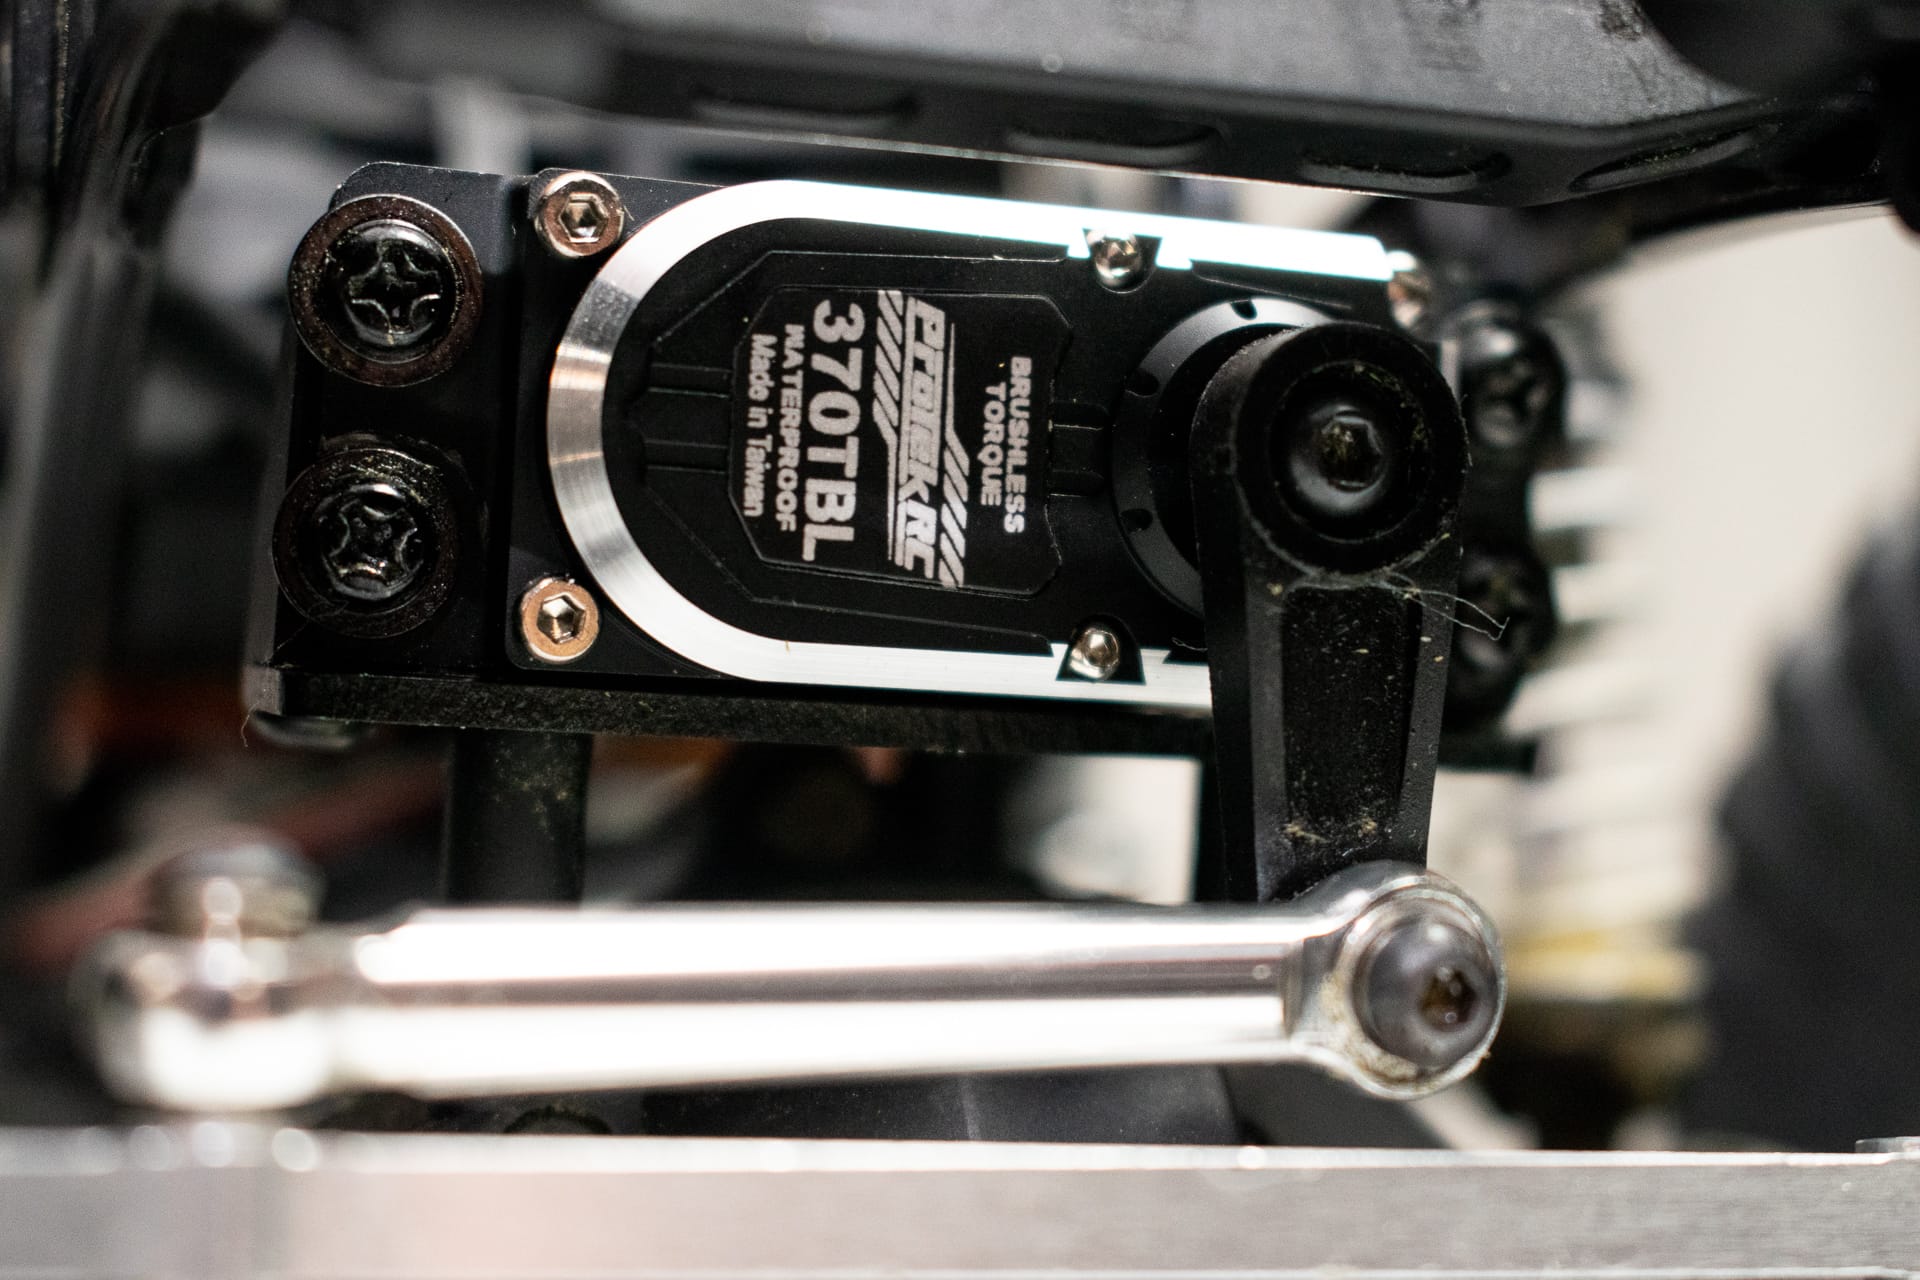
Going beyond its outside appearance, the real power of the 370TBL lies within the hard aluminum case. This servo is brushless-powered waterproof right out of the box. No need for slathering on liquid electrician's tape or stuffing the case full of marine grease.
Compared to the stock SCX10 servo (Tactic TSX45), the torque of the ProTek RC 370TBL far exceeds the RTR setup (600+oz/in vs 151oz/in). While this might seem like overkill for an R/C trail rig running 1.9” wheels/tires, the extra power will come in handy should the need arise.
On top of the pure power that this servo is capable of, the hard aluminum case not only looks sharp, but it will protect the internal gearing and motor from damage if your trail or crawling adventures get too crazy.
What you’ll need to complete the installation:
- 1 ProTek RC 370TBL “Black Label” steering servo - $159.99
- 1 25-tine servo horn
- 1 2.0mm hex-head driver/Allen wrench
- 1 Phillips head screwdriver
Installing the ProTek RC 370TBL “Black Label” Servo
https://www.youtube.com/watch?v=aE41EIrfSrs
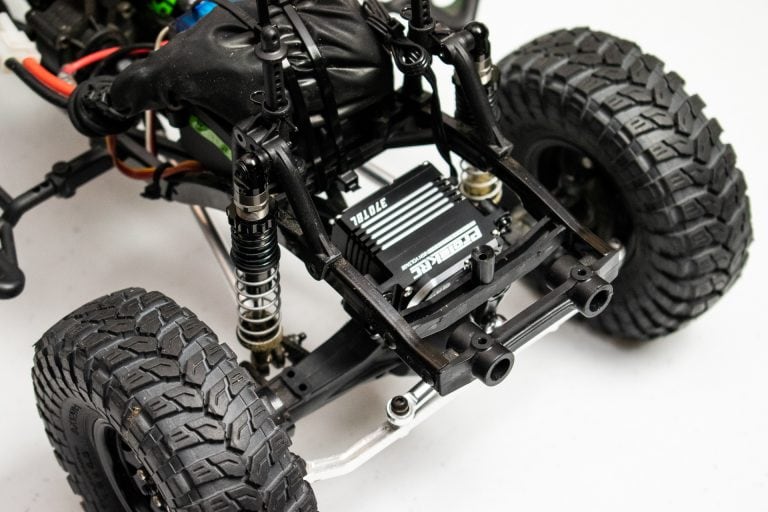
Installation of any radio-controlled car or truck steering servo is a relatively straightforward task. After disconnecting the servo cable from the receiver, remove the screws holding the stock servo in place (in this case, Phillips head screws) and then remove the mounting screw for the servo horn. Then slide the servo horn off of the servo spline and pull the servo out of the chassis.
Before mounting the new servo in place, I’ve found it helpful to connect the servo cable to the receiver, power on the vehicle and find the startup point for the servo. This will help you reposition the servo horn correctly and avoid excessive steering trim adjustments.
Once the 370TBL has been mounted on the chassis, reattach the servo horn, fasten the mounting screw, and set your steering endpoints. After that, you’re ready to roll.
To learn more about the ProTek RC 370TBL “Black Label” servo ($159.99), visit AMainHobbies.com.


