R/C Overhaul - Incision 90mm Scale Shock Upgrade for the Axial SCX10/SCX10 II

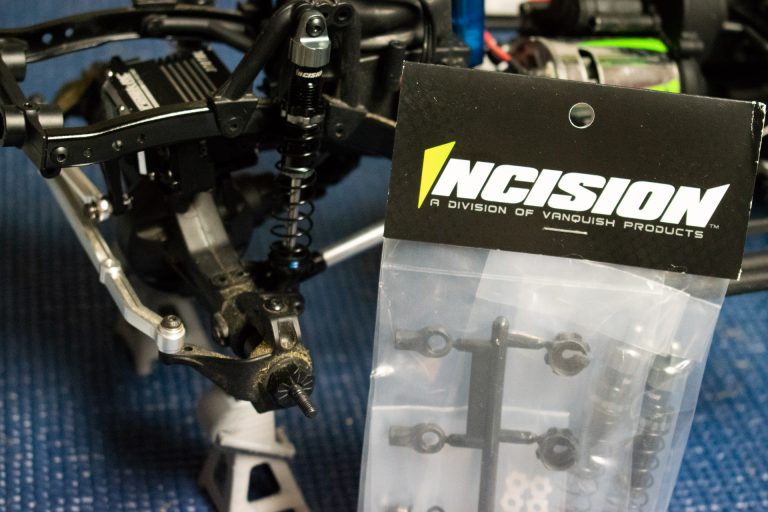
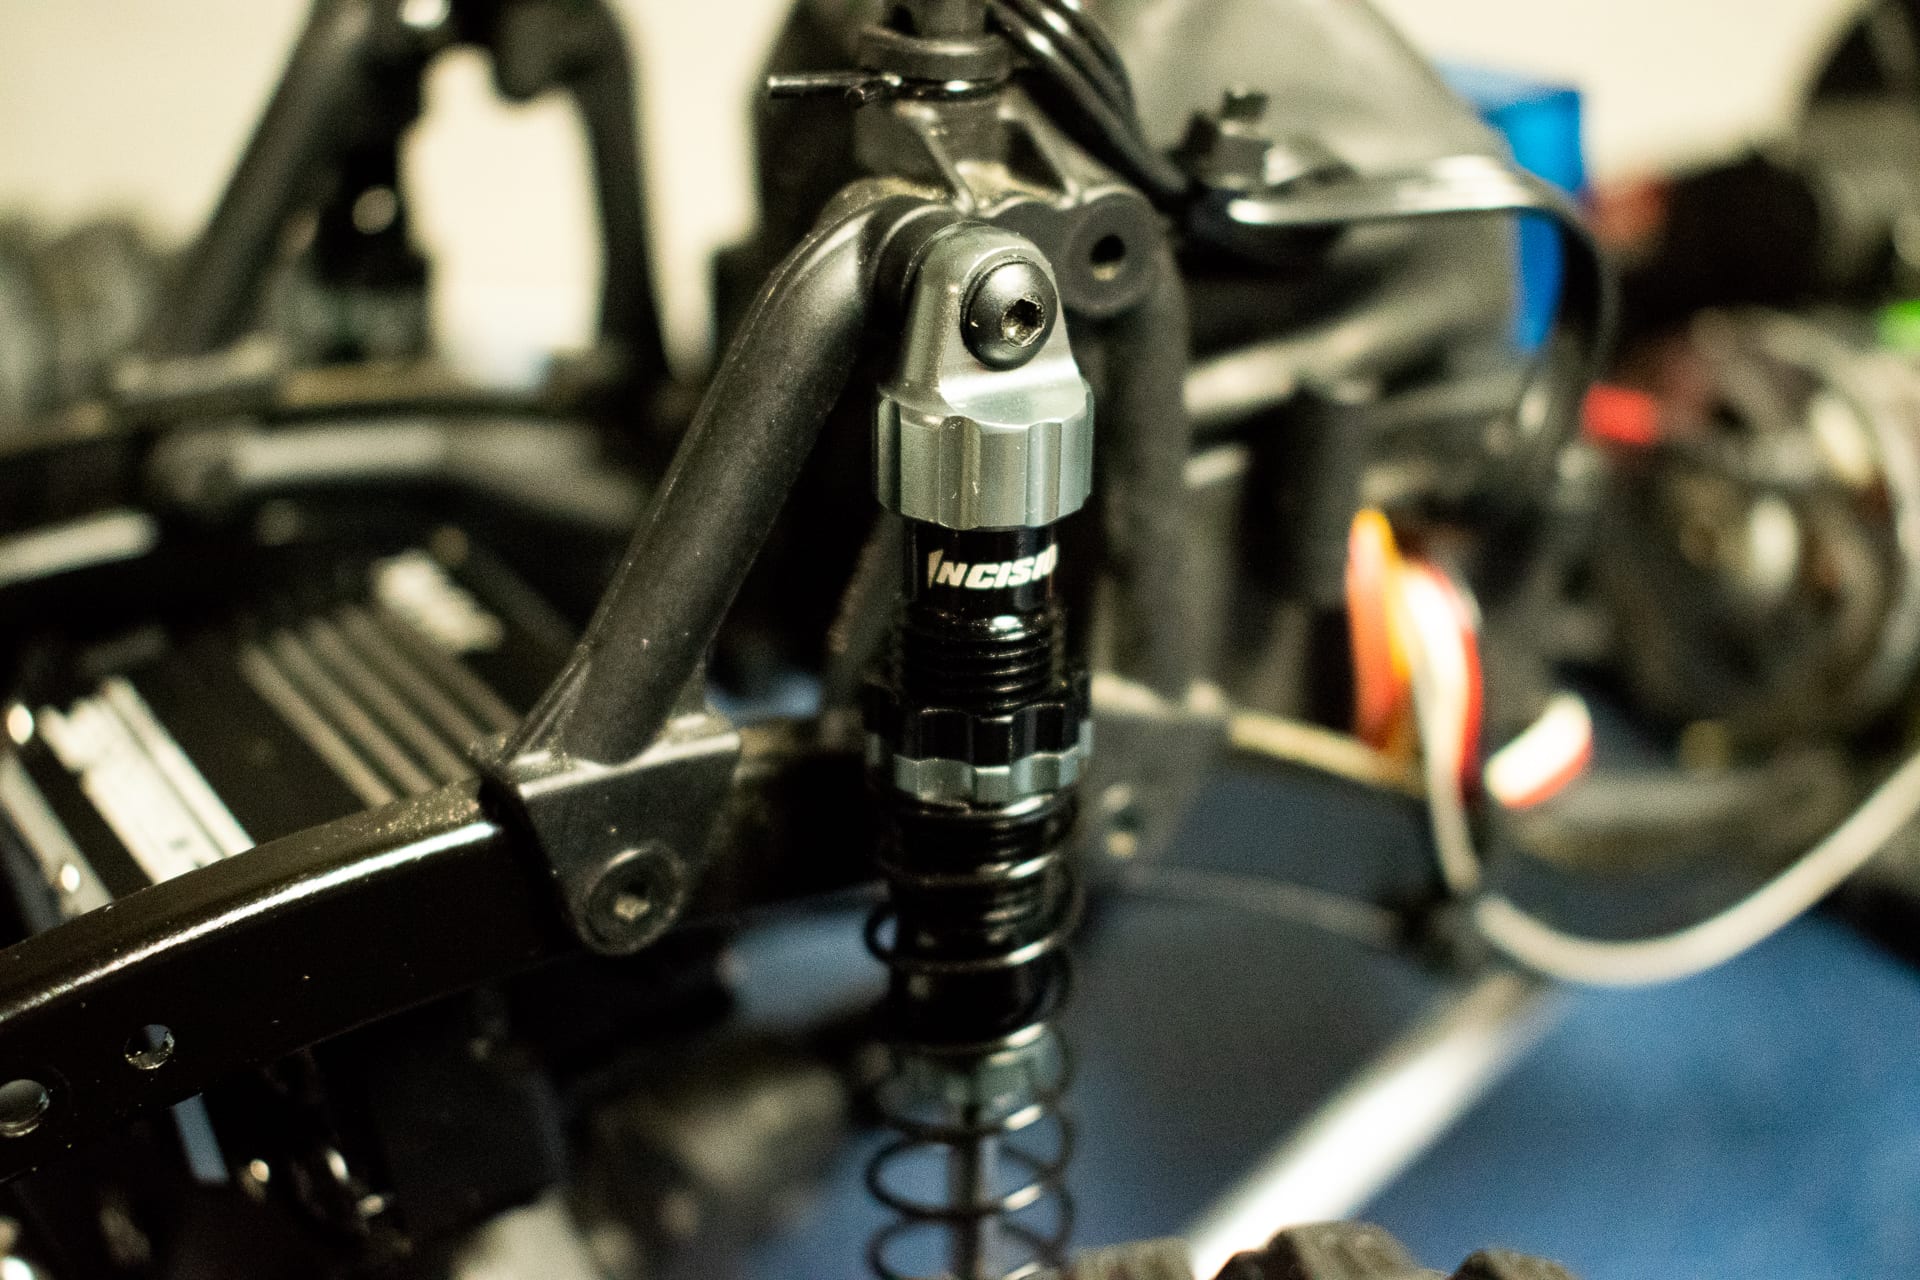
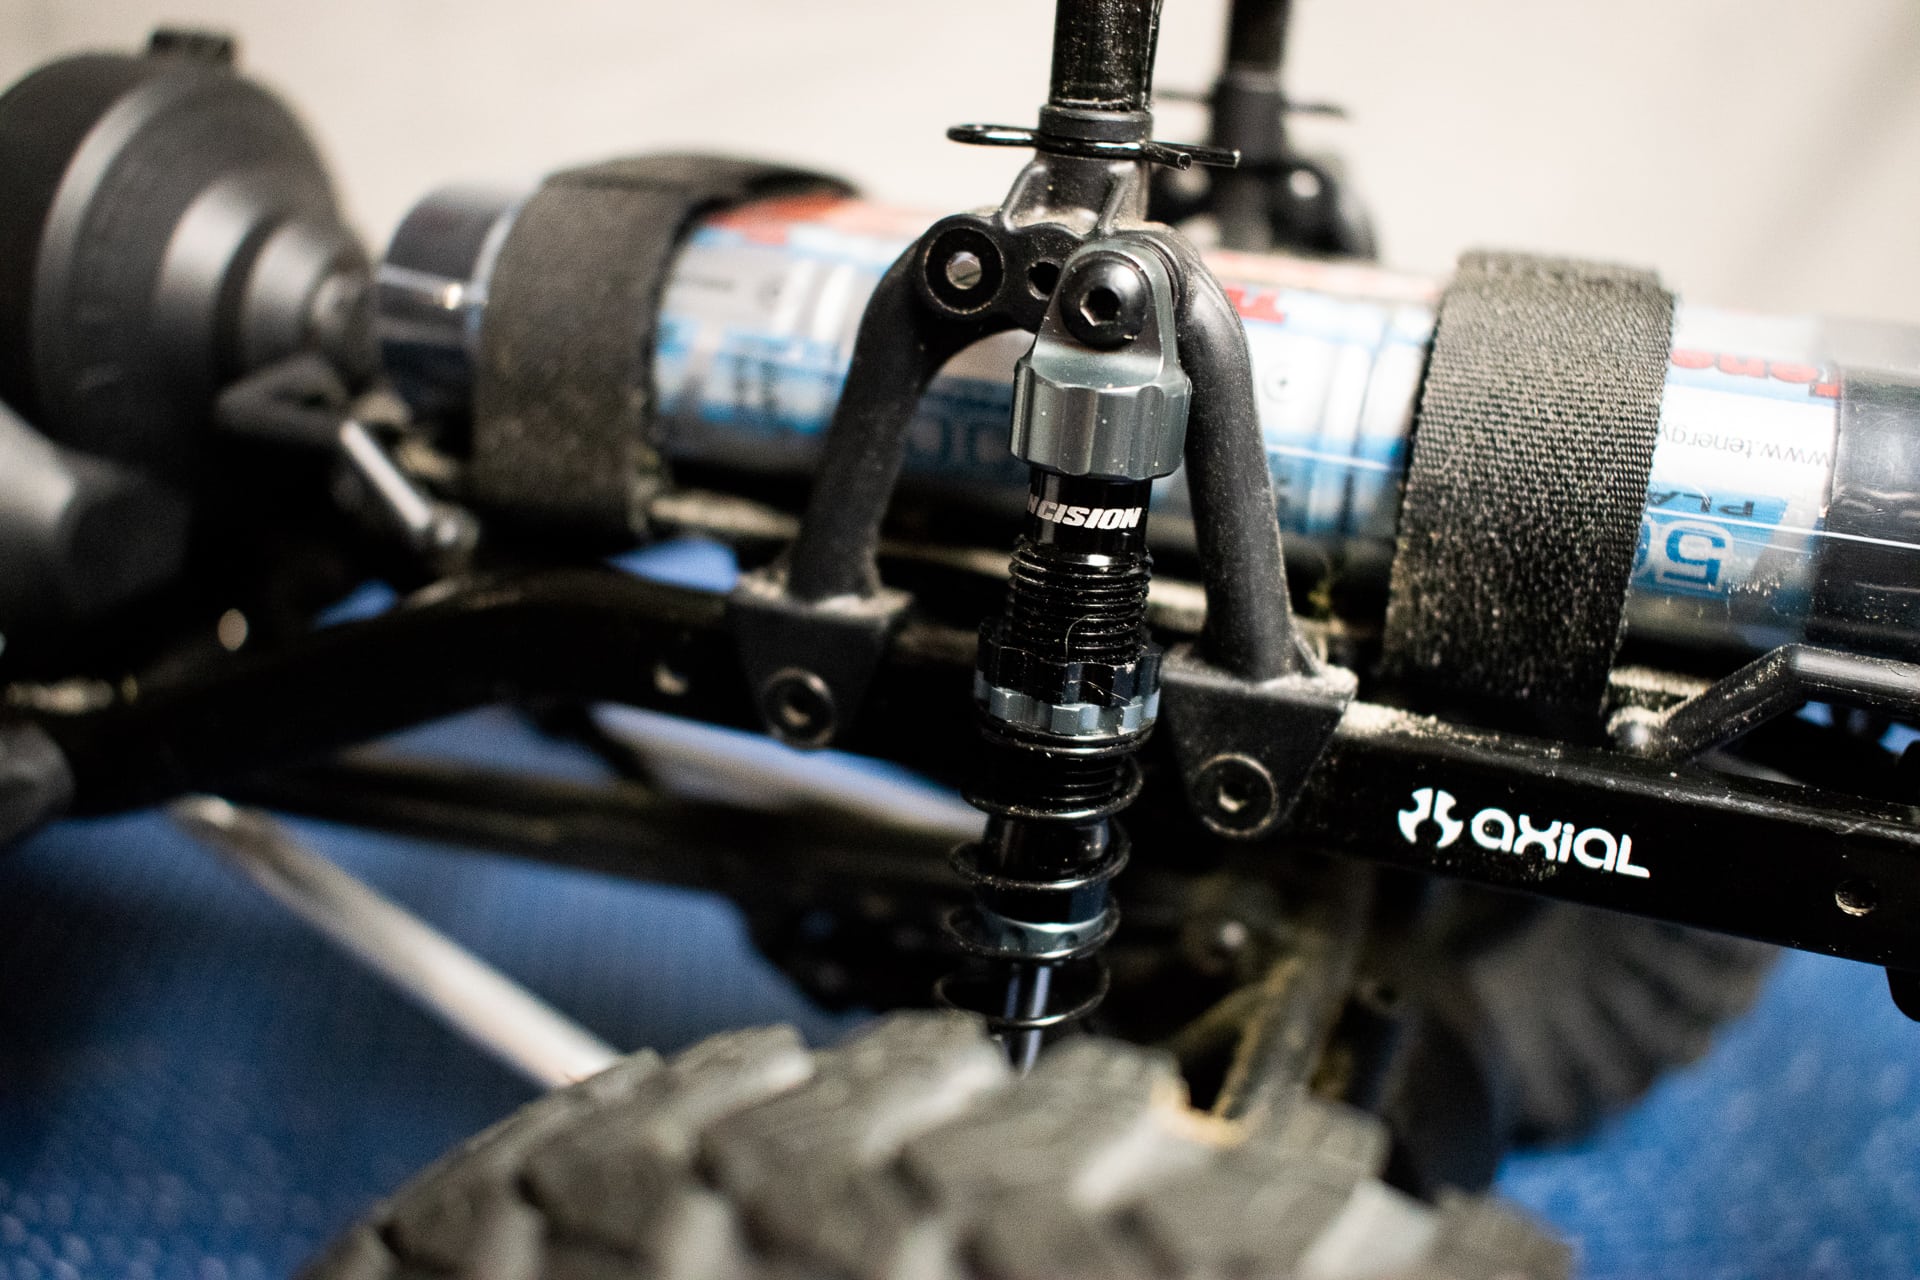
One of the final pieces in my SCX10 Overhaul project was a shock replacement, featuring Incision’s 90mm Scale Shocks. While I had been running Pro-Line PowerStroke Scaler Shocks on my rig, this set from Incision looks like a solid competitor. After a few years of running the PL shocks, I figured it was time for an update. As with a selection of my upgrades, a huge thank you goes out to AMain Hobbies for the assist on these parts.
Upgrade Benefits
If you’re running stock shocks on your ready-to-run (RTR) SCX10/SCX10 II, there are a few reasons why you might want to upgrade. The first being improved handling performance. While a stock set of plastic-bodied shocks allows for some adjustability and on-the-trail tuning, a set of aluminum-bodied shocks is always a nice upgrade.

What you’ll need to complete the installation:
- 2 Sets of Incision 90mm scale shocks - $49.99
- 1 2.0mm hex-head driver/Allen wrench
- 1 Needle-nose pliers
- 1 two-channel pliers
- 1 Bottle of shock oil (35w - 37.5w)
- 1 Crafting foam strip (recommended)
Installing Incision’s 90mm Scale Shocks for the Axial SCX10/SCX10 II
The project of installing pre-built shocks is one of the easier upgrade processes you could perform on any radio-controlled vehicle. Aside from adding shock oil, there isn’t much to the install outside of removing the stock shocks and installing the upgrade parts in their place.
After removing the hardware for one shock, remove the top cap on one of your Incision 90mm Scale shocks, pull out the flexible diaphragm, and add your shock oil. Vanquish recommends using between 37.5w and 40w oil, however, I chose to run 35w oil for my maiden voyage.
When you add your oil, you want to keep an eye on how much you’re placing inside the shock body. Push up on the shock shaft from time-to-time to see how full the chamber is when fully compressed. If you add too much oil, you’ll severely limit your travel. Trust me, I speak from experience.

Once you’ve added the preferred amount of oil, screw the top cap back in place and mount up your new shocks. I did find that these shock caps took a bit of elbow grease to remove and I ended up employing the use of crafting foam and a set of pliers to wrench them loose.
Once all was said and done, the shocks have smooth motion and travel well when driven over obstacles. These shocks will get quite a workout on the trail and from where I sit, they’re up to the challenge.

