Frankencrawler Update: It's (almost) alive!
I now know what I've been missing out on by not doing "true" builds and buying RTR systems. When I started to modify the RS10 into something a little more "scale" I had a hunch that it would be a fun project to work on, but I had no idea how much fun it would be. Not only the actual building and assembly, but the troubleshooting, the problem-solving, the overall challenge of creating something so different from what was originally intended by the manufacturer has been a true thrill.
As I reach the end of the first leg of the modification stage, I wanted to give a quick update on what has been done to get the Frankencrawler to where it is today.
Body
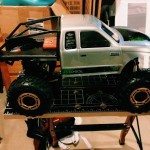
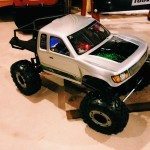
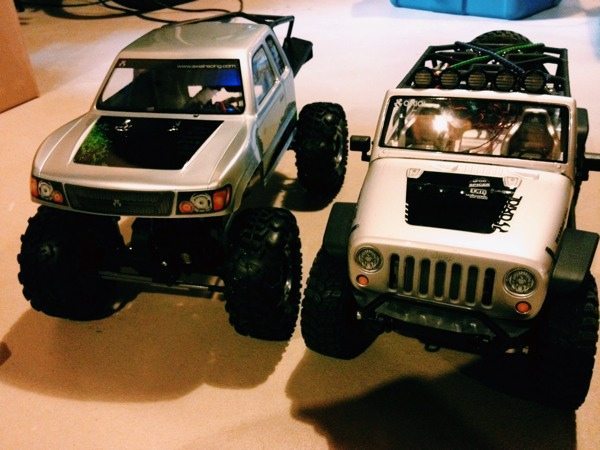
After getting a rough idea of how a Jeep body would sit on the frame, my son pulled a switcheroo and decided he would rather have a truck body. That was all fine, and we were able to find a full Axial Trail Honcho pre-painted body and cage on eBay for a decent price. While it's not black as he had originally wanted it, we can paint it later on and make changes to it over time. This gives him a "best-of-both-worlds" setup where he can start adding accessories to the vehicle, and use it right away, rather than waiting a while for weather to improve for painting.
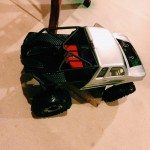
When the body came in, I was more excited than he was to see how everything would fit on the modified frame. That excitement quickly turned to disappointment as the Honcho body isn't as open on the rear-end and needed some modification. A few cage bar modifications, some cutting on the back of the Lexan cab and we had things set up and ready to go.
After a few rounds of measuring and a little eye-balling, we had the ideal mounting location figured out and were able to attach the front mounting bracket and body posts. The rear posts took a little more work and I still have some adjustments to make before they're complete. That said, the bulk of the bodywork has been completed.
Tires and Wheels
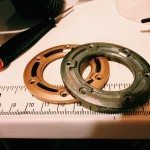
As mentioned in an earlier Frankencrawler update, we're sticking with the stock 2.2 tires that came with the RS10. This is mainly a cost-savings measure at this point and we may get a different set of tires and wheels down the road. We did want to change one item on the wheels, however. The gold-painted wheel rings/weights looked nice on the stock Redcat Racing RS10 (affiliate), but with the the silver and black scheme we have now, they just didn't look right.
Using some paint remover, I stripped away the paint from all eight rings and remounted the tires. That process didn't take very long and was easier than I had expected. The end result looks good and we may give them a coat of silver or black paint before too long.
What's left?
Honestly, this beast is ready to roll as-is, but there are a few items that need to be done before it hits the trail. Namely, the rear body mount posts need to be modified (so they work). I raided my SCX10 parts tree for the body posts and used the taller rear post, or parts of it) for this project. The only problem with that approach has been the angle that those posts are molded in and how I mounted them to the rear of the chassis. I may buy another set of straight posts and cut them down to size or I might fashion posts out of hot glue sticks. That hasn't been decided on just yet.
Other than that, cosmetic changes are the last item on the list. I picked up a light bar kit exactly like the one I'm running on my SCX10 and have a few ideas of how it will be mounted. We'll add some decals and then begin working on scale accessories for the back of the truck.
I'm working on an in-depth writeup on this modification project, for those that are looking to do something similar to their non-scale crawler.
Gallery
