
Building Carisma's M40S Touring Car Kit - Chassis Assembly
Once you’ve been bitten by the “build bug”, the infection is hard to stop. Of course, I’m referring to the highly-addictive phenomenon that is R/C kit building. After my baptism by way of the Tamiya Grasshopper, I’ve been on the lookout for more ways to feed my urge to create. Fortunately, I’ve found more than a few ways to scratch the itch.
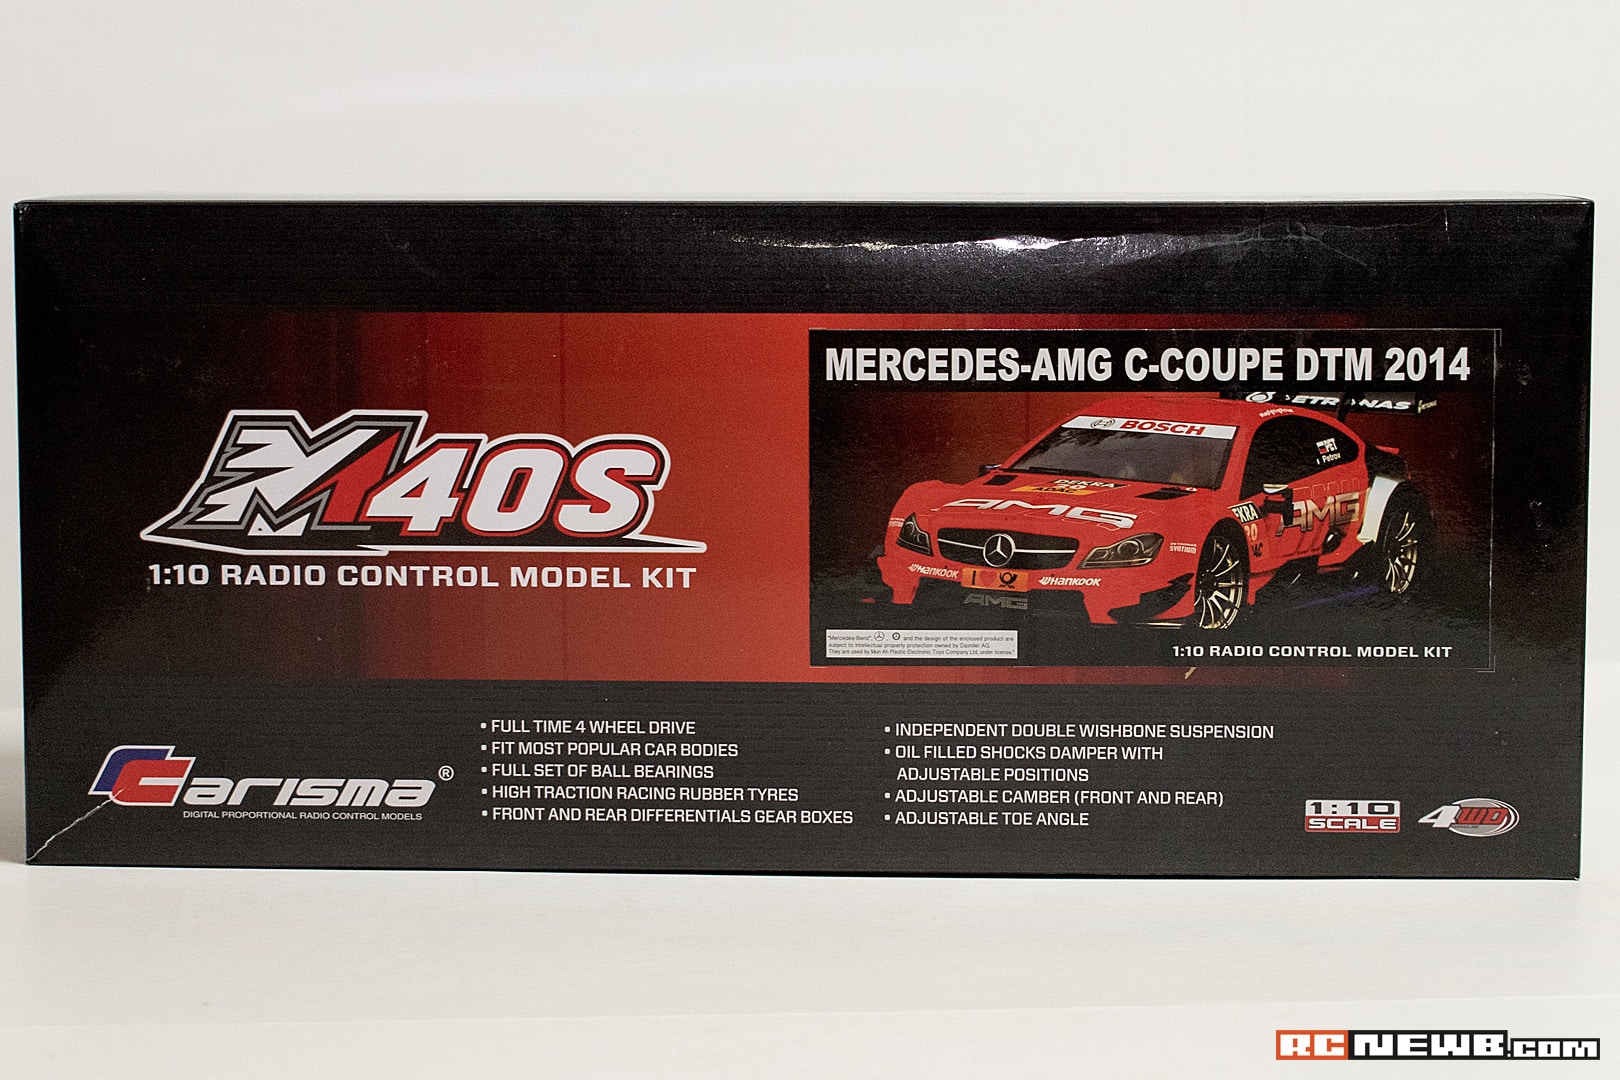
Thanks to a super-sweet holiday deal at Hobby Recreation Products, I became the proud owner of a Carisma M40S on-road kit, which didn’t take long to leap from shipping package to my workbench. While I’ve had experience with on-road R/C cars in the past, they’ve all been ready-to-run (RTR) models (and also smaller-scale vehicles to boot). The M40S is my first 1/10-scale road machine, and it’s not only offered a glimpse into the world of on-road radio-controlled machines, but also Carisma’s kit creation philosophy.
Build Preparation
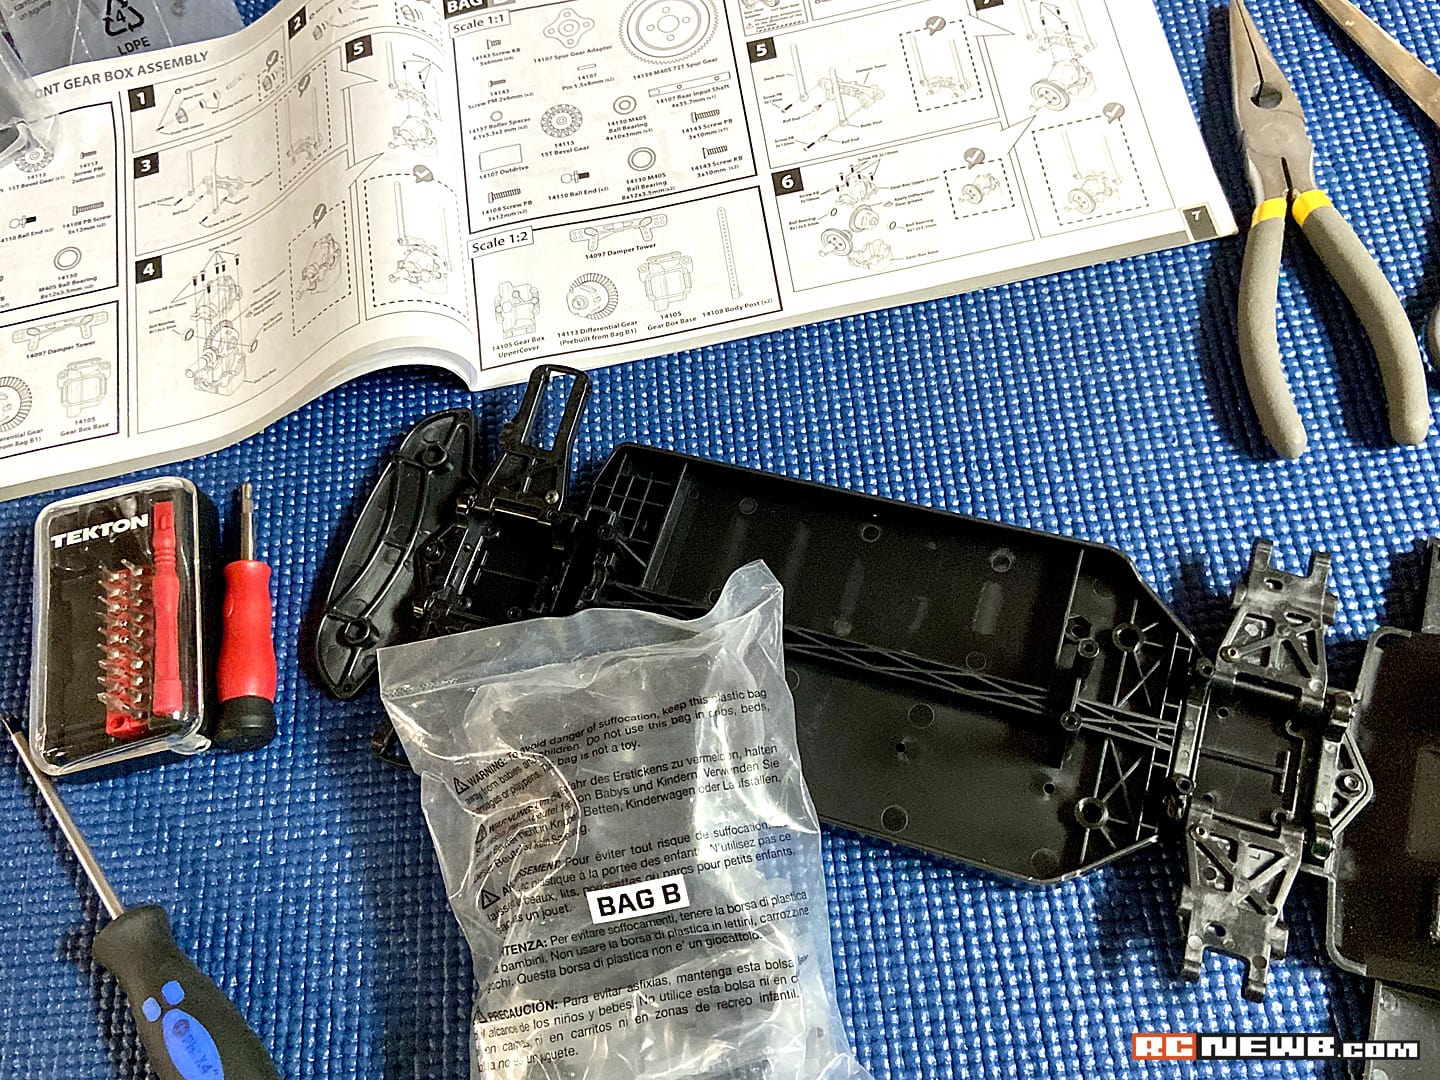
Before any building project begins, you need to make sure you have the right tools and gear to get the job done. That said, this project forced me to rummage through my toolbox to find the right tool on more than one occasion. I’ll dive deeper into that topic in a moment, but it did serve as a reminder to me to make sure my ducks were in a row.
Carisma M40S Assembly Tools:
- A set of Phillips-head screwdrivers
- A 2.0mm hex driver
- Needle-nose pliers
- A work mat
- Patience
Carisma M40S Required Components:
- A 2.4GHz radio system (transmitter and receiver)
- A steering servo
- An ESC
- Polycarbonate paint
- Patience
Out of the Box and Onto the Workbench
Carisma does a very nice job labeling and detailing each section of the M40S kit build process. After everything has been laid out on the table, you’ll quickly notice bags for specific parts of the build, all labeled alphabetically. This isn’t new, nor is it a groundbreaking process, but I found Carisma’s implementation of each step to be well thought out and precise.
Having said that, there were a few points during the build process where I encountered vague details. That, coupled with my own hurry to complete this project, made for a few “do-overs” when it came to chassis assembly. All-in-all, however, the instructions are easy to follow and general assembly isn’t terribly difficult.
Putting it All Together
I’ve approached this build in two stages. Chassis construction (stage one) and body construction (stage two). Before you can hit the road with any R/C kit, you have to get it rolling, which automatically puts the chassis construction at the top of my to-do list.
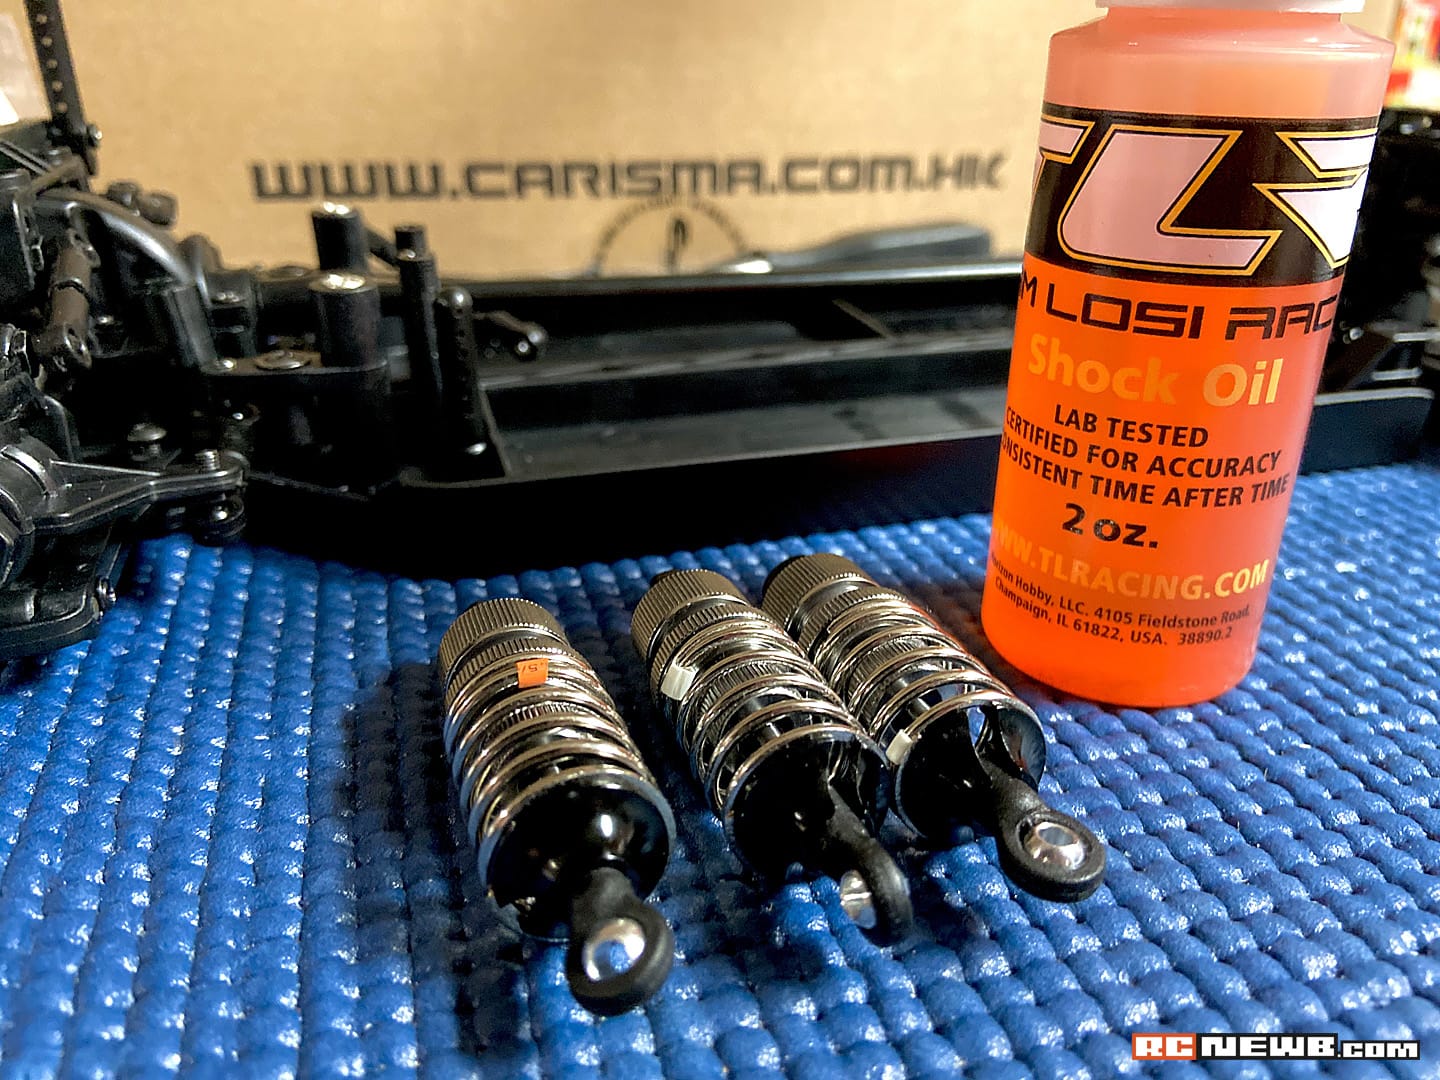
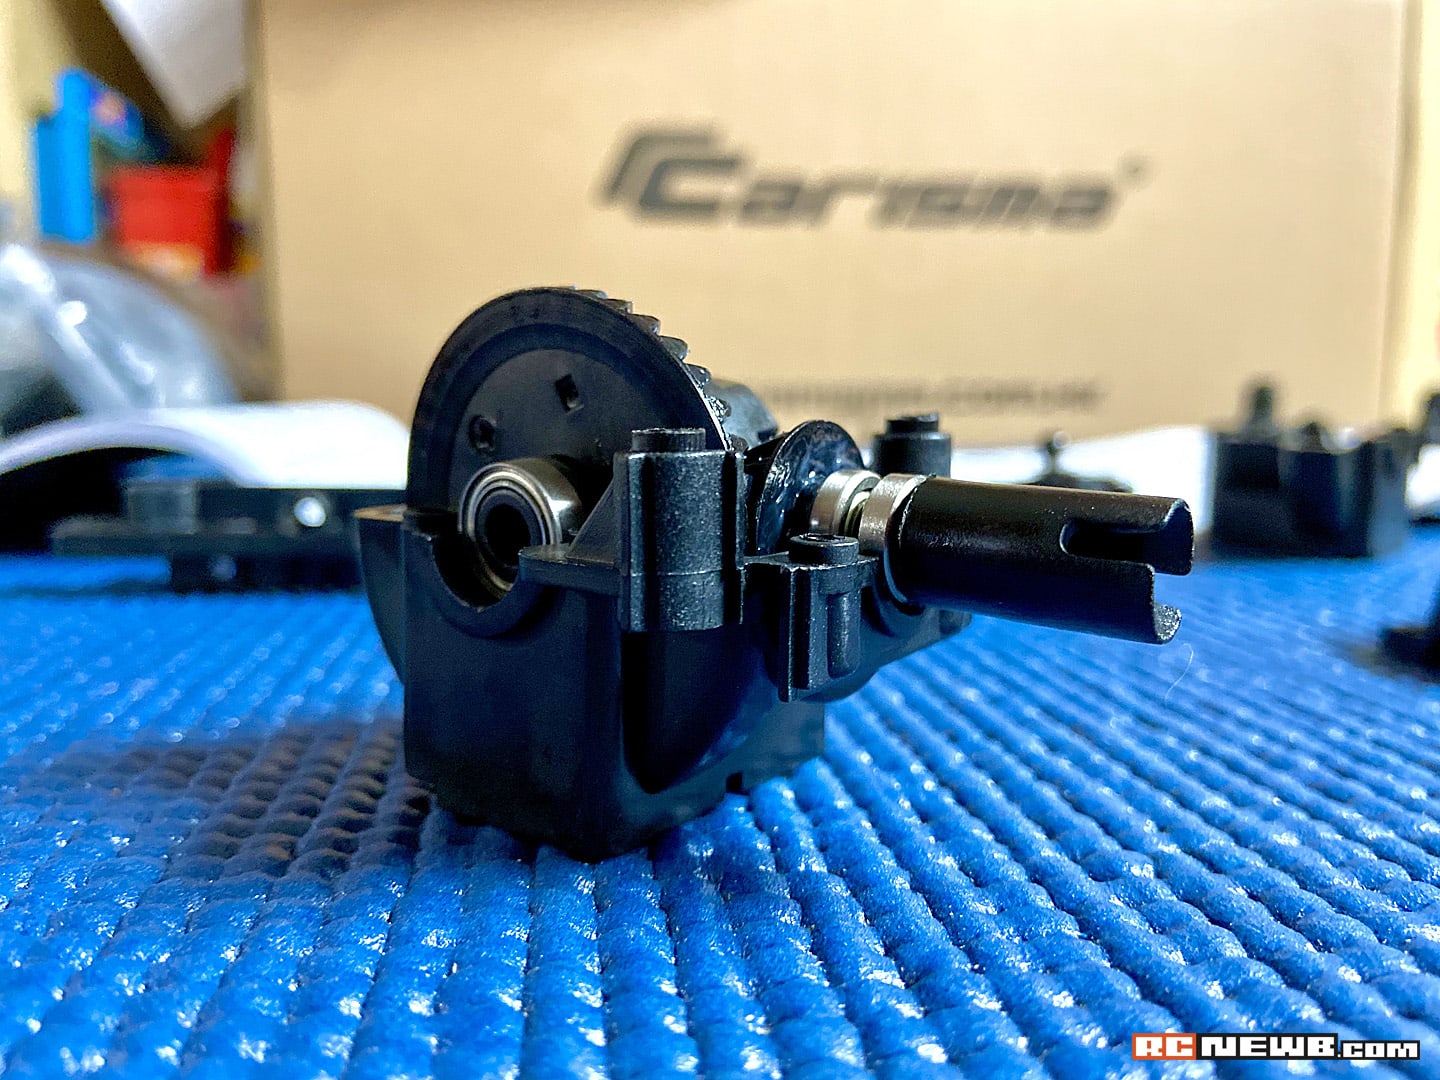
The first few bags of the M40S kit are centered around the foundation of the chassis. The tub, front and rear bumpers, front and rear gearing, body posts, and suspension arms are what you’ll focus on from the get-go. After these pieces have been assembled, you’ll see the car take shape as all of those components are attached to the chassis tub.
Among the highlights that I discovered during my build, the front and rear differentials are pre-assembled, saving the builder both time (and possibly a headache) in getting all of the gears installed and rolling smoothly. Another welcomed aspect of this build was the 1:1 representation of the hardware within the instruction manual. It helped me on more than one occasion when I needed help pinpointing a specific screw.
With the good that the M40S provides, there are also a few areas that I wish were improved. Let’s start with the assembly hardware. While there are a few instances of hex-head hardware within this model, the overwhelming majority of the screws that hold this car together are Phillips head. It took some digging in my toolbox, but I finally found a screwdriver that worked well with the hardware that was provided. While it certainly beats flat-head-hardware, I feel that hex-head screws are the way to go.
Another area of this project that gave me issues was the servo saver assembly and installation. No matter how many times I tried, I couldn’t sandwich the spring and end caps into place before it wriggled free and launched across the table. If you have tips on how to get this put together...I’m all ears.
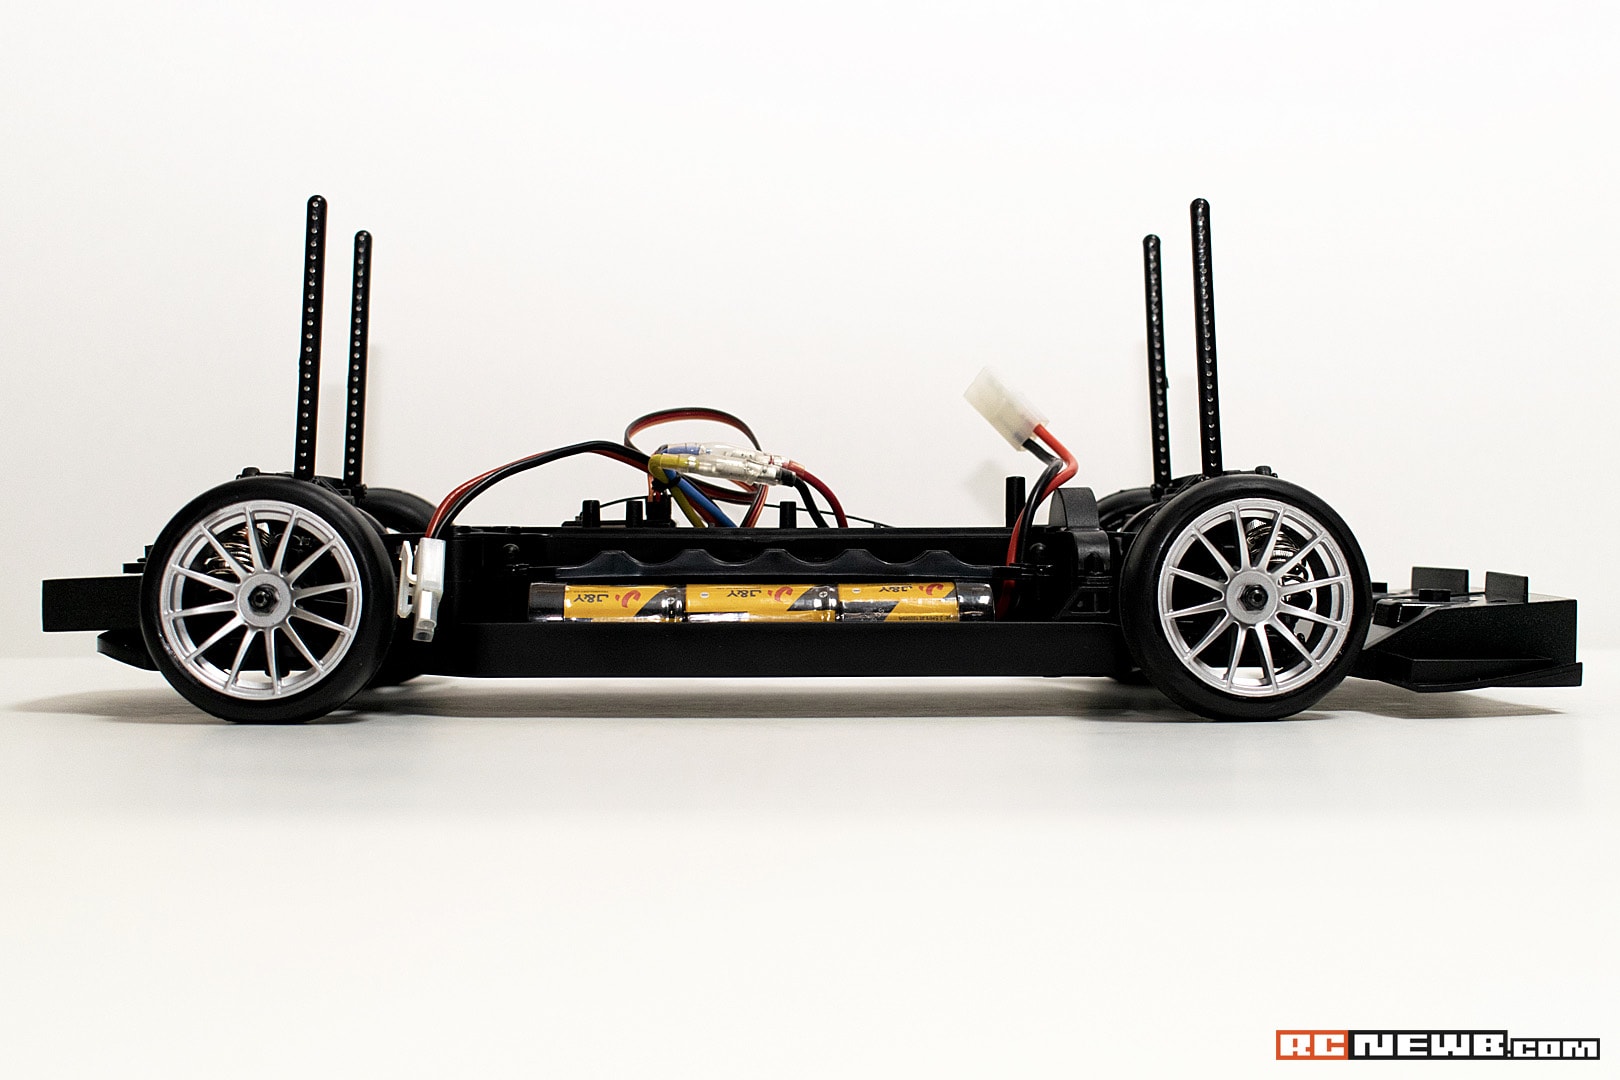
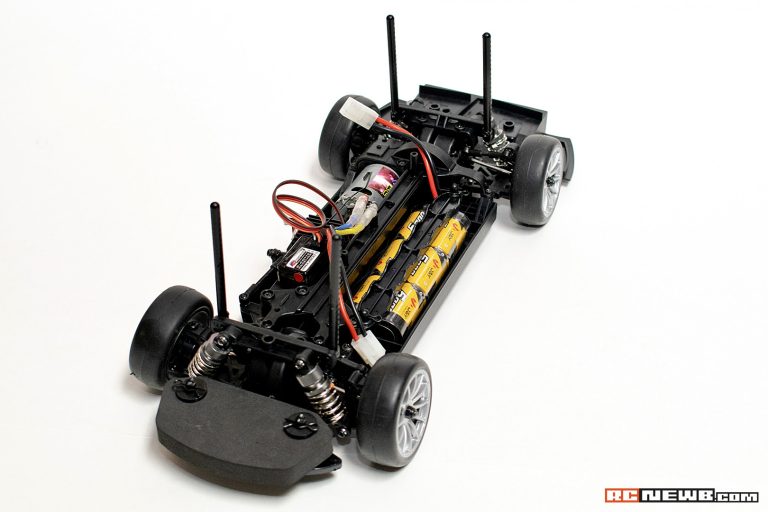
Almost Ready for the Road
After testing my connections and getting a positive result, I’m ready to move onto the body detailing section of this project. While I have to wait until the weather improves, I’m sure I’ll have this chassis out for a few indoor test-drives before officially wrapping up this build.
If you're looking to expand your level of R/C fun this year, I highly recommend picking up a kit and trying your hand at a ground-up build. As far as on-road models are concerned, the M40S offers an experience that's both challenging and fun.


