
A Whole New World: A First-time Experience with FPV
While the FPV craze has taken over the quadcopter and multi-rotor world of R/C, the surface side (on and off-road vehicles) has taken a bit longer to get rolling. I had been skeptical of the appeal and the application, however, I remained open to the idea of one-day, driving a radio-controlled car or truck from an on-board perspective.
To be honest, my doubtfulness stemmed from early experiences in on-board video viewing. While I wasn’t attempting to drive my vehicles via the camera, I couldn’t get over the intense jiggle “action” when driving in certain situations. To be fair, that experience was the exception rather than the rule, but the memory was one that I couldn’t easily shake.
With quadcopter racing gaining mainstream momentum, the idea of piloting any R/C vehicle from the perspective of the machine crept back into my mind. After much sideline pacing, I recently jumped in and it’s been a game-changer.
Before I detail the experience, I have to give credit to a few individuals who helped me change my perception of FPV driving. Peter Gray, of Hivemind RC has always been a proponent of camera-mounted driving and shared a number of amazing real-world examples with me which eased my worries around visibility.
A second hobbyist, Joshua Dockins, helped me get the ball rolling at break-neck speed by sharing details on his personal FPV gear setup. The equipment he and I are both using isn’t the highest quality, but it’s a budget-friendly and helps pave the way to future upgrades.
FPV Basics for Beginners
The radio-control hobby can be complex, depending on how deep you want to dive into it. Adding FPV components to any vehicle, be it surface or aircraft, adds another level of complexity and questions. “Where do I start?” seemed to be my most-asked internal question. After a bit of research into the basics, I felt I had a firm grasp on what equipment I’d need to invest in.
At its core, an FPV setup consists of the following:
- An FPV camera
- A video transmitter
- A video receiver
- A video monitor
- Antennas (for the camera and receiver)
- Batteries (to make everything work)
While I may be oversimplifying the concept, this is FPV gear in a nutshell. I have experienced other FPV systems which use WiFi for video transmission rather than a 5.8GHz frequency, which erases the need for a few of the components listed above.
Unfortunatly, WiFi has range restrictions as well as quality issues, and it’s not a “hardcore” solution. Looking at the list of required gear, you may think you’d need to spend a small fortune in gathering and assembling all of the needed pieces. Thankfully, there are all-in-one (AIO) cameras which bundle the transmitter, antenna, and camera lens into a svelt, compact package. When you couple that with a pair of lightweight, low-cost goggles (which includes the receiver), you’re not faced with a mound of additional gear to wrestle with.
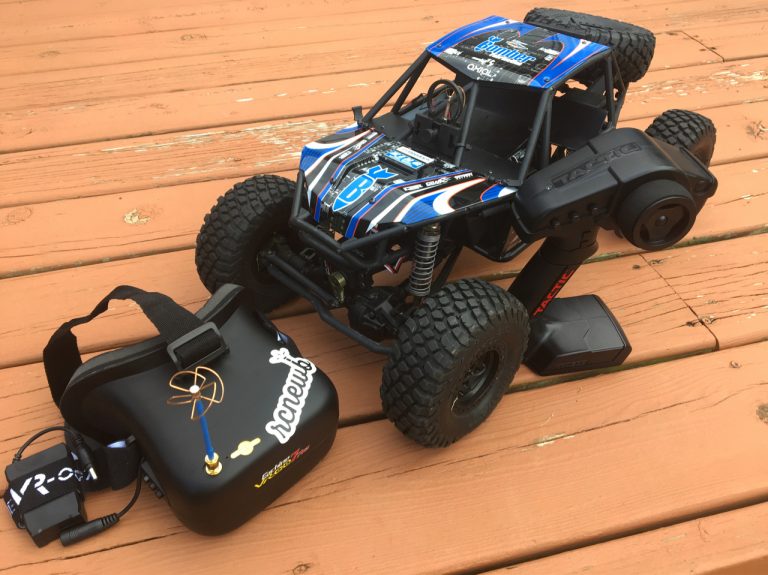
My FPV Gear Setup
Again, I owe a huge thank-you to Joshua Dockins. He gave me a peek at his own setup, which is what I replicated for my own use. Without further ado, here’s my personal list of entry-level FPV gear:
- Eachine EF-01 5.8Ghz, 40-channel, 25MW, AIO Camera/Transmitter Combo - $22.99 (Amazon.com)
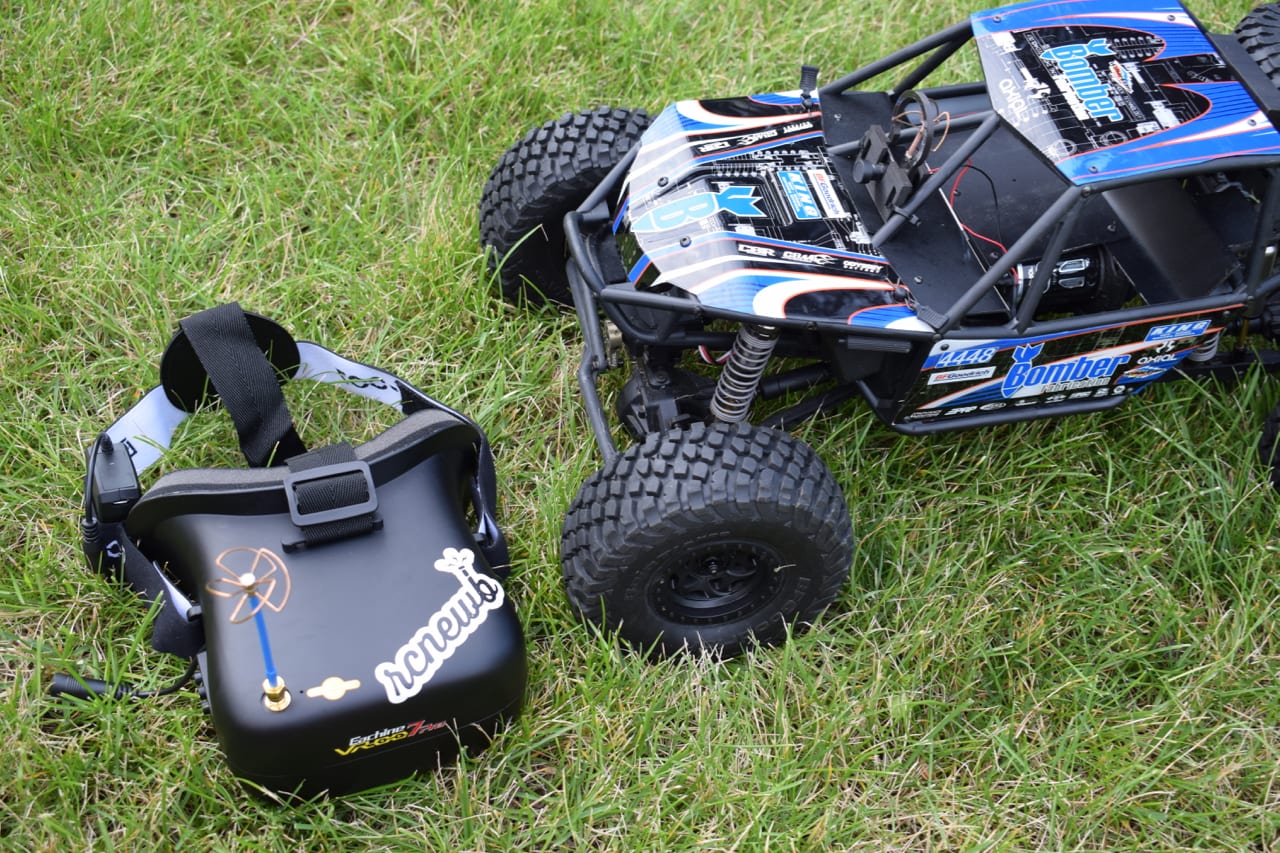
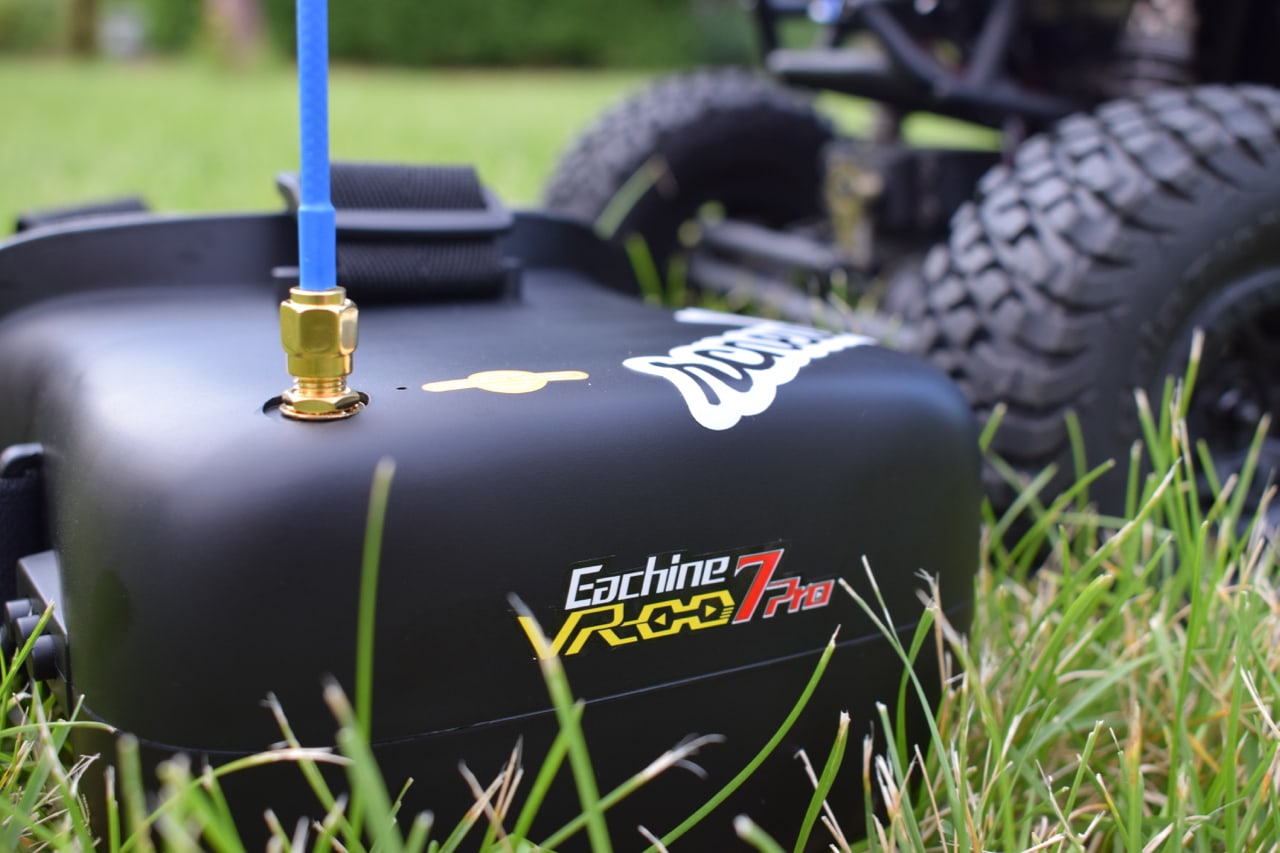
- Eachine VR-007 Pro 5.8Ghz, 40-channel FPV Receiver Goggles (with battery) - $69.99 (Amazon.com)
- Dromida 3.7v, 1S LiPo Battery (for the camera) - $9.99 (Amazon.com)
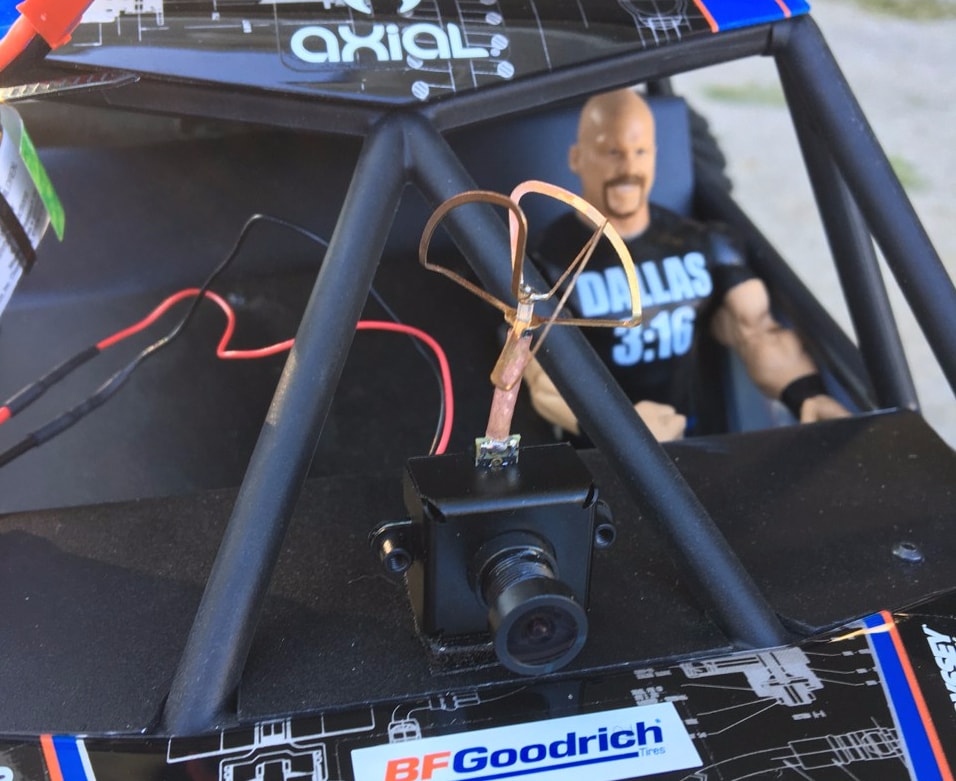
The Eachine EF-01 camera uses a micro connector for the battery and includes a male plug with exposed leads. I wired up a JST connector for use with the Dromida battery, however, you could easily use a battery with a compatible connector and eliminate the need for extra wiring.
Ready to Roll
Installing the gear may take some time, especially if you’re not sure where the optimal mounting location for the camera will be. To get myself up and running quickly, I attached a square of Velcro to the bottom of the camera and mounted it to the dashboard of my first test rig, an Axial RR10 Bomber.
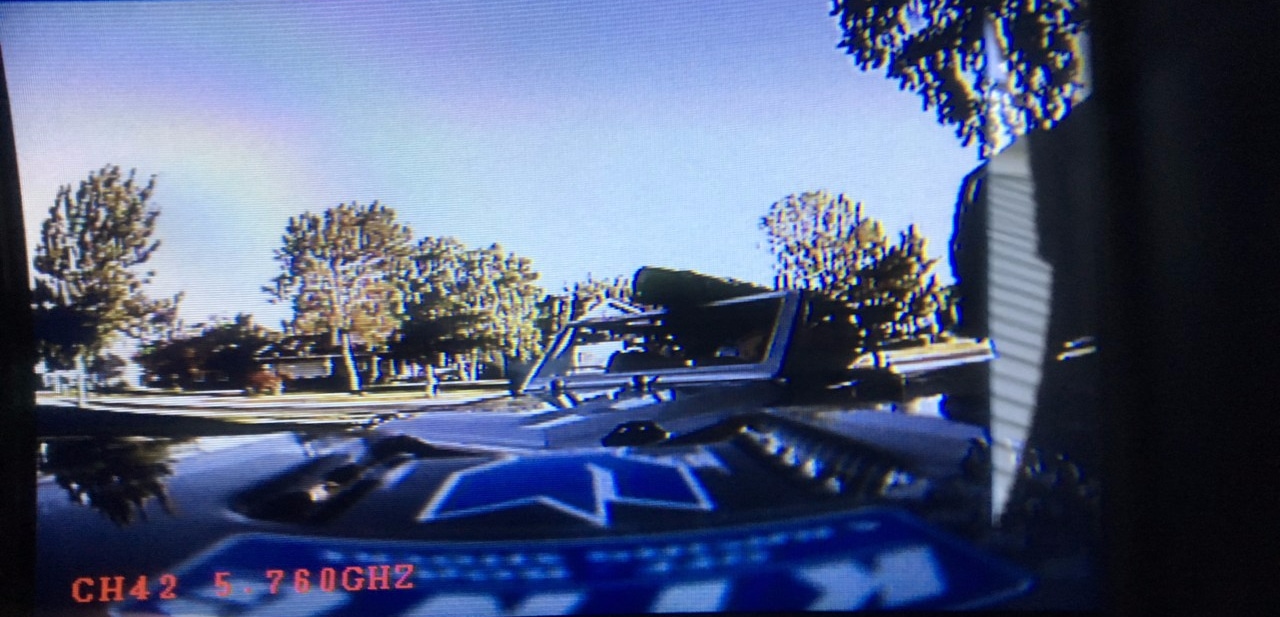
I wasn’t sure what to expect when I first put the goggles on and powerd them up. When I did, however, I was greeted by a magnificent field...of static. After my frequencies were in-sync, I was ready to roll. Once again, the goggles went on and this time, the result was nothing short of glorious.
Granted, the video quality was “decent” but it was the experience rather than the view which had me captivated. Nothing in my previous R/C driving endevours could compare with what I was feeling. I drove around my back yard, as I had done many times before, but this was a new voyage. My manuevers were more precise and I felt as if I was one with the machine.
I had an unmarked route which I had run via line of sight driving and I ran that same route using FPV. It took a lap or two, but I soon realized that my cornering and obstacle approaches were more aggressive from my on-board perspective. If the Bomber felt like it was starting to roll, I would quickly react and could keep on going. In a traditional driving situation, I would have found myself rolling the Bomber over after flipping it. It was a magical feeling.
Just the Beginning
I can safely say that I’m officially hooked on FPV surface driving. The experience is like none-other and the connection that I feel with my vehicles is unparalleled. I’m frantically looking at my fleet of vehicles and working out mounting locations for the camera, making my FPV setup hot-swappable. This is the beginning of a new chapter in the hobby, and it’s one that I’m jumping into with my eyes wide open.


