
Reviewing the Sky Viper M500 Nano Drone
Get into radio-controlled drones on a very small scale.
A person can only sit on the sidelines so long before a wave of interest pulls them into the pool. If you replace "wave" with "gust of wind" and "pool" with "sky", you have my situation with quadcopters. 2016 has truly been the year of multi-rotor aircraft. With the explosion of competitions and drone racing series throughout the world, I felt the urge to try my hand at flying. Having never piloted a radio-controlled aircraft before...successfully, I picked up an entry-level quadcopter from Dromida (the KODO HD).
After a few understandably frustrating attempts to get into the air, and stay there, I added another, smaller, quadcopter to my collection, with the hopes of better understanding the controls and basics of multi-rotor drone flight. That model is the Sky Viper M500 Nano Drone.

Sky Viper M500 Specifications:
- Aircraft Type: Quadcopter (4-blade)
- Length/Width: 2.75”
- Radio system: 2.4GHz
- Headless mode: No
- Price: $29.96 - $49.98 (Multiple retailers)
What’s Included:
- 1 Sky Viper M500 Nano Drone
- 1 Sky Viper M500 Nano Drone controller
- 1 set of spare/replacement propellers
- 1 Instruction manual
The Controller.
I pay close attention to how controllers fit in my hand and feel during the flying/driving process. An uncomfortable “feel” can take your mind off of the task at hand and reduce the chance of you taking your vehicle out for a spin in the future.
As far as “in your hand” feel is concerned, the controller has a decent size, given the size of the quadcopter that it’s controlling. It feels very nice when holding it, both when in-flight and making calibration adjustments. The array of adjustment options buttons can be a bit of a challenge to operate without taking your eyes off of the quadcopter, but after some time they should become memorable.

The controller for the M500 nano drone has a number of options that are critical for overall flight. Your basic up/down, forward/backward, and side-to-side direction controls are the most-obvious to spot, however there are some additional options that can help enhance your flying experience.
The first “non-traditional” is an automatic launch/land feature that does exactly that. By default, the drone is set up to take off using this button, however you can press a combination of controls (stunt button + auto launch/land) to gain manual control over the quadcopter motors. Auto-launching the Sky Viper M500 causes the aircraft to lift into the air and hover at a set height. This height appears to be between 4’ or 5’. Pressing the auto-launch button again will make the quadcopter rise 12”.
The auto-land function works in a similar fashion as auto-launch, but slows the motors and brings the craft back to earth rather than boosting it into flight. Along with these preset take-off and landing controls, you’ll find adjustment buttons for forward/reverse trim as well as left/right trim. When calibrating the M500 (as with most other quadcopters) you’ll press the adjustment button in the opposite direction that the aircraft is drifting.

Adding another level of in-air fun to the flight experience is a “stunt” button. This button, when combined with a left, right, up, or down direction, will cause the M500 to flip in a predetermined direction. This is a nice way to wow an audience (as well as the pilot) and doesn’t require much space.
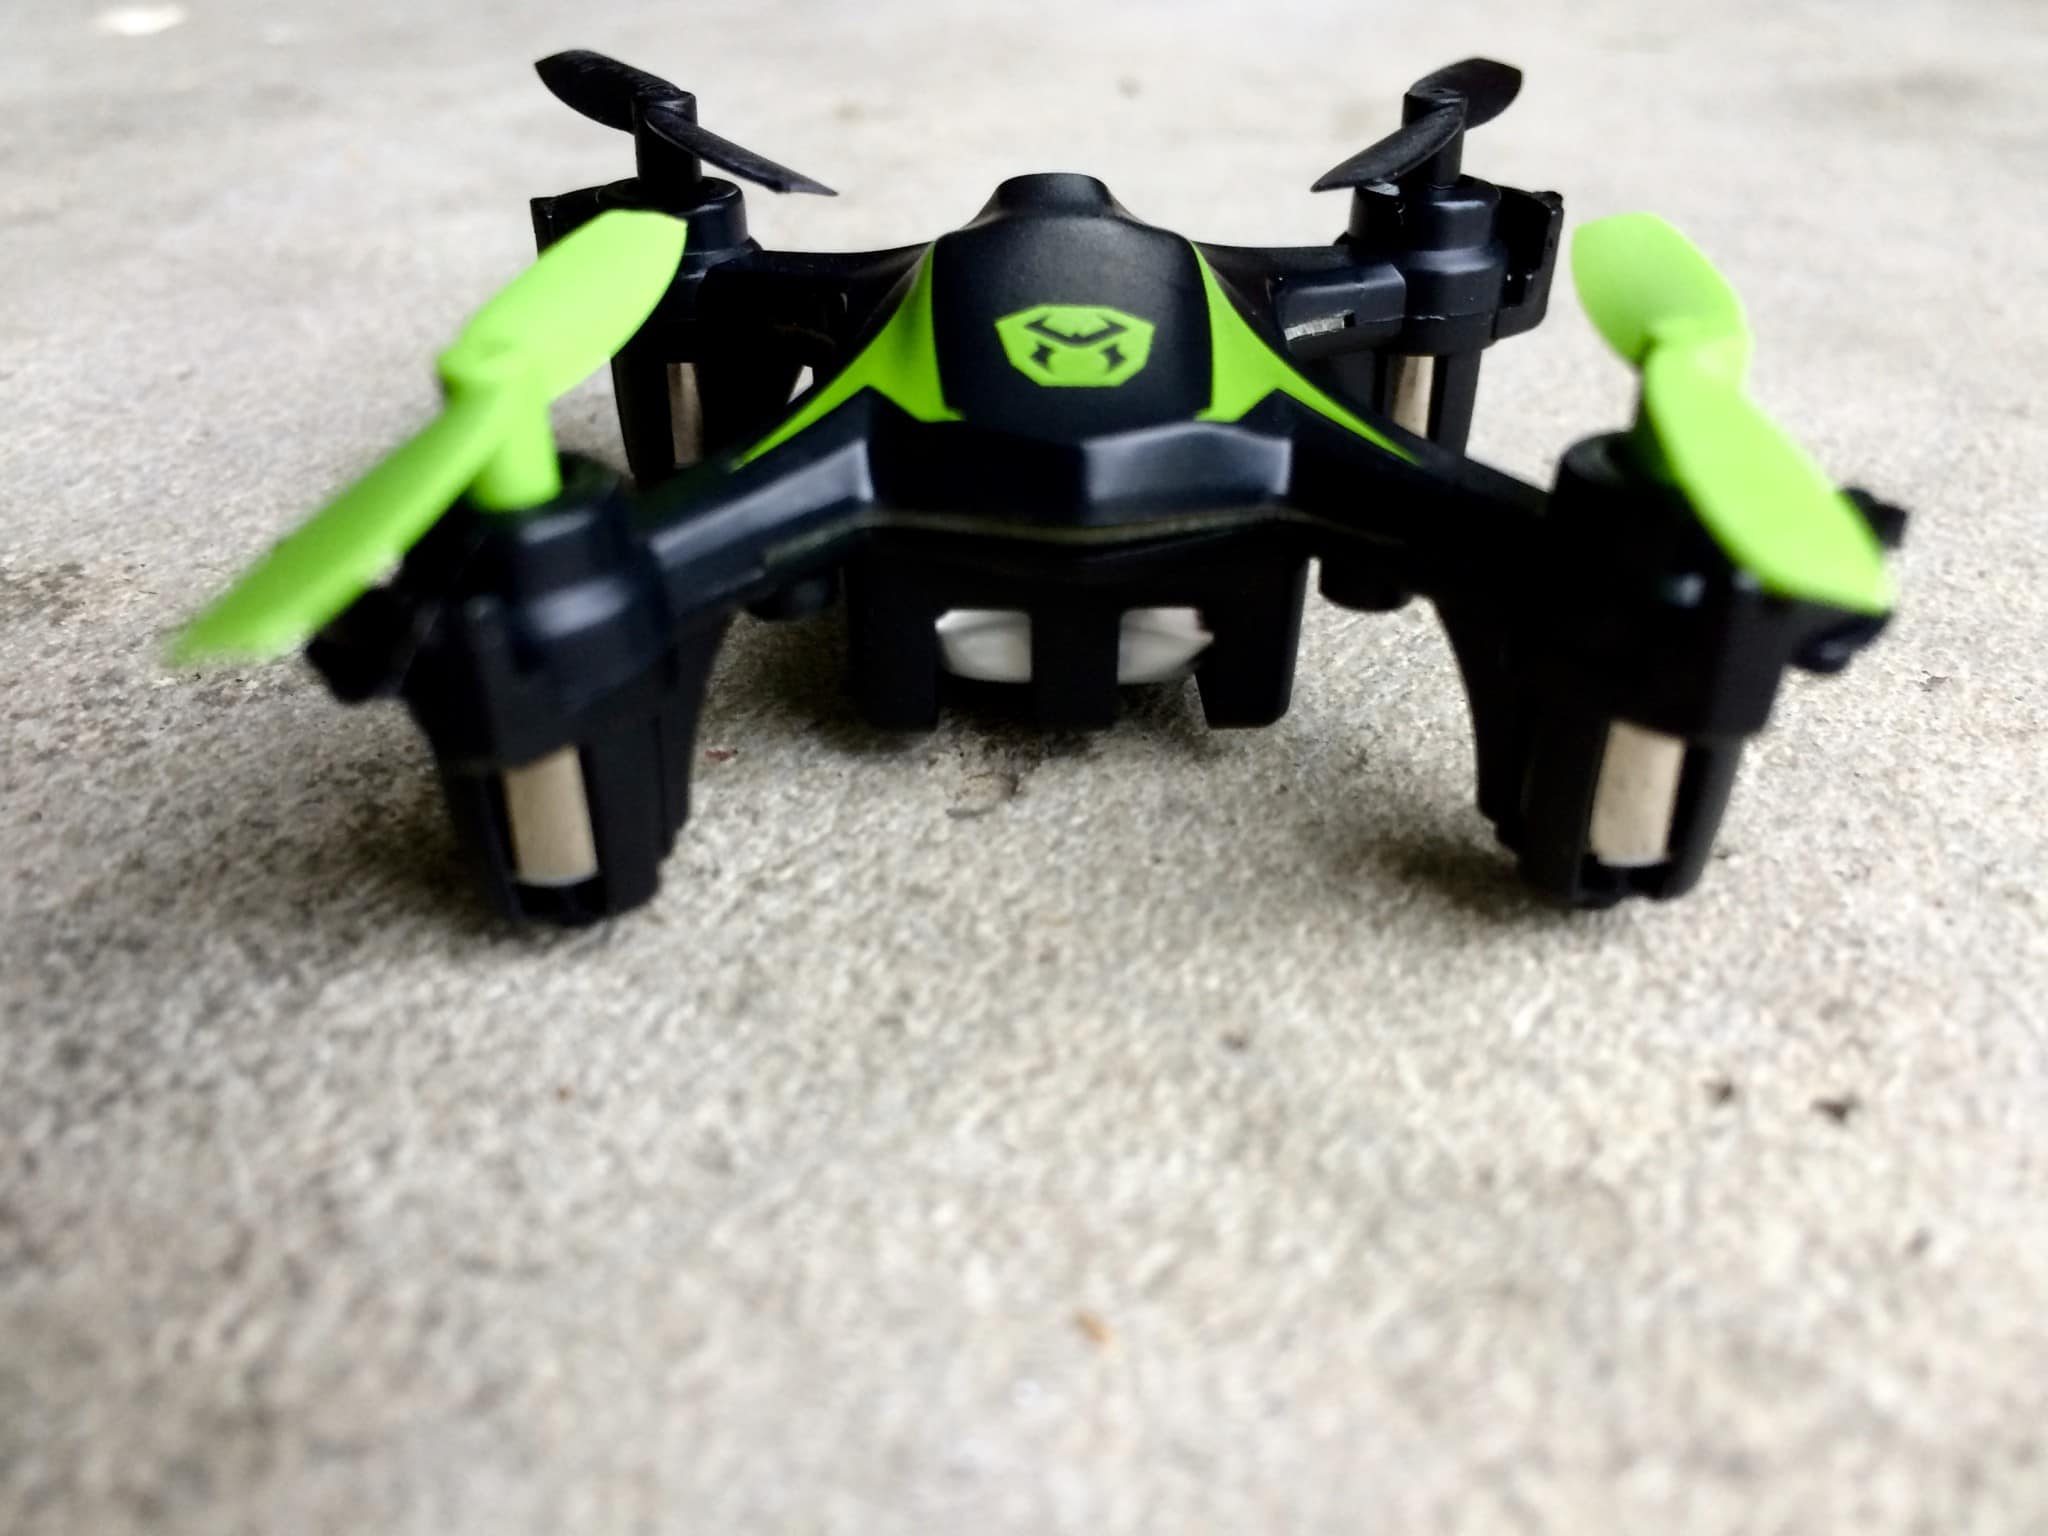
The Aircraft
For a radio-controlled quadcopter that’s found in the toy aisle of Target and Walmart, the build quality of the Sky Viper M500 is very impressive. It doesn’t have any exposed wires along the arms of the airframe, so there isn’t much need to worry about electrical crash damage.
The airframe itself is very durable and has survived more than its share of crashes and hard landings. While I’ve primarily flown this R/C drone outdoors, it has ventured outside for a quick test.
During that flight, it performed very well while in the air and landed on softer surfaces when things got dicey. Indoors, the landings ranged from carpet, to wooden floors and furniture with hard surfaces. Each landing was an opportunity for damage, which the M500 quickly passed up.
Charging and Pre-flight
The USB charging adapter and cable for this model worked great. The overall charging process was completed within thirty minutes, using a spare port on my laptop. There are indication lights on the charger that will let you known when the battery has been fully charged.

The charging cable fits snug inside of the charging port on the quadcopter. There’s no need to remove the battery to charge it, which makes for one less step when recharging.
Outside of charging the aircraft, there isn’t much pre-flight maintenance that is needed. Making sure the rotor blades are secure is always a wise task to perform, along with examining the airframe for any obvious damage (from past flights).
Taking to the Sky…
Once I had the M500 charged up, I was anxious to set off on a maiden flight. My first few takeoff attempts were in my basement, which has low ceilings. I was hoping to keep the quadcopter at eye/head level and work on hovering, however that proved to be a tricky goal to accomplish. I found myself worried that I would fly into something (namely, the ceiling) and ended up crashing more often than I would have liked.
A quick trip upstairs, to a room with a taller ceiling height, gave me room to breathe and fly. With the aforementioned rough landings and “close encounters” with the ground, the M500 required a few recalibration “sessions”. With more room to roam, I had a better opportunity to put this micro multirotor through its paces.
When calibration is set, it does a great job of hovering and the movements are crisp and responsive. Overall control of this aircraft is what I’d classify as “easy”. When flying indoors, you’re not dealing with outside influences that can blow the aircraft off course. That itself makes the flying experience enjoyable and allows you to focus on learning the controls and basics of flight.
More often than not, I’ve opted for the manual takeoff and landing controls versus the automatic, one-touch launch and landing options that are built into the remote. Primarily, I want to learn how to fly with this model and not rely on pre-built settings and assistance modes. The few times I used the one-touch options, the M500 did what I expected it to do. Speaking from experience, however, I will say that I prefer manual takeoff and landing as it provides a greater sense of aircraft control.
Whether it was indoor or outdoor flight, the M500 flew well, at least as well as I’m able to pilot it. It was fun challenging myself to see how long I could keep it in the air without hitting obstacles or flying it into furniture. With each flight, I could feel my sense of comfort grow, not only with this particular model, but quadcopters in general.
Keep it Calibrated
It’s inevitable that crashes and rough landings will happen with any quadcopter. When they do, you’ll most-likely need to recalibrate the directional trim (forward/backward and side-to-side) to ensure you have a cleaner experience the next time you fly.
The Sky Viper M500 appears to be quite touchy when jostled during impact. Nine times out of ten, I found myself re-adjusting the trim settings to get myself back to the baseline. This may be the most frustrating aspect of this quadcopter.

Is the Sky Viper M500 the Right R/C Drone for You?
This micro quadcopter should appeal almost any level of radio-control enthusiast. For those that are looking to get into the world of R/C flight, it serves as a low-cost aircraft to log some hours (or minutes) on. If you’ve been in the hobby for a while and are looking for a low-cost option that can provide fun indoors and out, then this model will certainly accomplish that as well.
The controller settings and aircraft itself aren’t designed for fine-precision tuning. This may be a turn-off to pilots with more experience. That said, you can dial in the flight performance through a number of methods, making the Sky Viper M500 both challenging and enjoyable to fly.
Based on the solid construction and overall durable airframe, this is a great option for R/C pilots of any level and is a great way to introduce a rookie, both to the R/C hobby and R/C flight, to quadcopters and multirotor aircraft. With a price of less than $40, it fits into just about any budget as well.
Where to Buy the Sky Viper M500 Nano Drone
This low-cost quadcopter is available for purchase at a number of toy and neighborhood superstores. Chances are, you’ve already walked past it during a trip down the toy aisle at Walmart or Target. Along with these locations (both in-store and online) the Sky Viper M500 is available from the following retailers:


