DIY Aluminum Suspension Links That You Can Build (Cheaply)
Looking for a low-cost way to make your crawler perform? Take matters into your own hands.
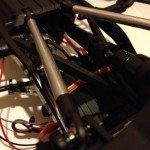
Whether it's the scale nature of rock crawlers or the fact that I've been enthralled with my Axial SCX10 ever since getting it, I've been working on more projects with this machine than I have with any of the other vehicles in my garage. The latest project I took on was to build my own aluminum links for my rig. Having never done it before, I relied heavily on a few videos and some forum posts.
Thanks to some great advice, I have them built, and have some thoughts to share on the subject.
Risk vs. Reward
My main motivation behind building my own links, aside from the challenge of doing it myself, was to save a little money. While aluminum links may be seen as an aesthetic upgrade, they're also a performance upgrade if you're stock setup is using plastic links. Plastic is durable, but it also flexes under minimal force. To get the most out of your rig, you'll want to stiffen up the suspension components, and aluminum link upgrades help you do that.
If you've looked at prices for aluminum links from the "big guys", you know you can pay at least $20 per set. I'd rather put that kind of money into other areas of my rig, so I began down the DIY path. Before you get started however, there are a few things to consider.
Finding the right method
Believe it or not, there are more than a few ways to create your own aluminum links. The method I chose seems to be the path of least resistance, although there are other options, if you're looking to get a little creative. Thanks to Harley Designs tutorial, I discovered three additional ways to build links. If you like options, here are four you can consider
- All thread inside of an aluminum sleeve, capped with rod ends - This technique has you running a length of all thread through an aluminum sleeve that's slightly larger than the diameter of the threaded rod. While not the strongest method, it's the easiest way to get aluminum links.
- Aluminum tubing, tap-drilled with all thread tips and capped with rod ends - My preferred method (for the moment). I needed to purchase a tap drill and bit to get started, but you can pick those up for less than $5 each at your local hardware store. The benefit to this method vs. the sleeve method is that the aluminum tube should be stronger, and less prone to bending vs relying solely on the threaded rod for support.
- Solid aluminum rod, drilled and tapped with all thread tips, capped with rod ends - If you have a drill press and like to truly be in control of your destiny, give this method a shot. It's very similar to the method I chose, however you'll have a link that's solid, rather than hollowed out, providing you with a little more structural stability.
- Solid aluminum rod, turned down, threaded with a die, and capped with rod ends - This is the most-involved method, but if you want to have a real feeling of pride in fashioning your own, custom links, this may be the road you'll want to travel.
Beyond being a relative newcomer to the hobby, it's been years (and I mean years) since I've done any work with metal. You'd have to go back to my high school, shop class days to conjure up those memories. Granted, building links made from aluminum tubing, some all thread, and screw-on rod ends isn't that big of a project, but you still have to have some idea of what you're doing.
The bits and pieces
To build links using the aluminum tubing method, here are the materials you'll need:
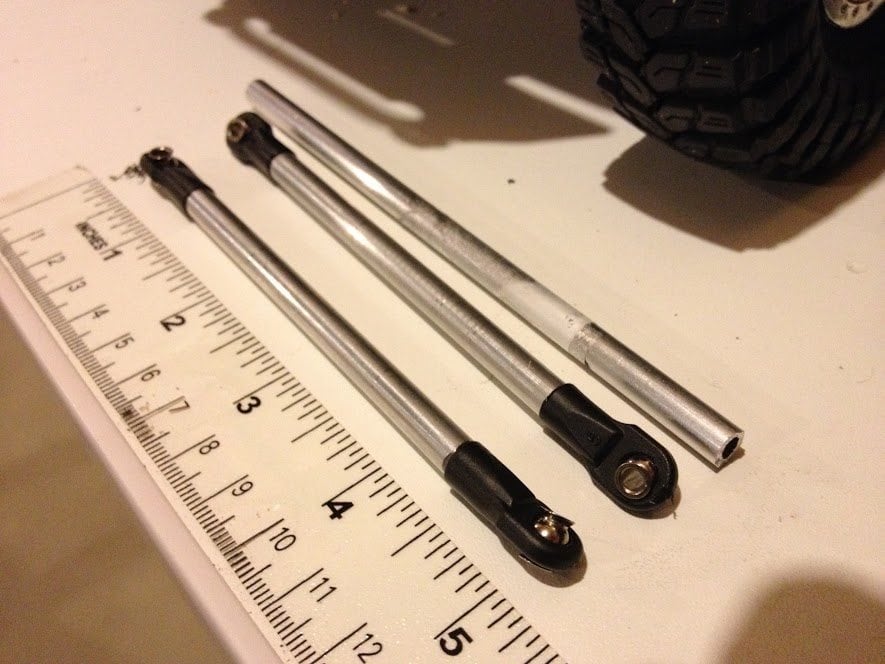
- Aluminum tubing or automotive brake line - I bought a few 12" lengths of 1/4"-round aluminum tubing from Ace Hardware. Per-rod, these were roughly $2.60 a piece and I was able to get three suspension links out of each rod, with left-overs for shorter steering links.
- 8 - 32 threaded rod (all thread) - This can be purchased for between $2 and $3 at your local hardware store. You'll have plenty of material in a 3-foot section to make a handful (and then some) of threaded connectors (at 3/4" length).
- Traxxas Revo Rod ends (with hollow balls) - These will run you a little over $8 for a bag of 12. I picked mine up at Tower Hobbies, but your local hobby shop should have them on hand too.
- Tap handle and 8 - 32 tap bit - Again, you'll need these to thread the inside of the tube and the rod ends. They're not expensive tools and shouldn't cost more than $10 for the handle as a set.
For the price of one set of aftermarket links (give or take a few dollars), I have the tools and material needed to make a full set of lower links for my Axial SCX10 and have some spare parts left over. Once you build a few of these, you'll improve your methods and will want to build extras to keep in your bag.
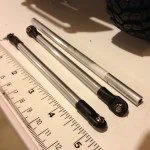
The finished product
Having only run my machine indoors, I don't have any extreme cases to compare the stock, plastic links to the aluminum version, but the little testing that I have done has me quite pleased. The vehicle doesn't want to "crumple" on it's back-end when applying a decent amount of throttle, and it isn't as "tippy' or "jittery" when crawling over obstacles.
I recorded some thoughts as I was reaching the end of the project:
All-in-all, this was a fun project to work on. I ran into a few issues when it came to securing the aluminum pipe during tapping, but I have some ideas that should eliminate those problems in the future. Is this a project you're looking at taking on for your R/C car?
Gallery